How to build wood signs out of pickets
How to build wood signs out of pickets
Do you have access to old pickets? Maybe you have a stash of 1″ x 4″ pieces of pine left over from a project. Then let’s get busy and do something with those and learn how to build wood signs out of pickets or scrap wood!
The supplies you will need to achieve this method on how to build wood signs out of pickets are as follows:
- Used pickets or 1″ x 4″ scrap wood
- Sander or sandpaper
- Foam brushes and Paint roller
- White paint or another color to match your decorations.
- Cricut machine or Silhouette machine or Home Printer
- Your favorite scripture or quote
- Vinyl
- Transfer paper or clear contact paper
- Chop saw
- Nail gun
- Picture hangers
First – Cut:
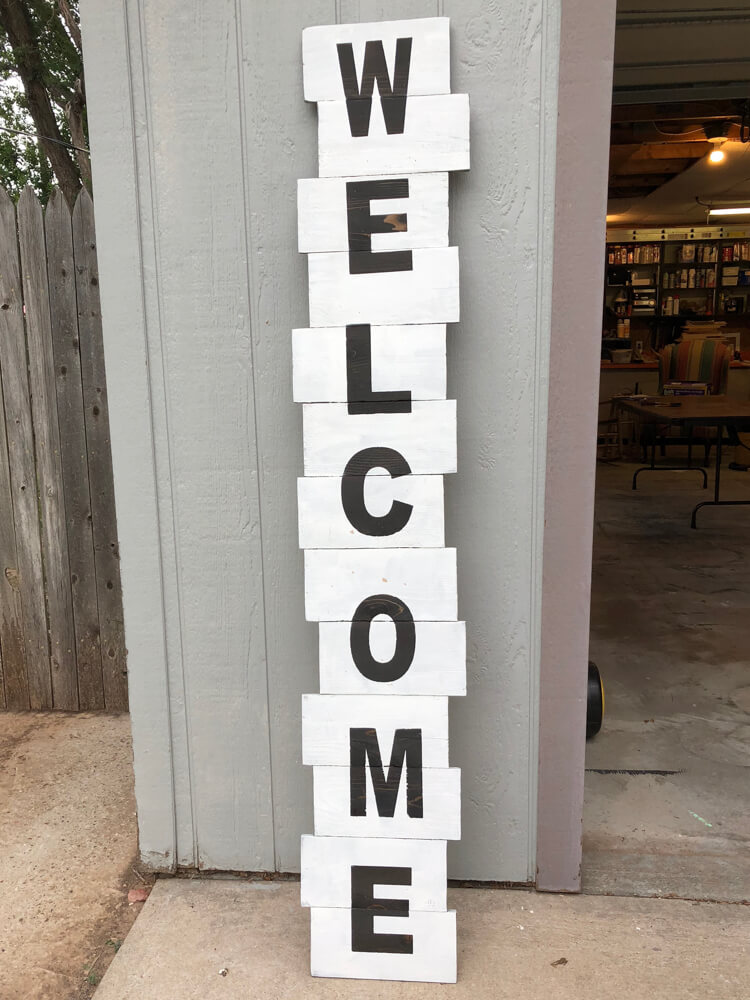
Let’s jump in and get started!!! You will need a table saw or circular saw to cut your pickets to the size that you want them. As a result, my sizes all vary depending on the quote. You can look in my store and see all the different sizes listed on each product. Decide what size you want for your project. A cool technique is to stagger the pieces for a unique look. Therefore, the pieces can be different lengths.
Second – Sand:
You need to sand the edges of your wood piece. The surface of the pickets is rough; however, the table sander is able to be used to smooth down the rough surface. Cheesecloth or a microfiber towel is used to wipe all the dust off the surface. Alternatively, use an air compressor to blow all the fine dust away.
Third – Assemble:
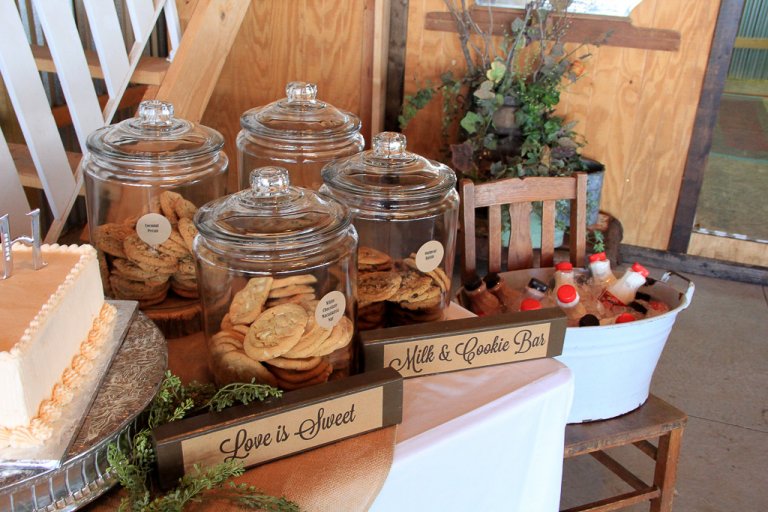
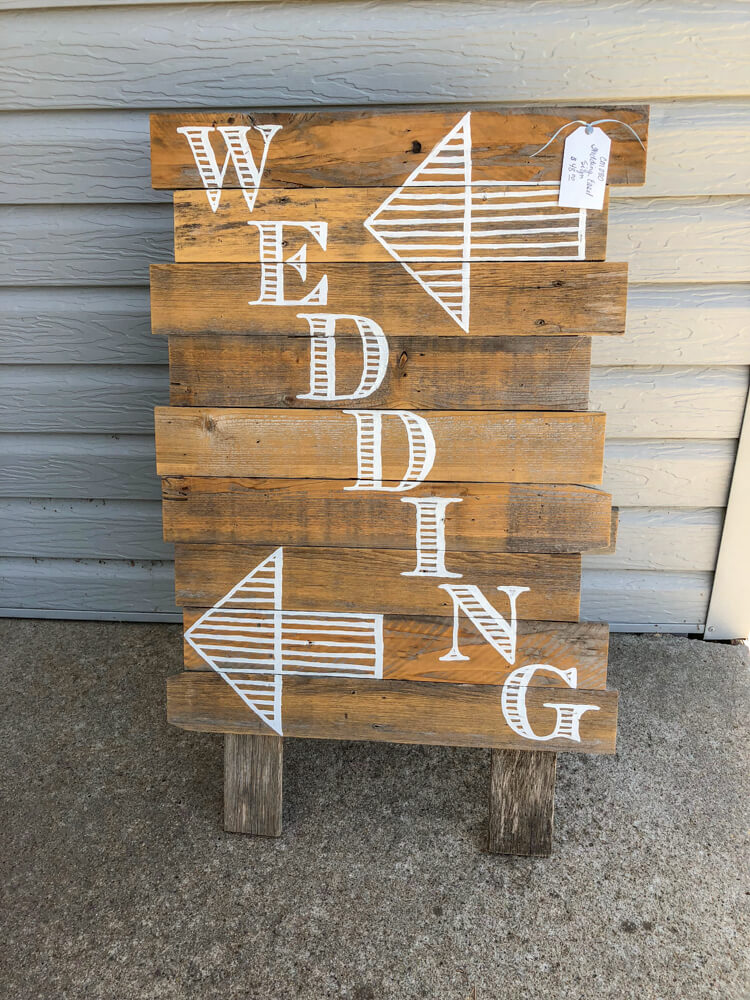
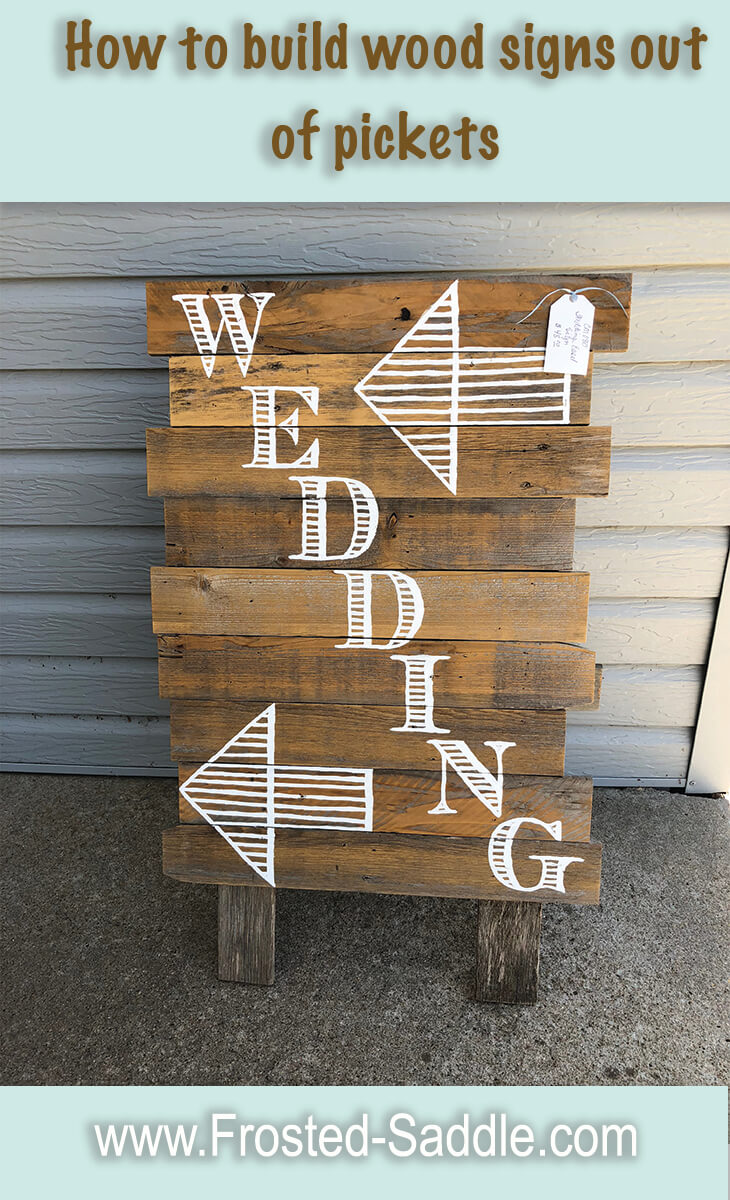
Let’s get those signs put together! To hold them together, you need to cut a piece of wood or a picket the length of your sign minus one and a half inches on each end. If the sign is wide, let’s use two pieces of wood. Plug in your brad nailer and get to firing. In a couple of the pictures below on some of my signs, I extended the back pieces and made an easel so that they could stand up. They have a hinge on the back to extend to an easel. This one, for example, was used for directions to a wedding. The font even matched the font on the invitations and programs. I love the rustic background. Shabby chic!!! Fancy, huh.
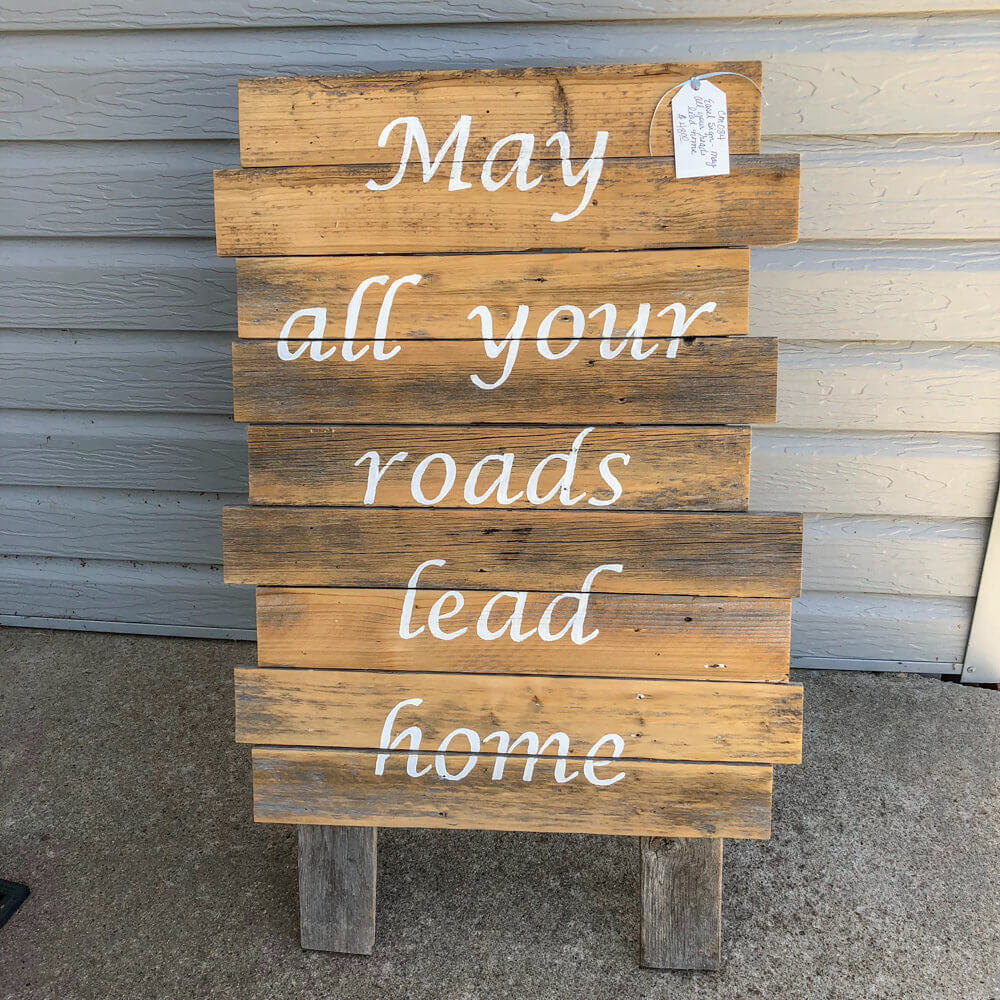
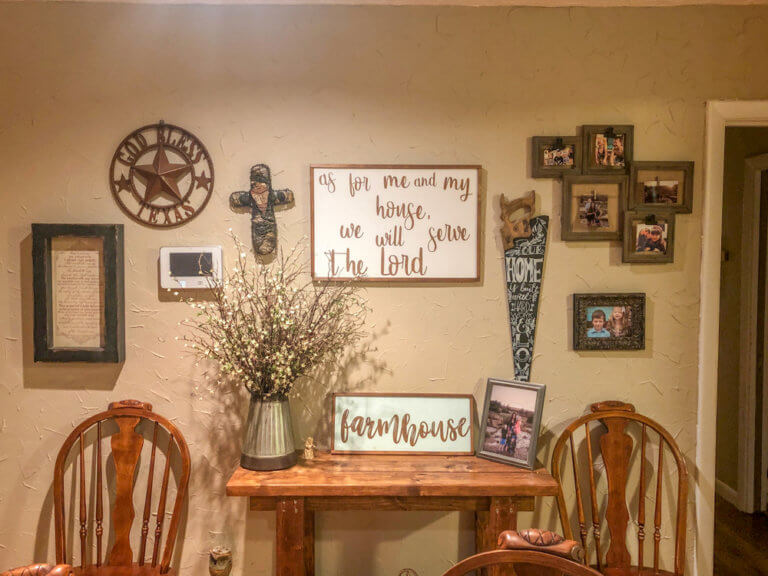
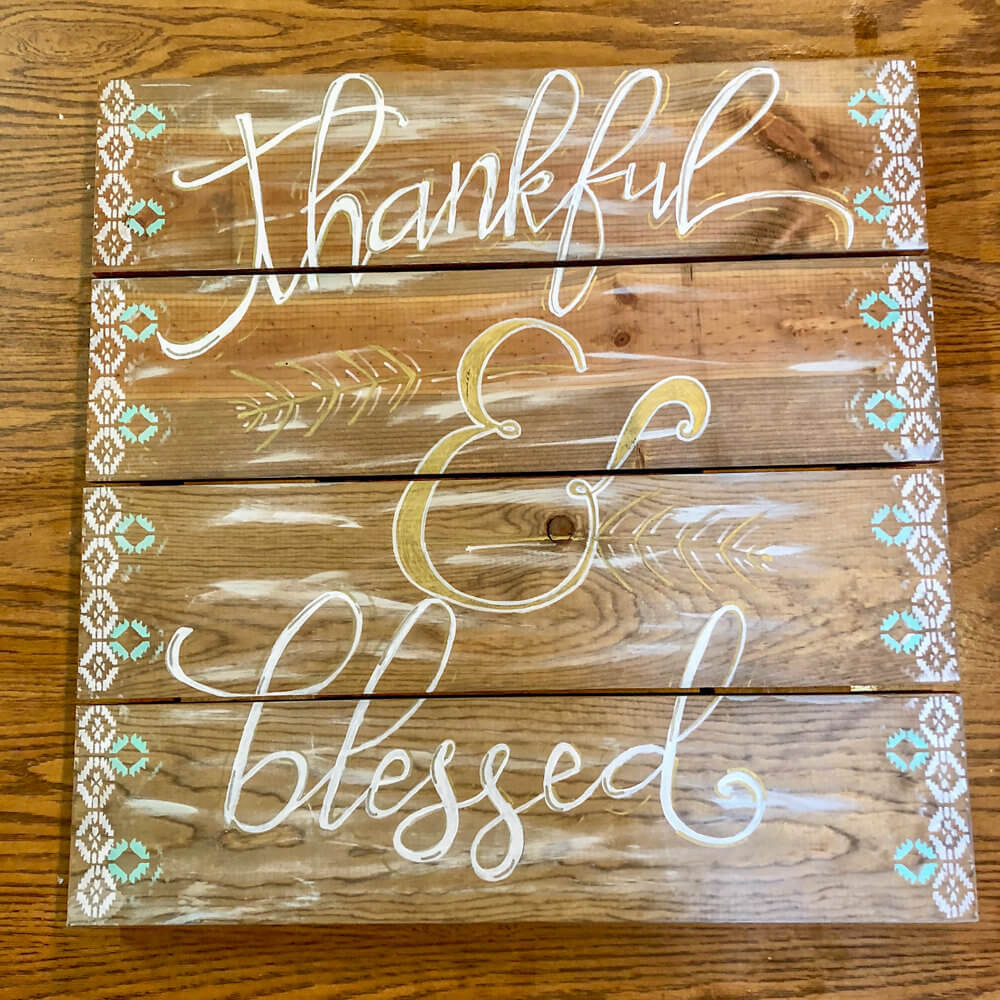
Arrange your pickets or pieces of wood horizontal or vertical, plus aligned evenly or staggered. The choice is totally up to you! Hurray!

Fourth – Paint:
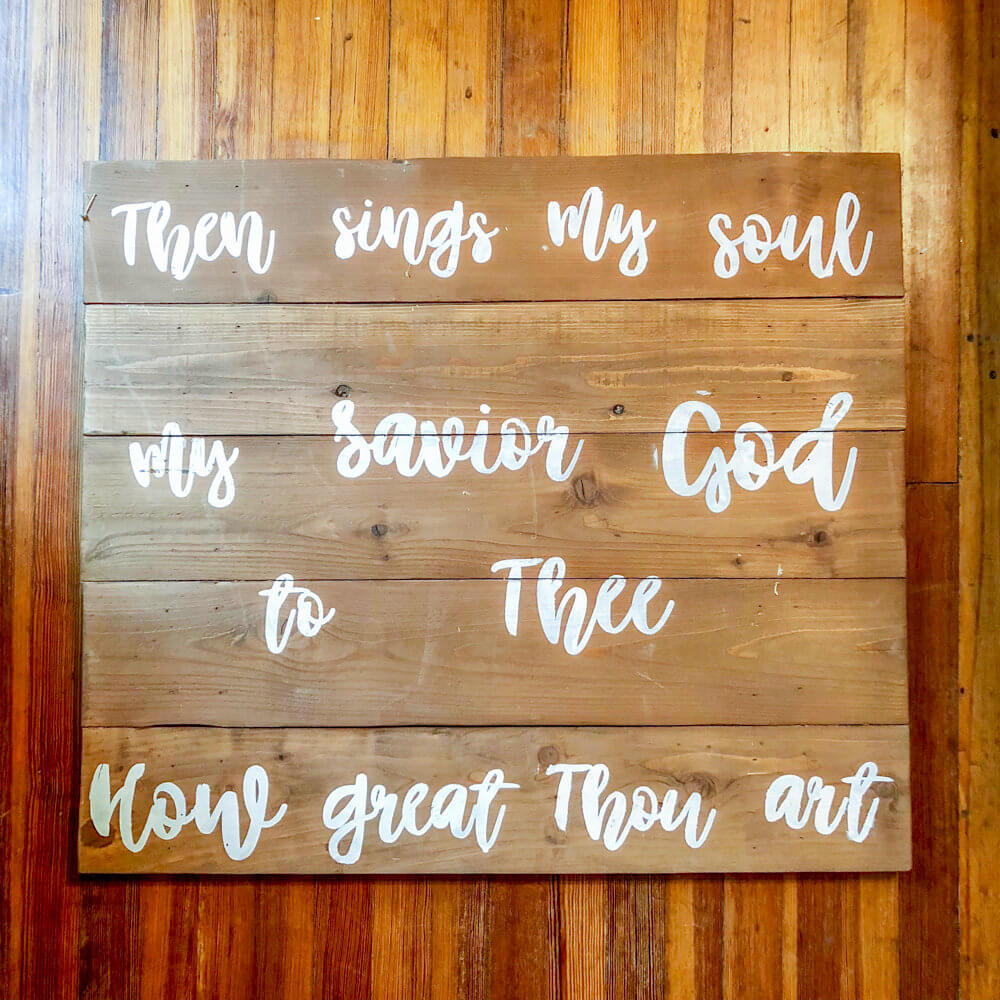
The background can be painted for a different effect, especially if the wood is really rugged. Be sure and paint the wood before putting your quote on it. Use a paintbrush, or for an easier option, use a roller. The chalk paint has a nice coverage but is a little pricier than plain acrylic. For a sign to be put outside, use an outdoor paint. A gallon is cheaper if you have a lot of projects to do. In addition, plain or semi-gloss latex works great also.
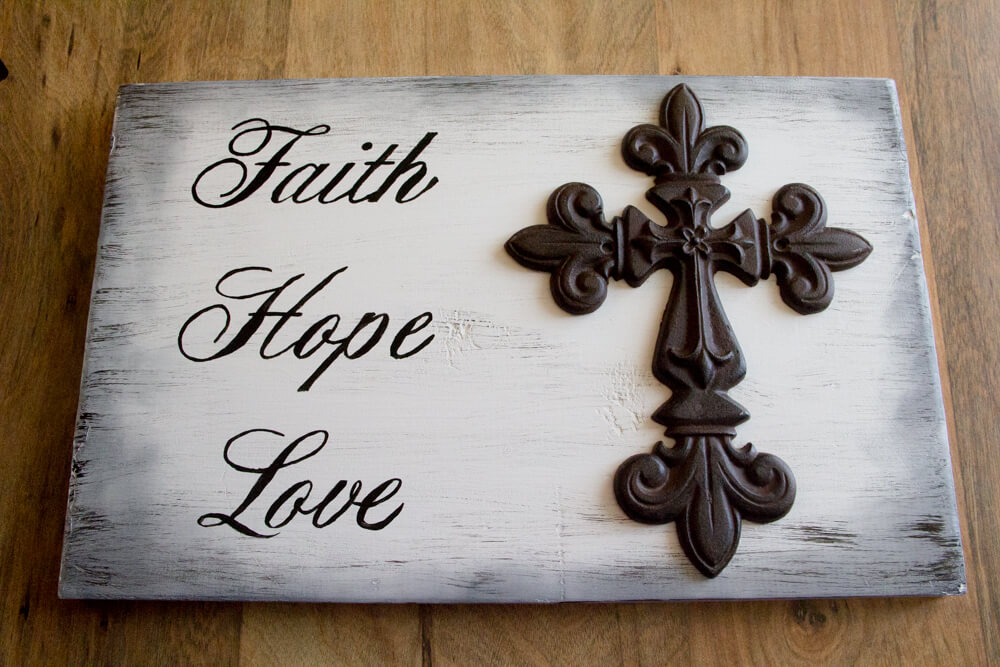
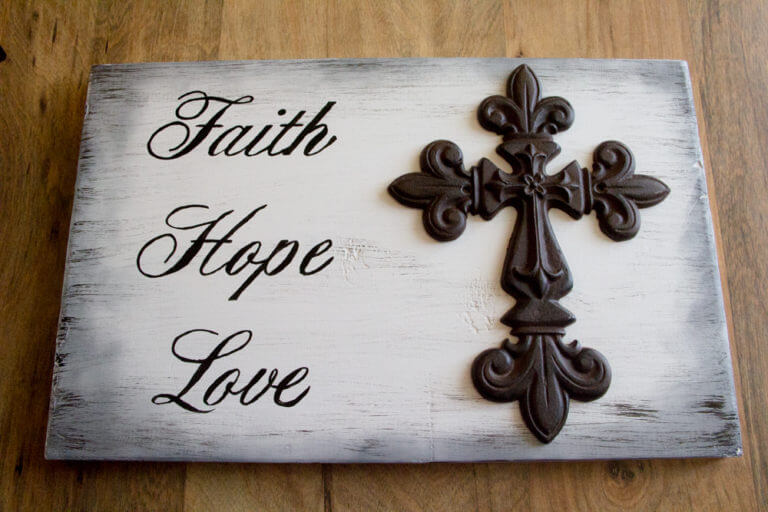
Paint your quote on to the wood piece:
You will now get your Cricut machine out. In addition, cut the desired letters of your quote out. Remove the letters and/or design and leave the background on the mat. Take the background and place on your wood sign to use as a stencil. Paint the quote or scripture and remove the vinyl, alternatively, print out your quote and use graphite paper to trace on the sign. To conclude, use a paintbrush to paint on your letters. And voila, you are done!

Sharing is caring!
Other popular posts on wood signs>
Click here for instructions on how to make a farmhouse wood sign with a quote.

Click here for instructions on how to make painted wood signs