How to make painted wood signs
Learn how to make painted wood signs with a quote or scripture on them.
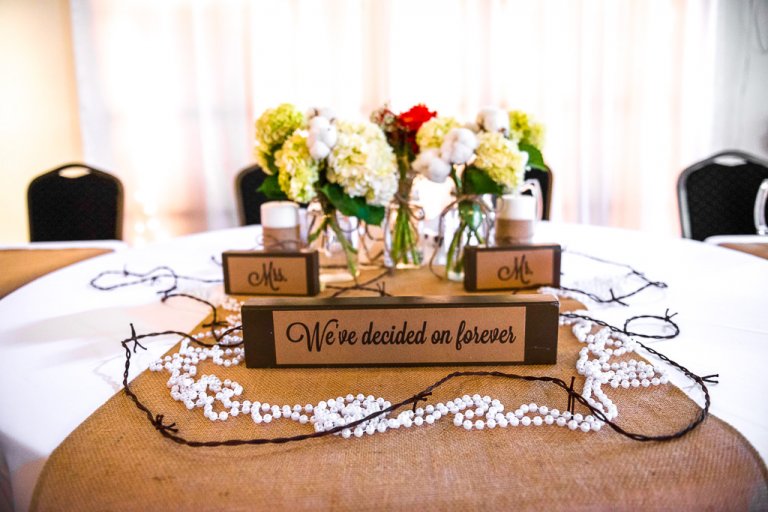
There are several different styles you can make. You can use any color of paint that goes with your decor, and paint the quotes on them. I think it’s fun to add a few embellishments, like an iron cross, ribbon, etc. You can make a farmhouse wood sign with quotes or scripture on it. That’s another post. Find it at the bottom of this one. Also, find below how to make signs with pickets. But for now let’s jump in to how to make painted wood signs for your house or for a gift.
The supplies you will need to achieve this method on how to make painted wood signs are as follows:
- 1″ white pine cut the size you want your sign
- Sander or sandpaper
- Angled paintbrush
- Foam brushes and/or Paint roller
- White paint or another color to match your decorations
- Ceramcoat is my favorite paint – acrylic paint
- Cricut machine or Printer
- Your favorite scripture or quote
- Graphite Paper
- Embellishment (optional)
- Chop saw
- Table saw or circular saw
- Picture hangers
Let’s jump in and get started!!! You will need a table saw or circular saw to cut your wood to the size that you want it. Alternatively, you can also have it cut to size at Lowe’s or Home Depot if you don’t have a saw. My sizes all vary depending on the quote. You can look in my store and see all the different sizes listed on each product. I often use the scrap wood that I have in my stash.
Sand:
You need to sand the edges of your wood piece. This is accomplished so much faster on my electric table sander, but if you don’t have one then sandpaper works fine. It just takes a little more elbow grease. lol. Also use a fine grit for the surface because that makes it so much smoother for ease of painting the letters. Lastly, use cheesecloth or a microfiber towel to wipe all the dust off the top.
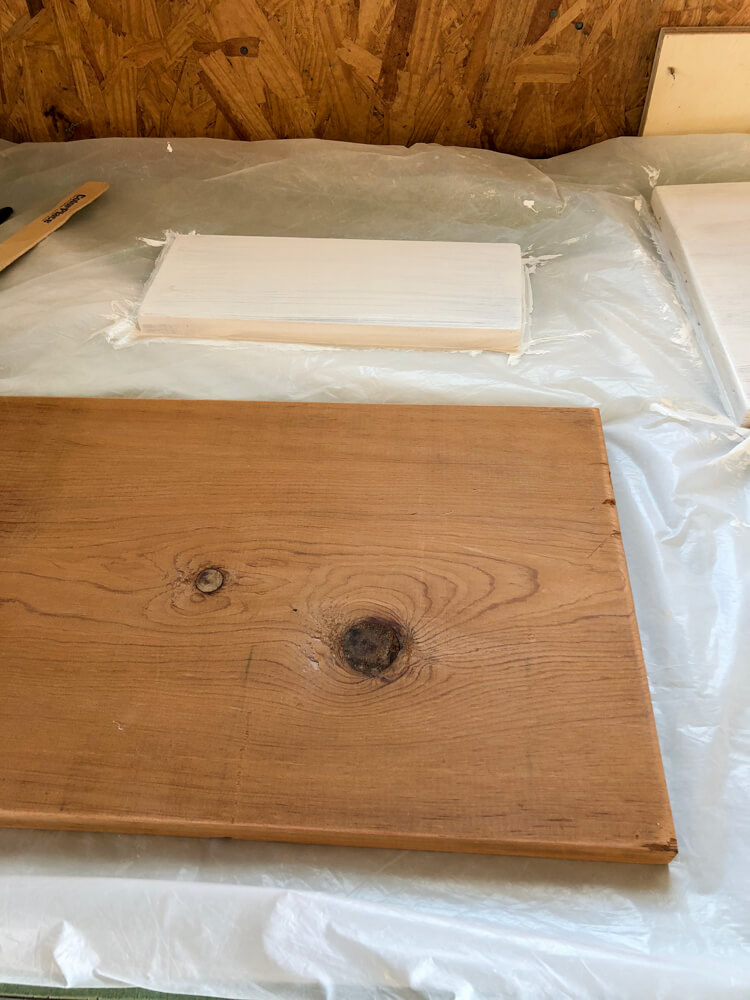
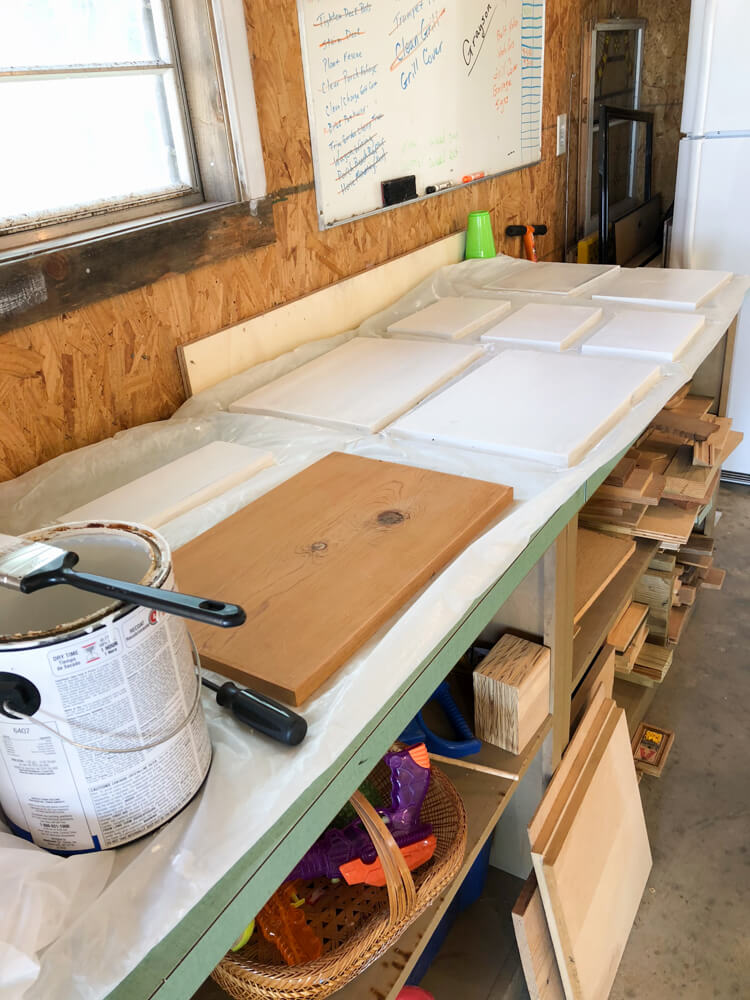
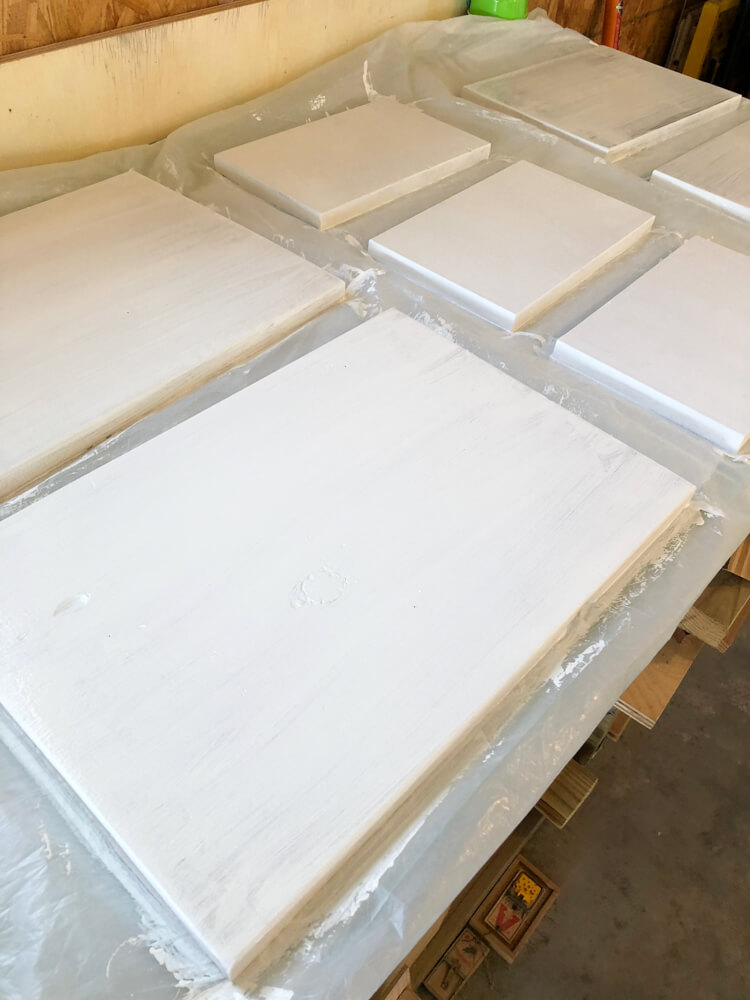
Paint the wood:
You are ready to paint the wood. If you are using scrap wood or even when you are purchasing, make sure the wood has a good side. In the picture below, there is a nasty knot hole. The reverse side was good to go, though. Use a foam brush, roller, or regular paint brush. Let dry for an hour. Sand lightly with a fine grit sandpaper, and put another coat on so that it is covered nicely. Let this sit and dry good while you go to the next step. Don’t forget the sides and the back. Then sand a final time with fine grit sandpaper. You are on the way to knowing how to make painted wood signs. Read on!
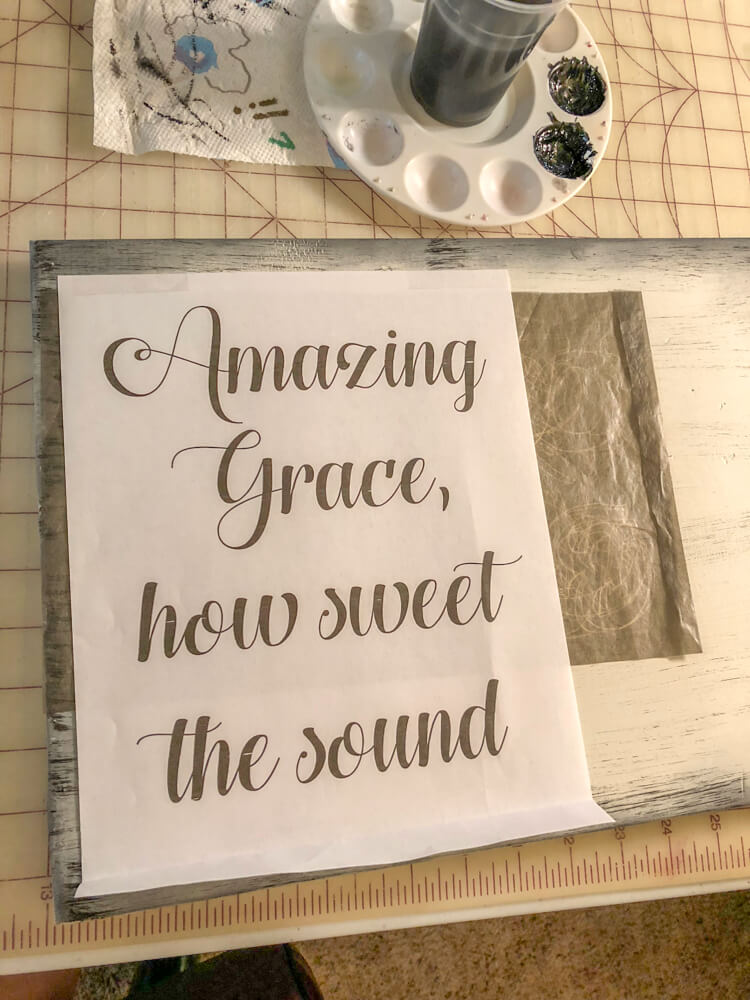
Print:
Meanwhile, find the quote you want, and most importantly, choose a fun font! Keep in mind that you will be painting so you may not want real thin lines like I show below. Print it out in the size that fits your piece of wood. For larger pieces, you may have to print it out over several pages and tape them together. And if you are really brave, you can freehand your quote in your own handwriting or lettering. Alternatively, you can use your Cricut to cut out the letters. Weed out the letters, then use the background piece as a stencil and paint on the letters that way, or you could use the letters to place on the wood. Easy peasy!
Trace:
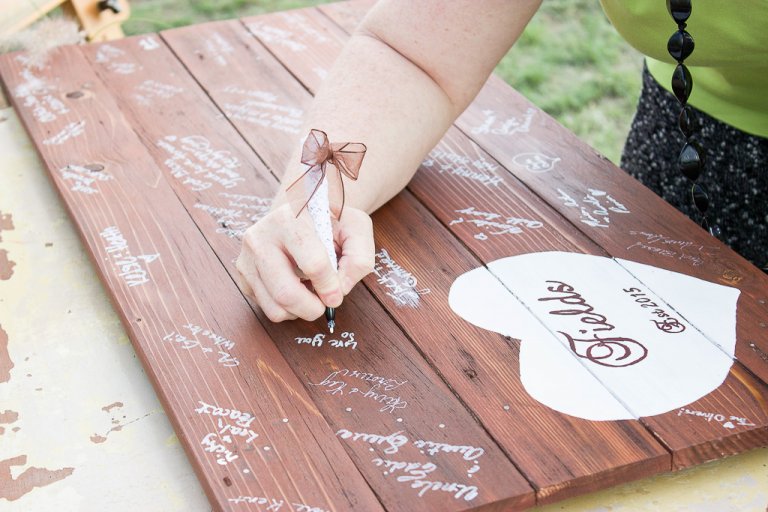
Position your printout evenly spaced on the wood piece. Tape down. Put your graphite paper under your printout and trace around the words with a pen, making sure you have the graphite paper facing the correct way for it to copy to the wood piece. (Shiny side up) Using graphite instead of carbon paper keeps you from getting smudges or marks on the paint. Now you can remove the printout and the graphite paper. You can reuse a piece of graphite several times around.
Paint the words:
In conclusion, use a smaller liner brush or angled brush, depending on the size of your font to fill in the words. It is a little easier to fill in because of the indention that the pen made through the graphite onto the wood. In addition, make sure you cover all the marks from the outline. In short, you can use plain acrylic paint for this. Also if you want to freehand a saying, you can use these awesome paint pens. Lastly, add a hanger to the back of the piece to hang up.
Details about how to make painted wood signs:
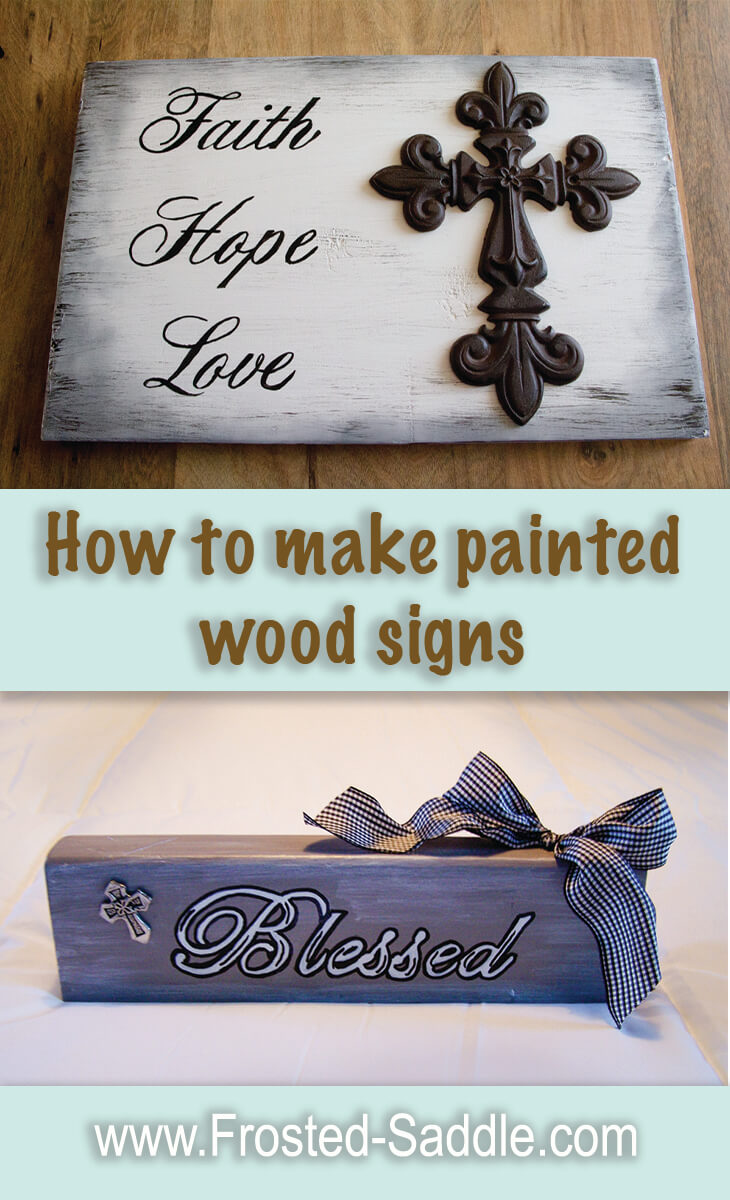
On my black and white signs, I used distress ink with a blending tool around the edges and finished with a dry brush of acrylic paint. The distress ink comes in different colors. It has a wooden handle with a pad on the end. You use a circular motion when applying.
To dry brush means to load your hard bristle paint brush with acrylic paint, then dab it on a paper towel, and apply to wood with a slight swooping motion in the direction of the wood. It is up to you to get the desired look you are going for. If you don’t like it, the good news is that you can always paint over that area and try again. You can dry brush over the black with some white if you need to tone it down. Can you tell that has happened to me before? Ha Ha Ha. I’ll explain what techniques I used in some of the painted wood signs below.
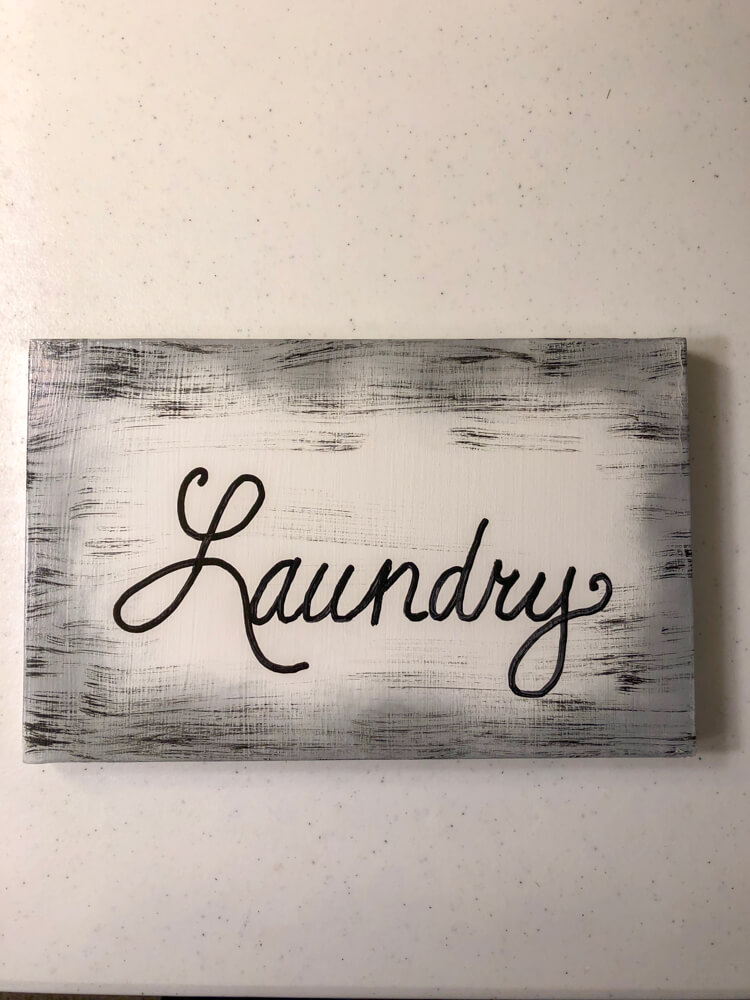
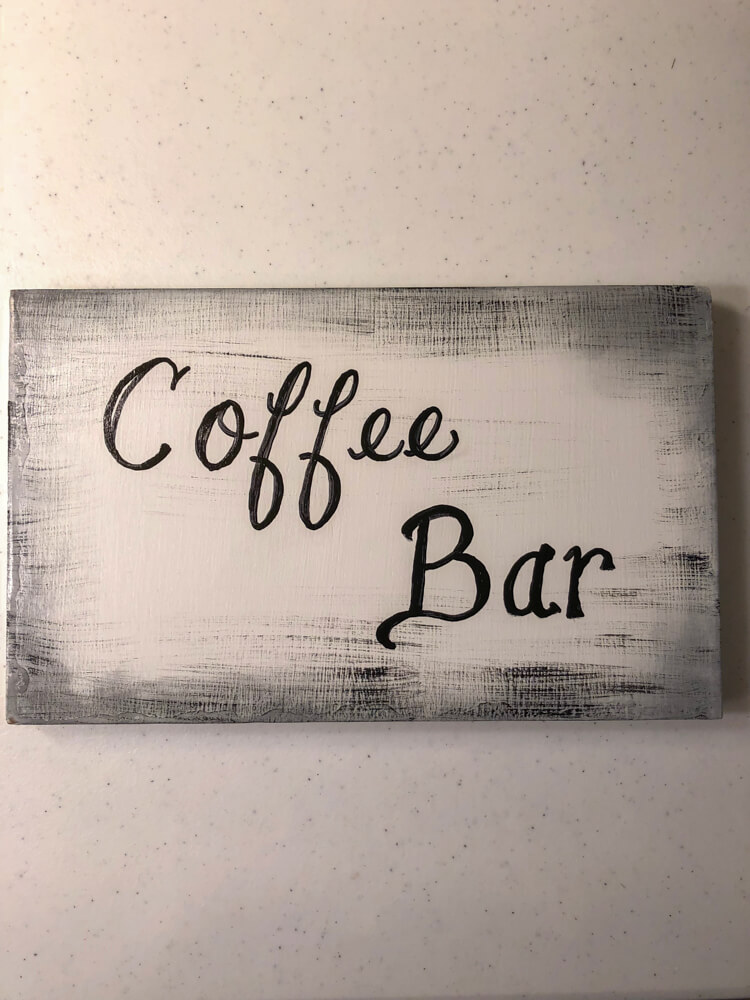
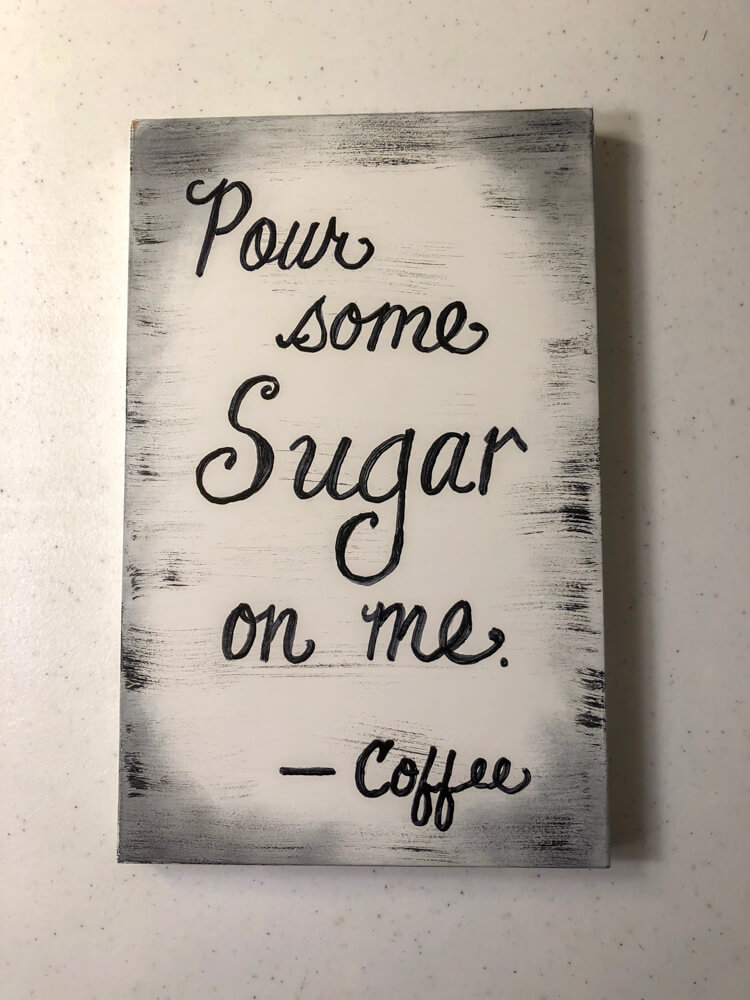
I used distress ink in black, dry brush technique with black acrylic, and used a black paint pen.
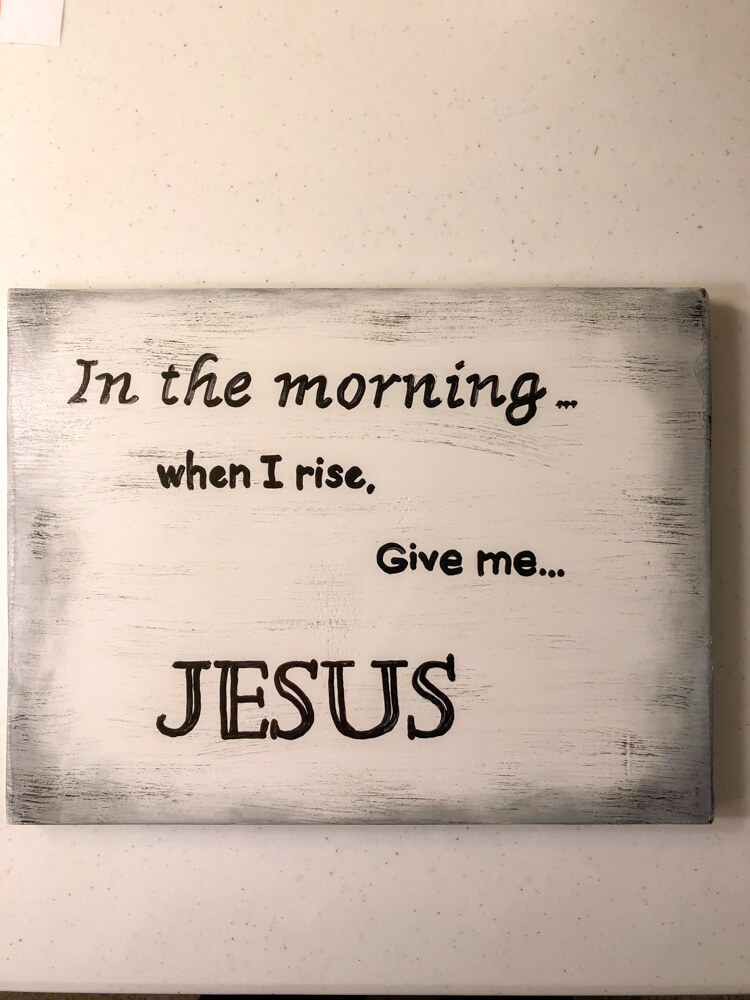
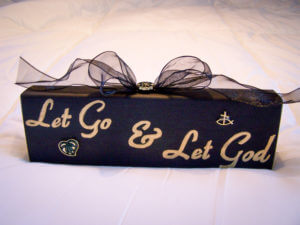
Used distress ink in black, dry brush technique with black acrylic, used a black paint pen, and wrote it free hand.
This process was done on the next 3 images!
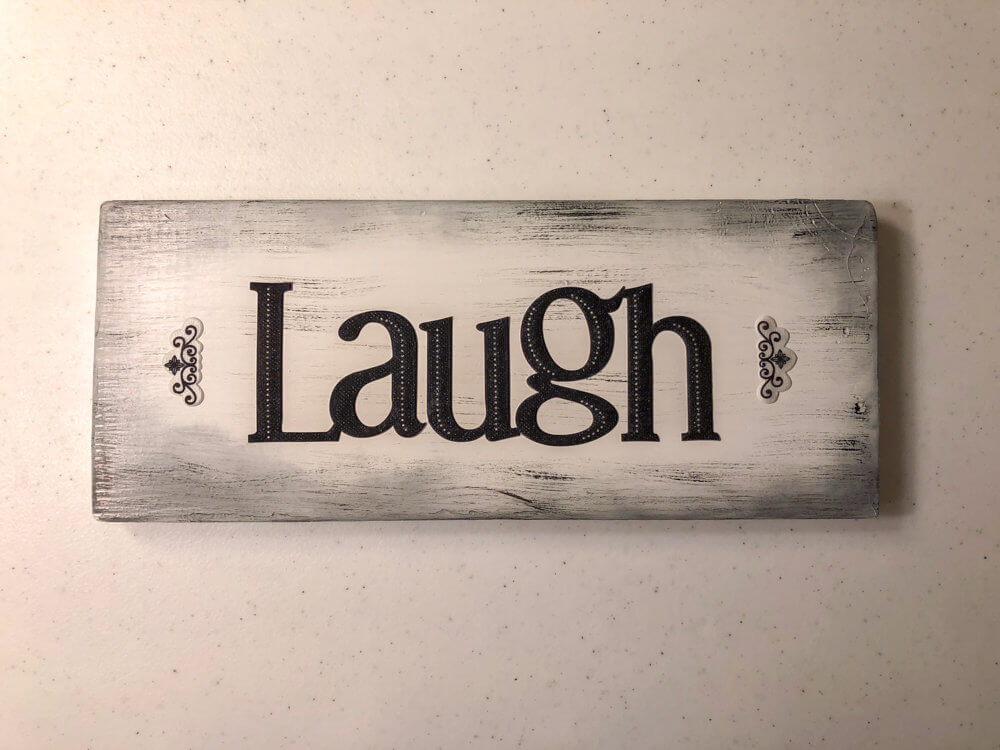
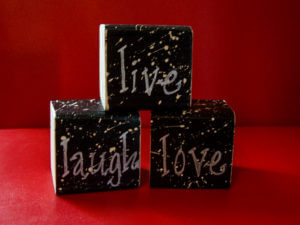
With the Laugh, I used the distress ink, dry brush technique, and placed this pre-purchased sticker on it to remind me to Laugh everyday!
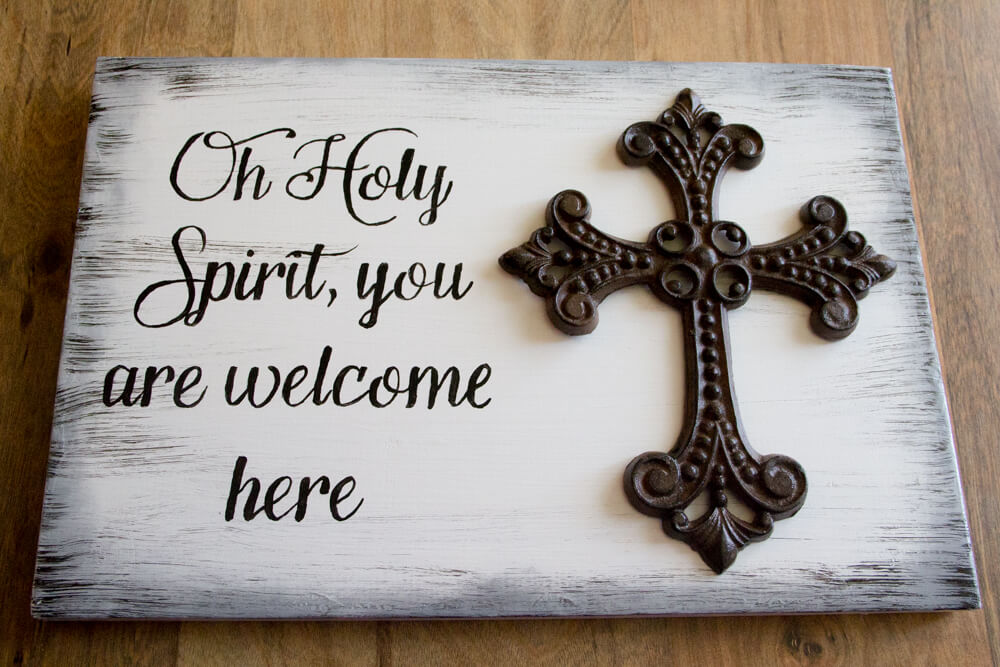
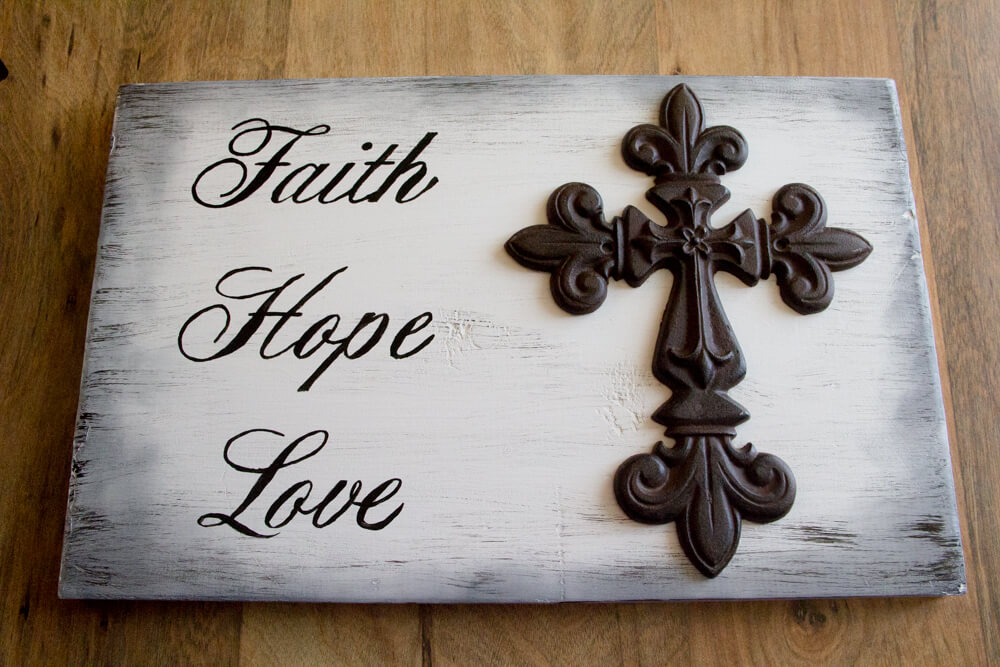
For the following three –
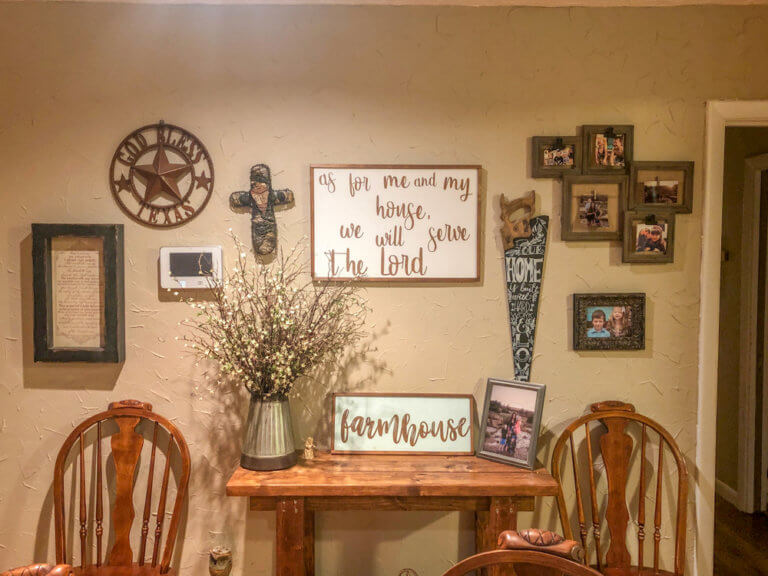
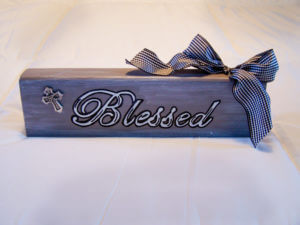
I used distress ink, dry brush, painted words with acrylic, then added a purchased iron cross on the side. Be sure and screw these on so they will stay. It makes it kind of heavy but I think they are so nice! It changes where you add your hanger on the back because of more weight on one side.

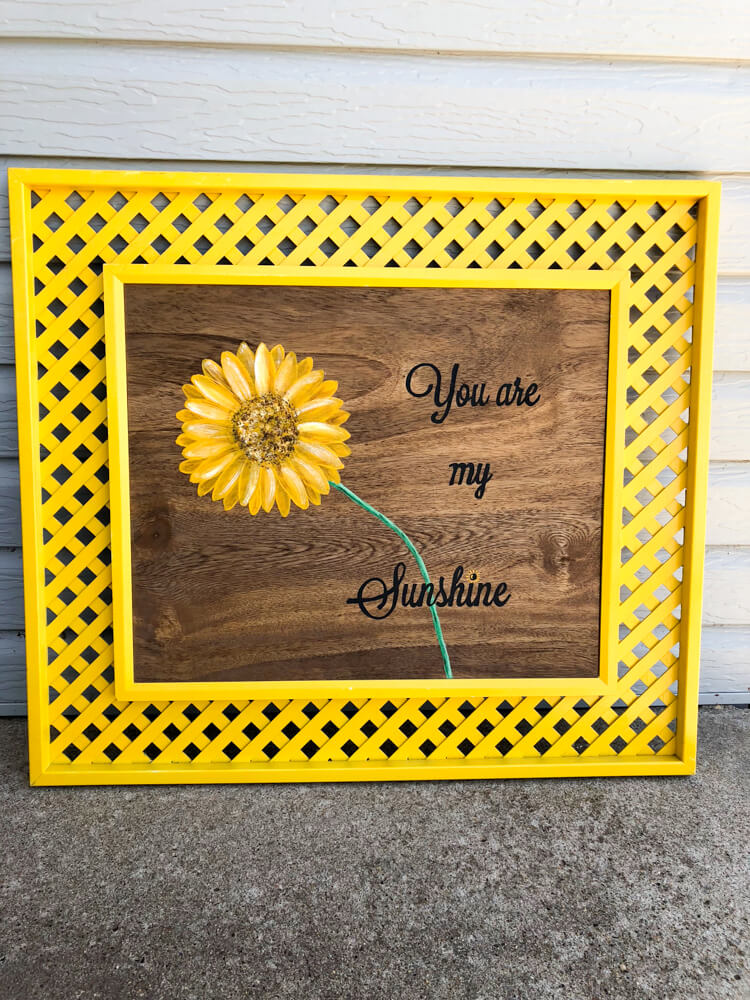
I had this frame and wanted to fill it with something and keep that bright yellow which reminded me of sunshine. So, I cut the piece of wood to fit the opening. Then, I proceeded to stain a piece of 1/4″ plywood and painted a sunflower on it and then painted the words with black acrylic.
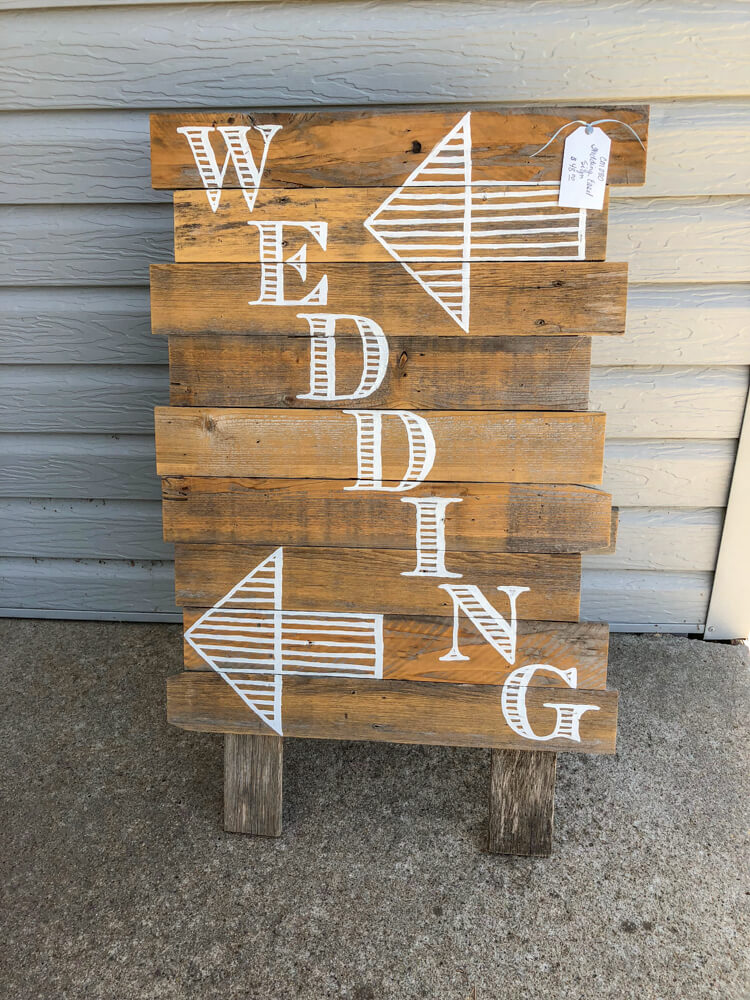
Blocks
You can always use scrap pieces of 2 x 4’s. Paint the base coat and then embellish with jewels, ribbon, crosses, charms, and trinkets. They are nice shelf sitters.

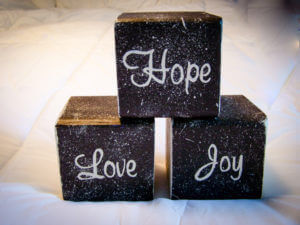
Lastly, these are square blocks of wood, painted with a base coat, painted the letters on and then splatter painted. For the splatter paint, I watered down some acrylic, used an old toothbrush and ran my fingers down the bristles to splatter on to the blocks. Alternatively, you can put your fingers in the paint and flick your fingers toward it. This way gives you larger splatters.
I hope you enjoyed this fun way to paint wood signs!
Never fear – If you do not want to attempt these or do not have the time, you can head over to our shop.
Sharing is caring…
Click here for instructions on how to build wood signs out of pickets
Click here for instructions on how to make a farmhouse wood sign with a quote.