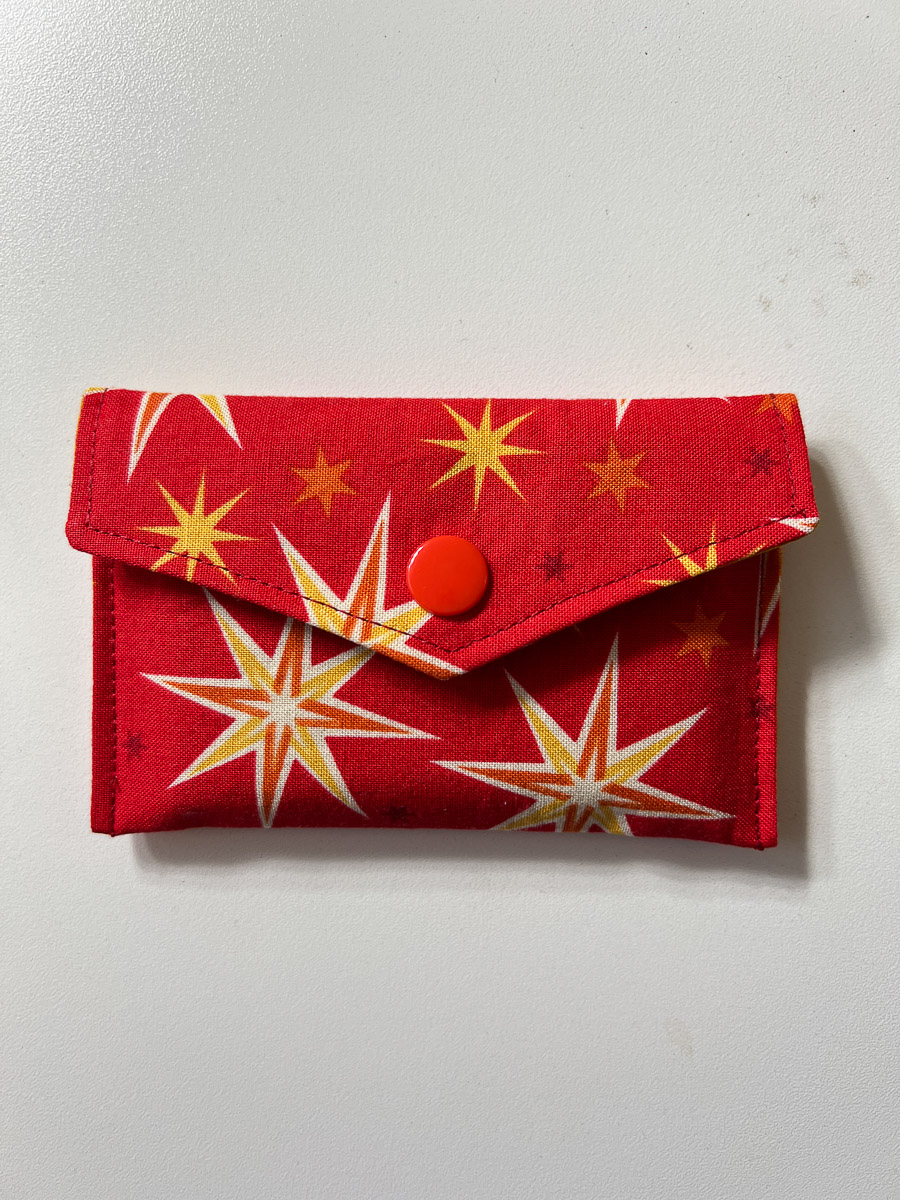
Credit Card Holder Tutorial
I switched purses and needed a smaller wallet, so I wanted to share my credit card holder tutorial.
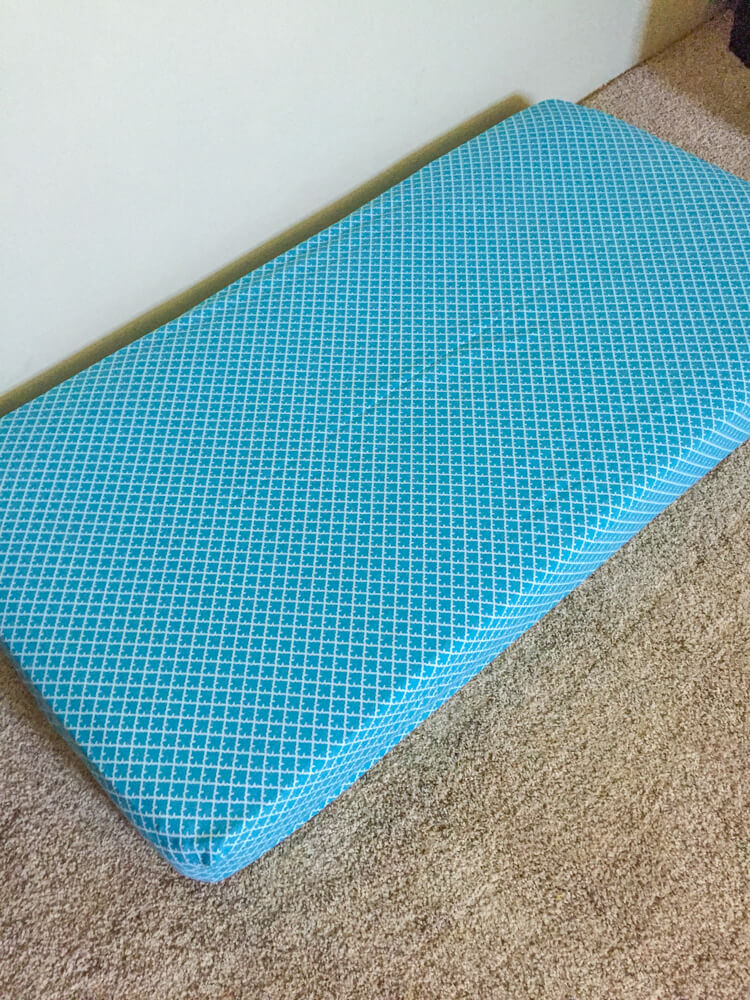
I made an additional one for my grandson to hold his DSI cartridges.
Join me in making your own. Really y’all, it only takes like 15 minutes. You can do it!!
Supplies
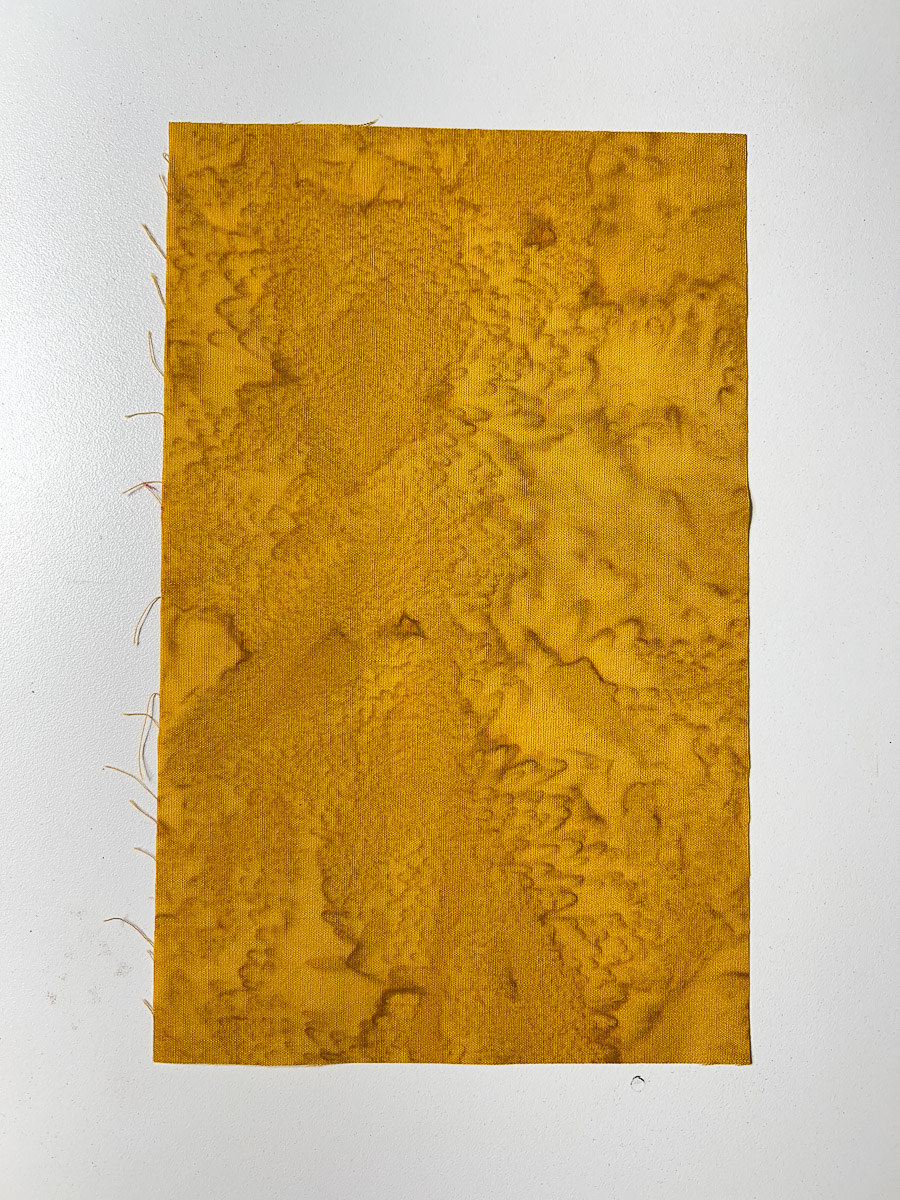
Fabric One
Fabric Two
Thread
~ Contains amazon affiliate links ~ I may earn a small commission if you purchase through link.
Cutting
Cut from Fabric One – 1 piece 5″ x 8″

Cut from Fabric Two – 1 piece 5″ x 8″
Interfacing – 1 piece 4 1/2″ x 7 1/2″
Construction of credit card holder tutorial:
Center and press on fusible interfacing to outside Fabric One.

Find the center at the top (2 1/2″ in the center) – Make a mark.
Measure 1″ down on each side – Make a mark.
Draw a line from center to each edge forming a point.
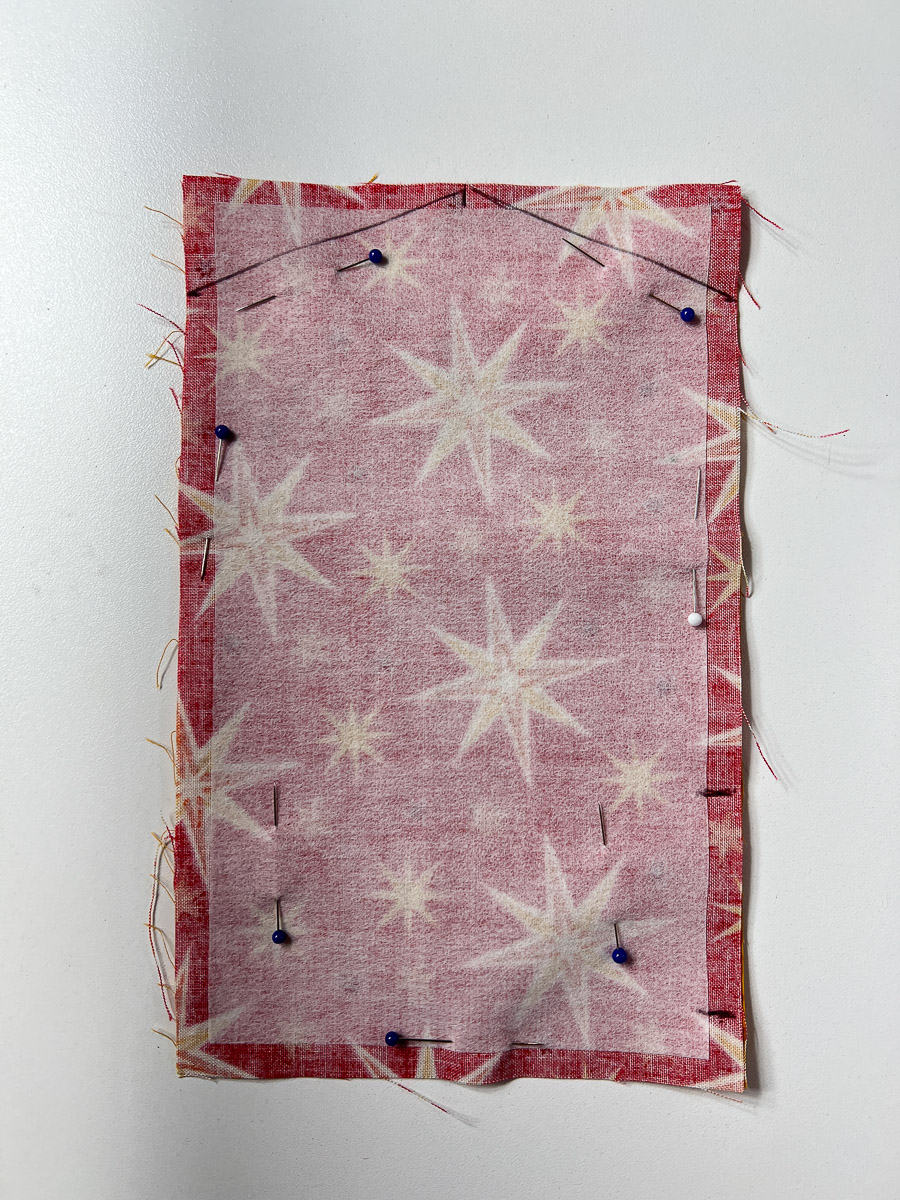
Put right sides together.
Pin and sew 1/4″ seams all the way around “Leaving an Opening” to turn. You will sew 1/4″ from the lines you marked on the point. Trim the corners. You can trim the seams like I did also.
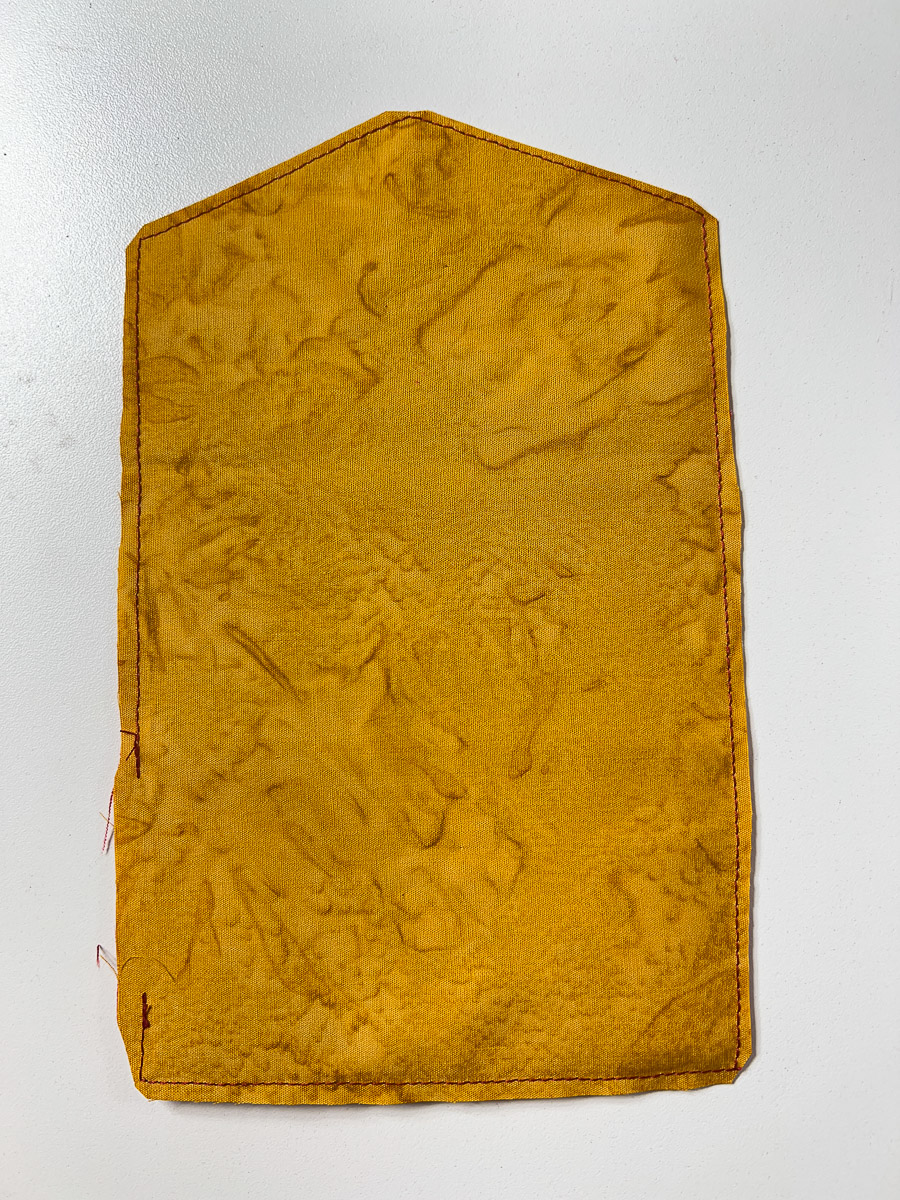
Turn right side out and poke the corners out. Press.
Fold bottom up 2 3/4″. Press.
Topstitch 1/8″ seams from bottom fold around to other bottom fold. Backstitch as you go over the folded up edges to add stability.
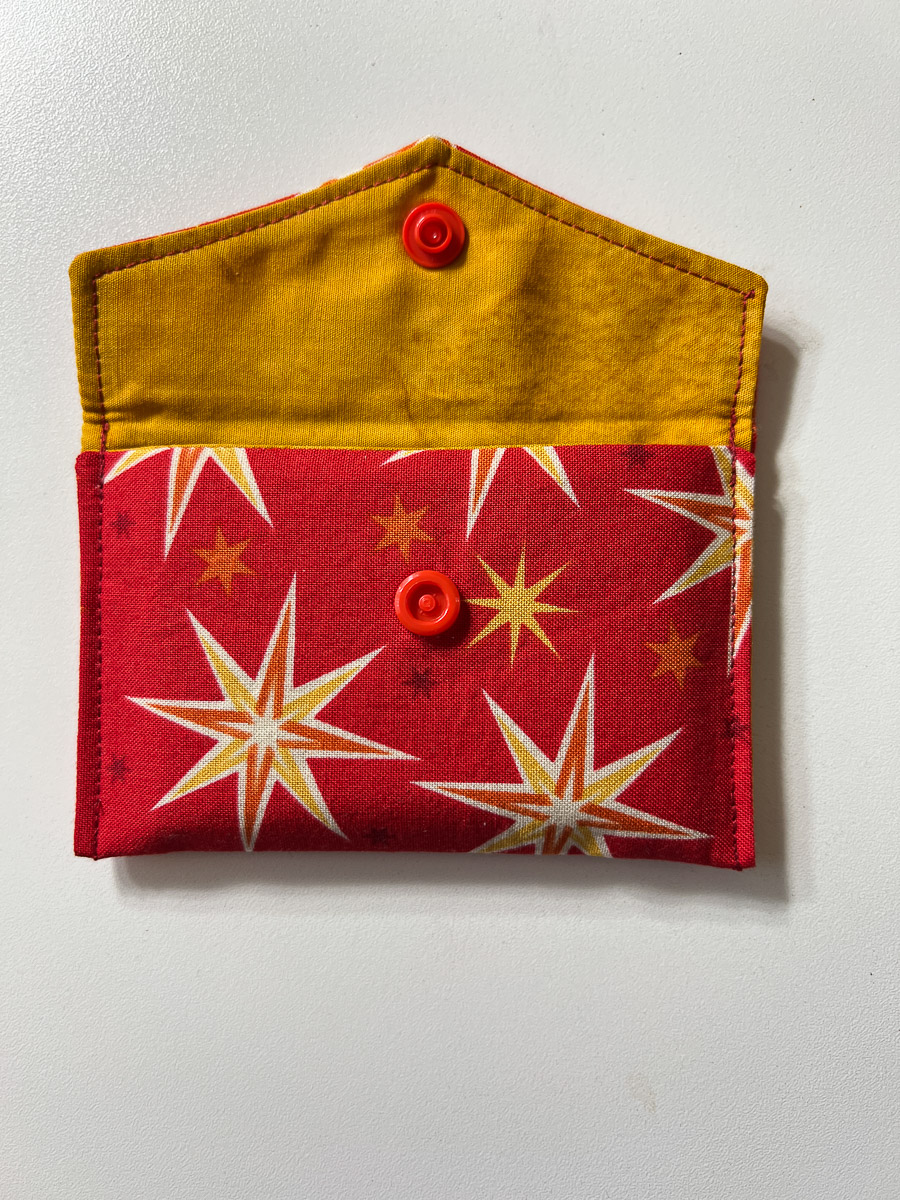
Add Kam Snaps to the top and the inside of the folded up edge.
Voila – You are done! Good job. Thanks for reading.
Sharing is caring: