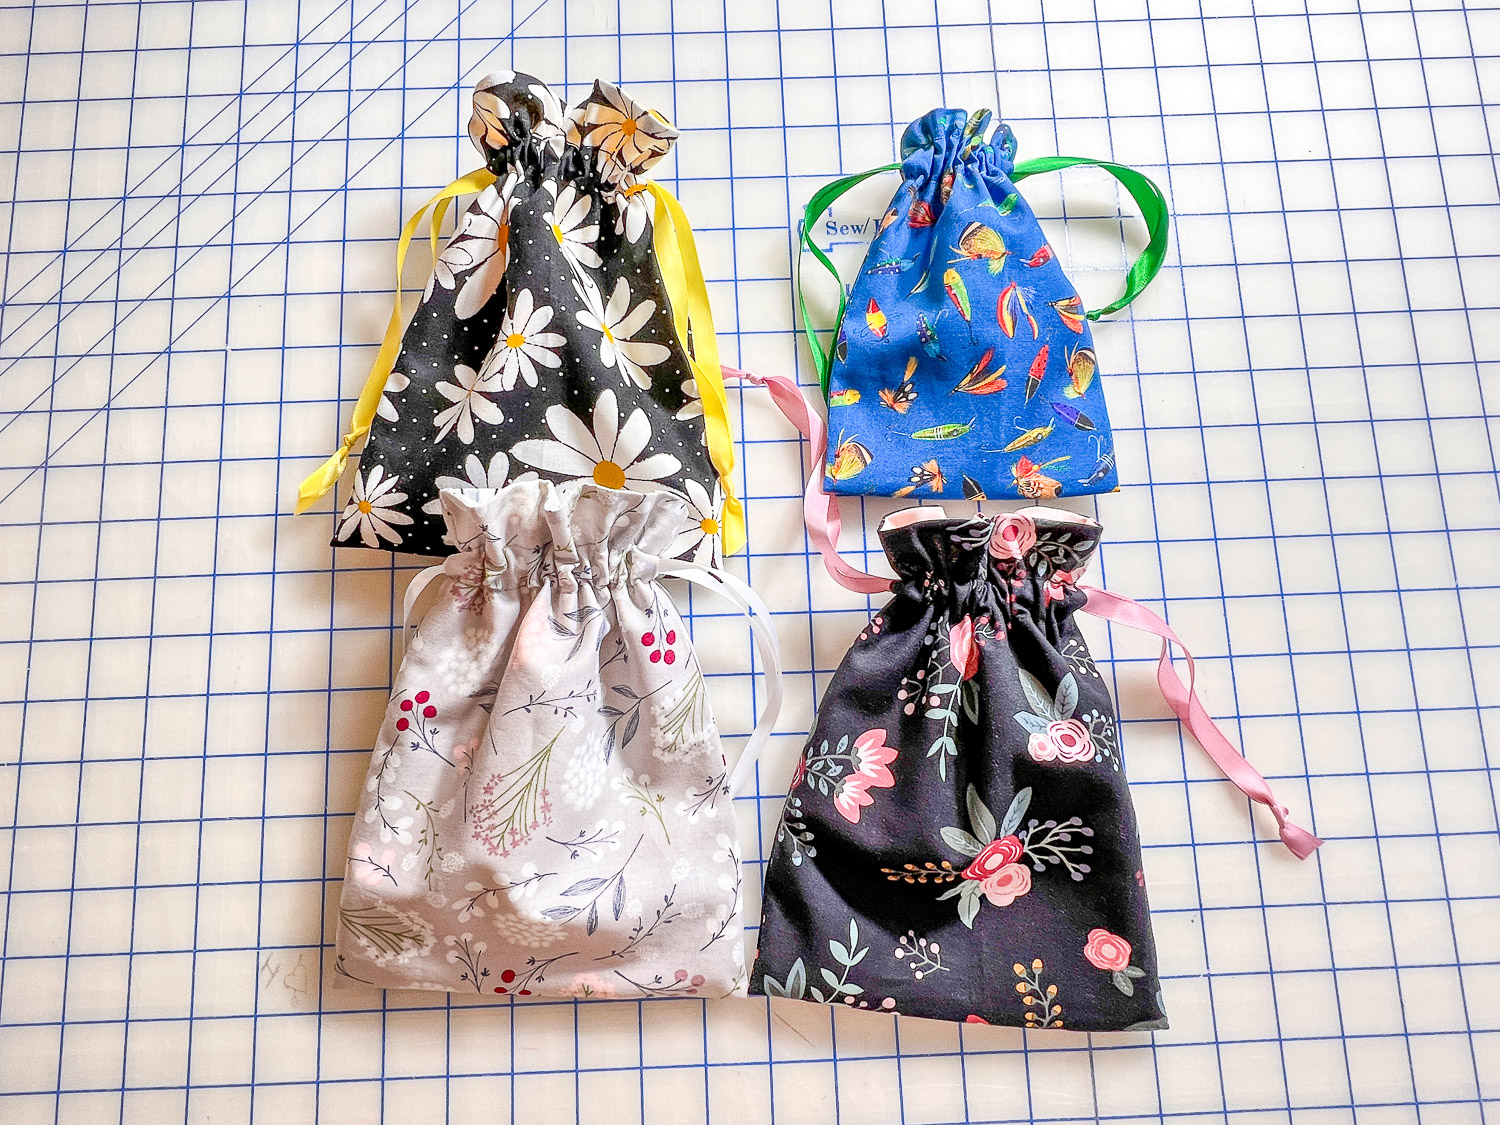
Drawstring Bag DIY
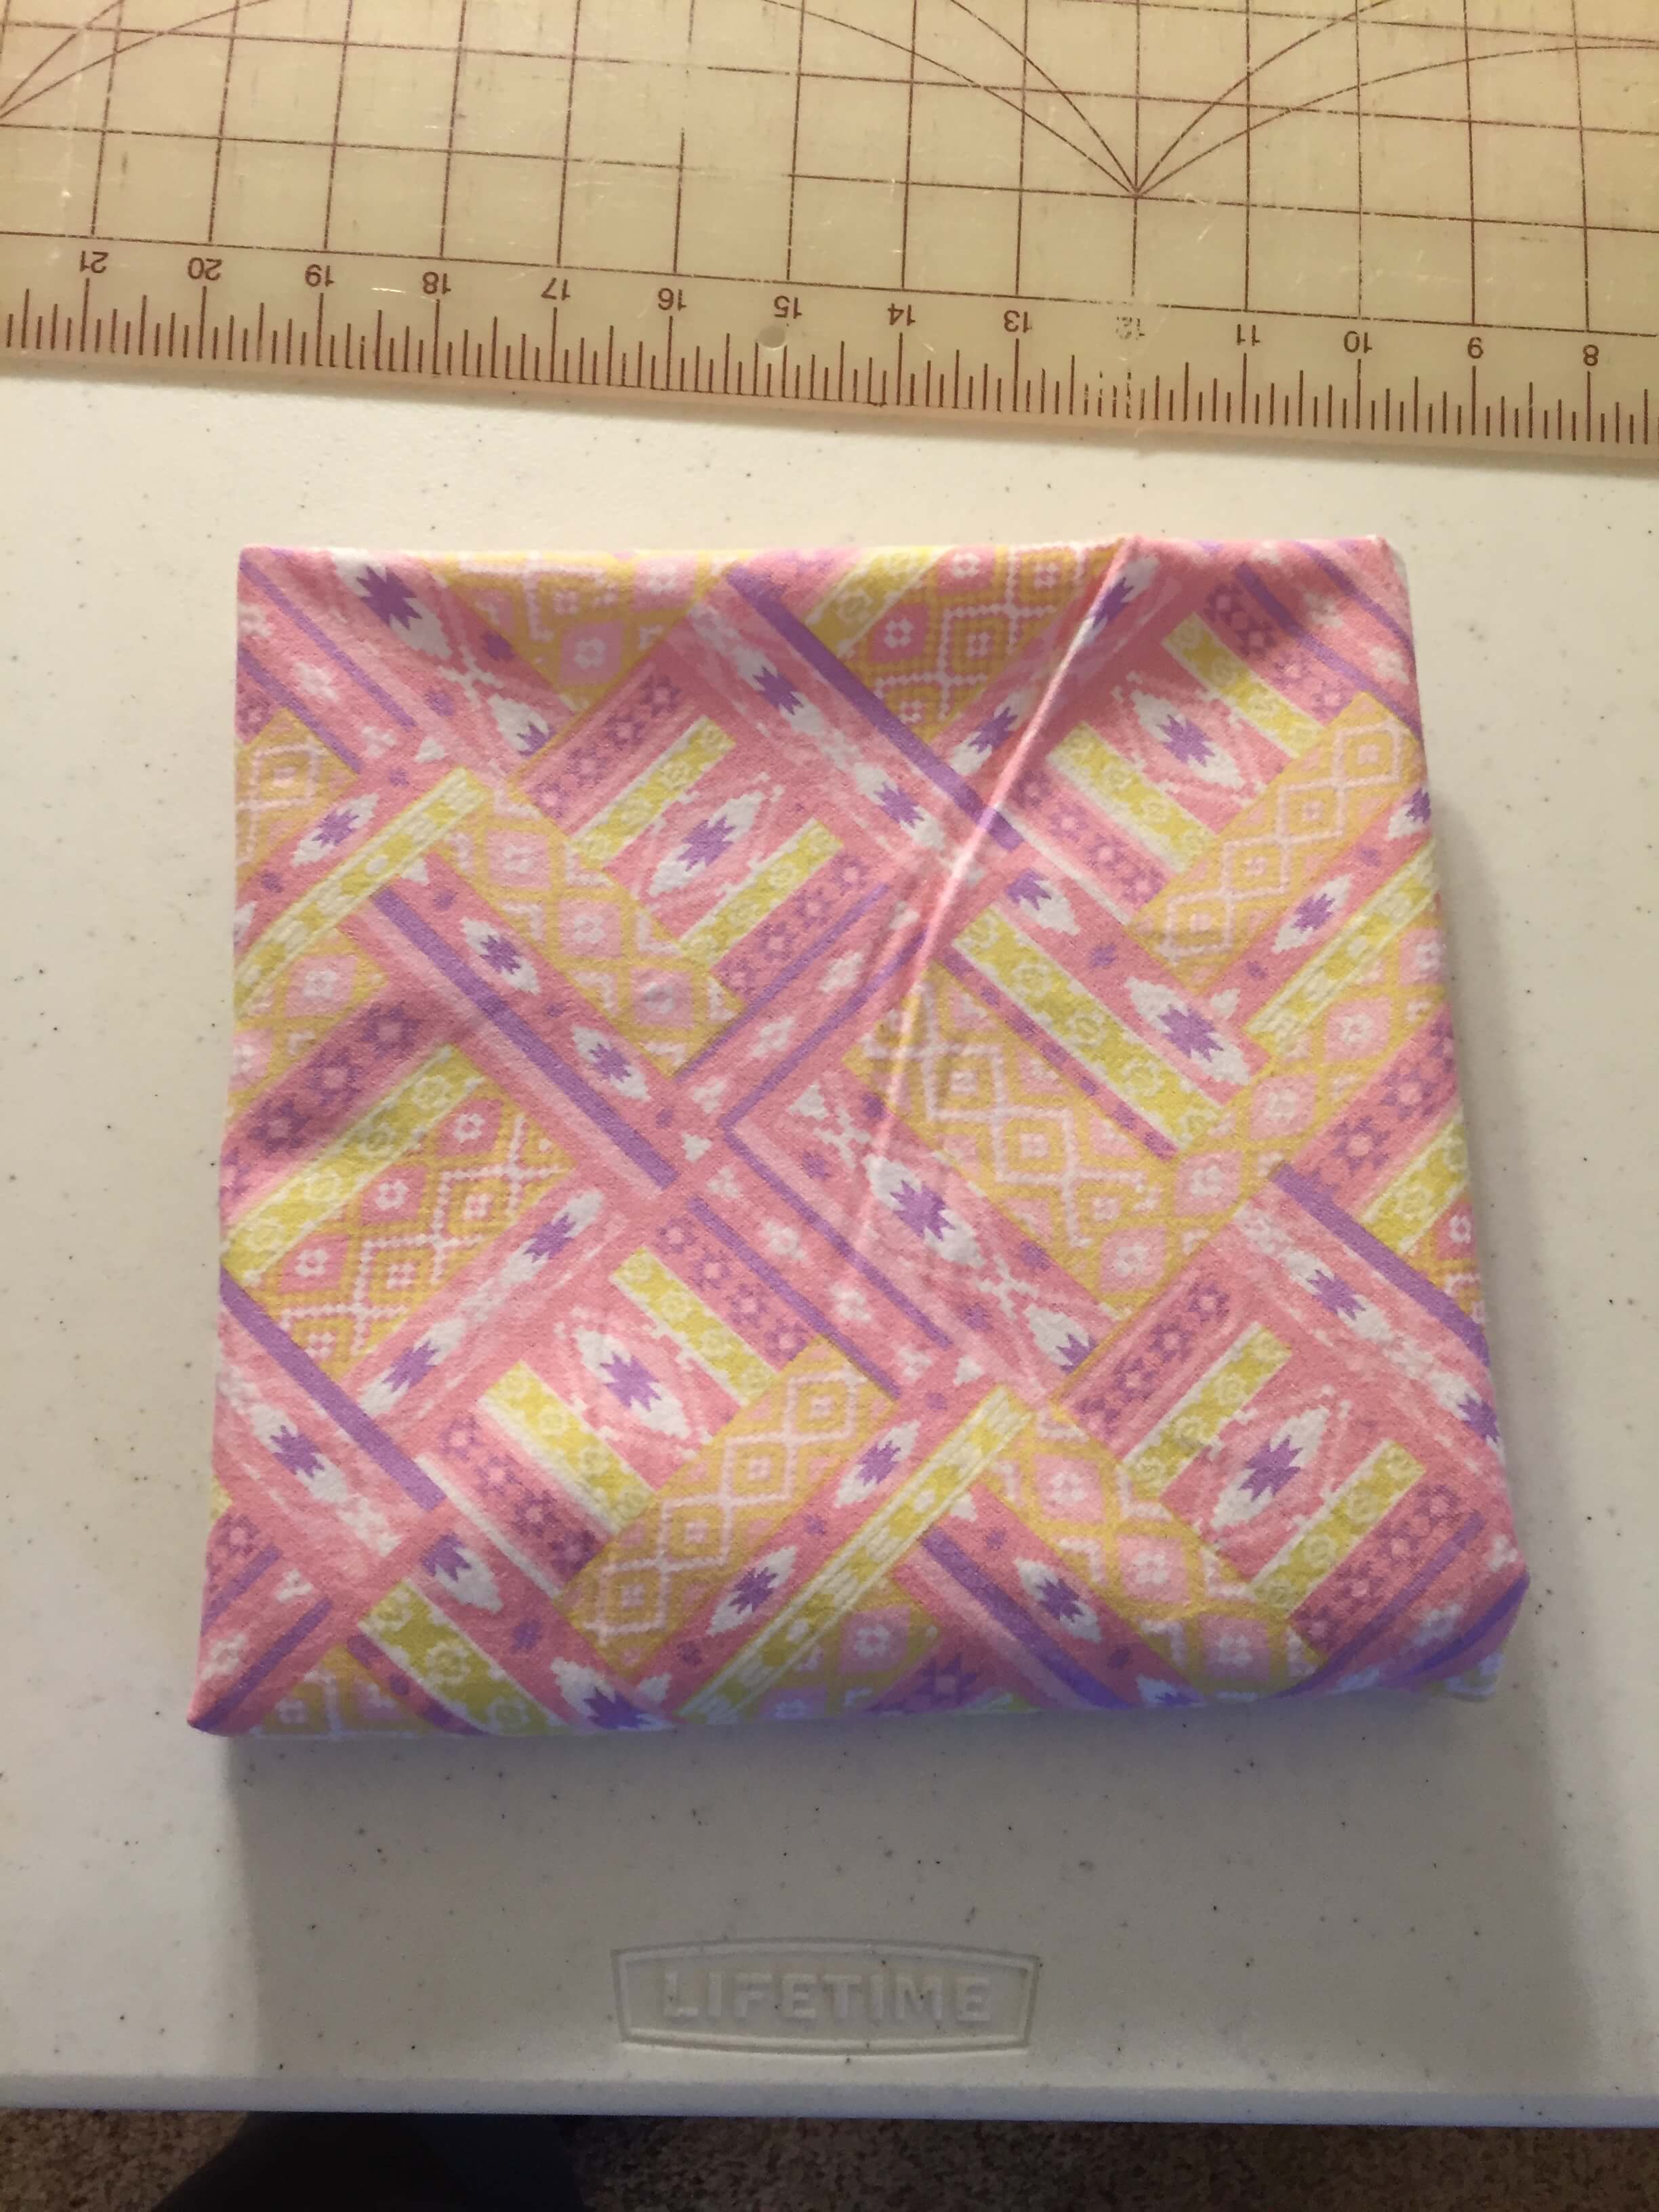
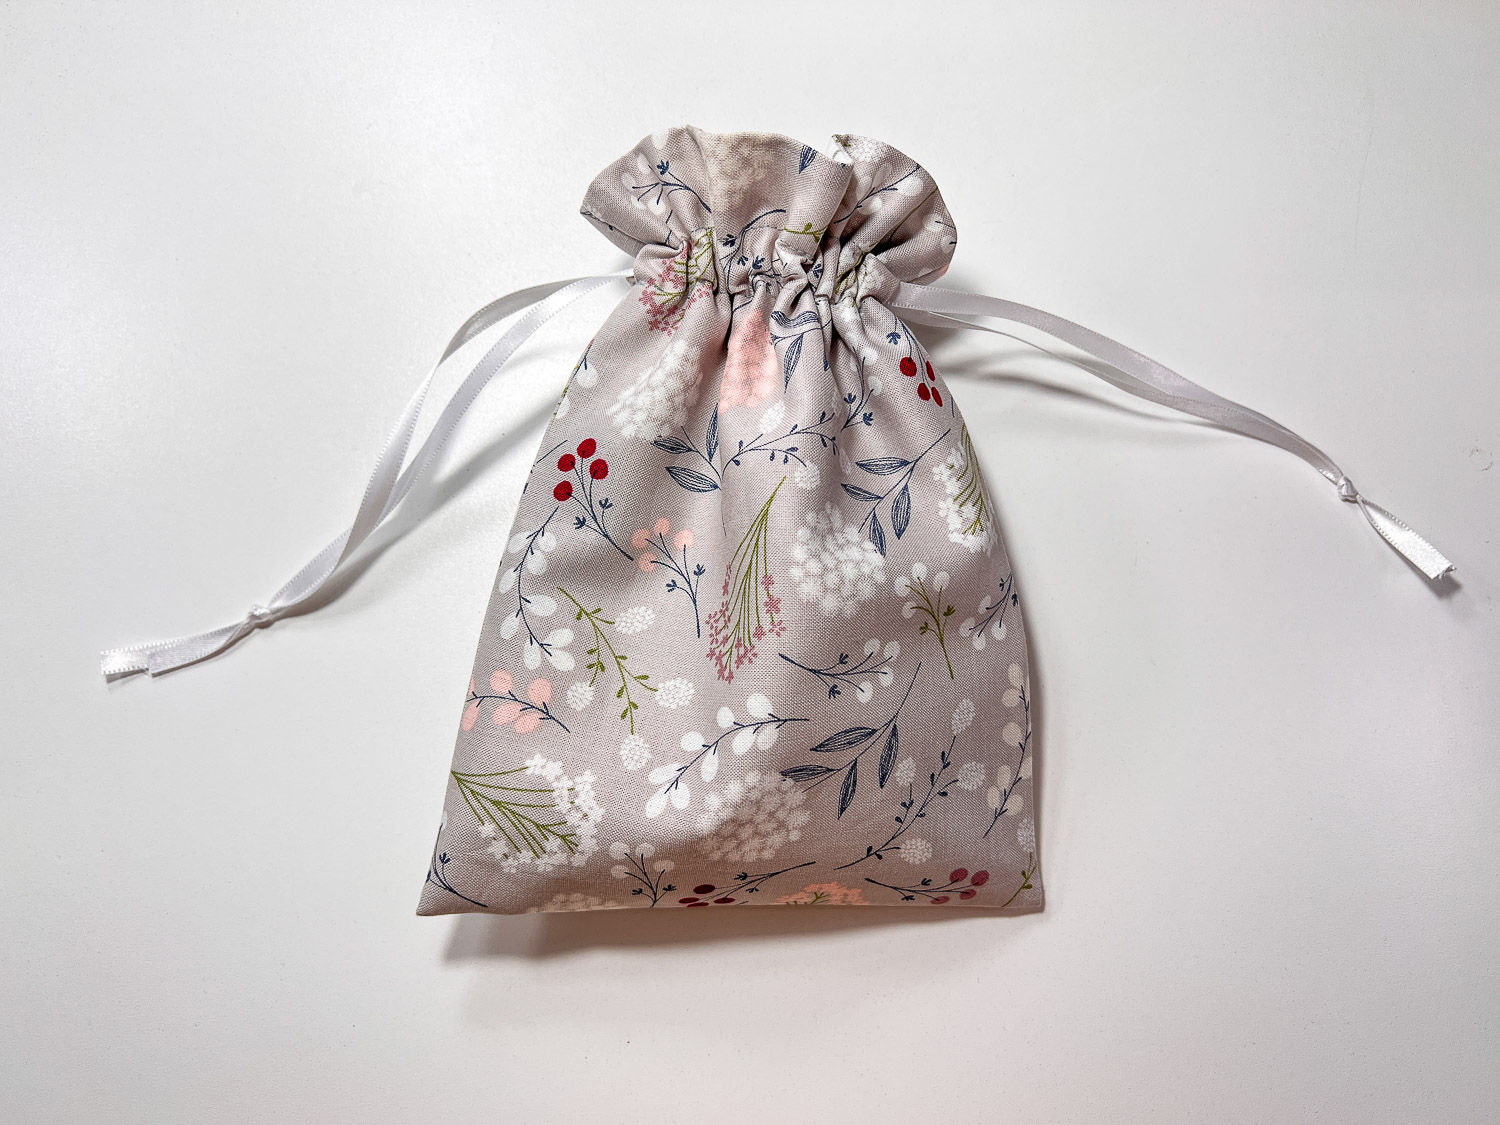
This is my favorite size of drawstring bags to DIY. I hope you make a ton of them! They are lined with a different fabric. Finished size is 6 1/2″ x 8 1/2″.
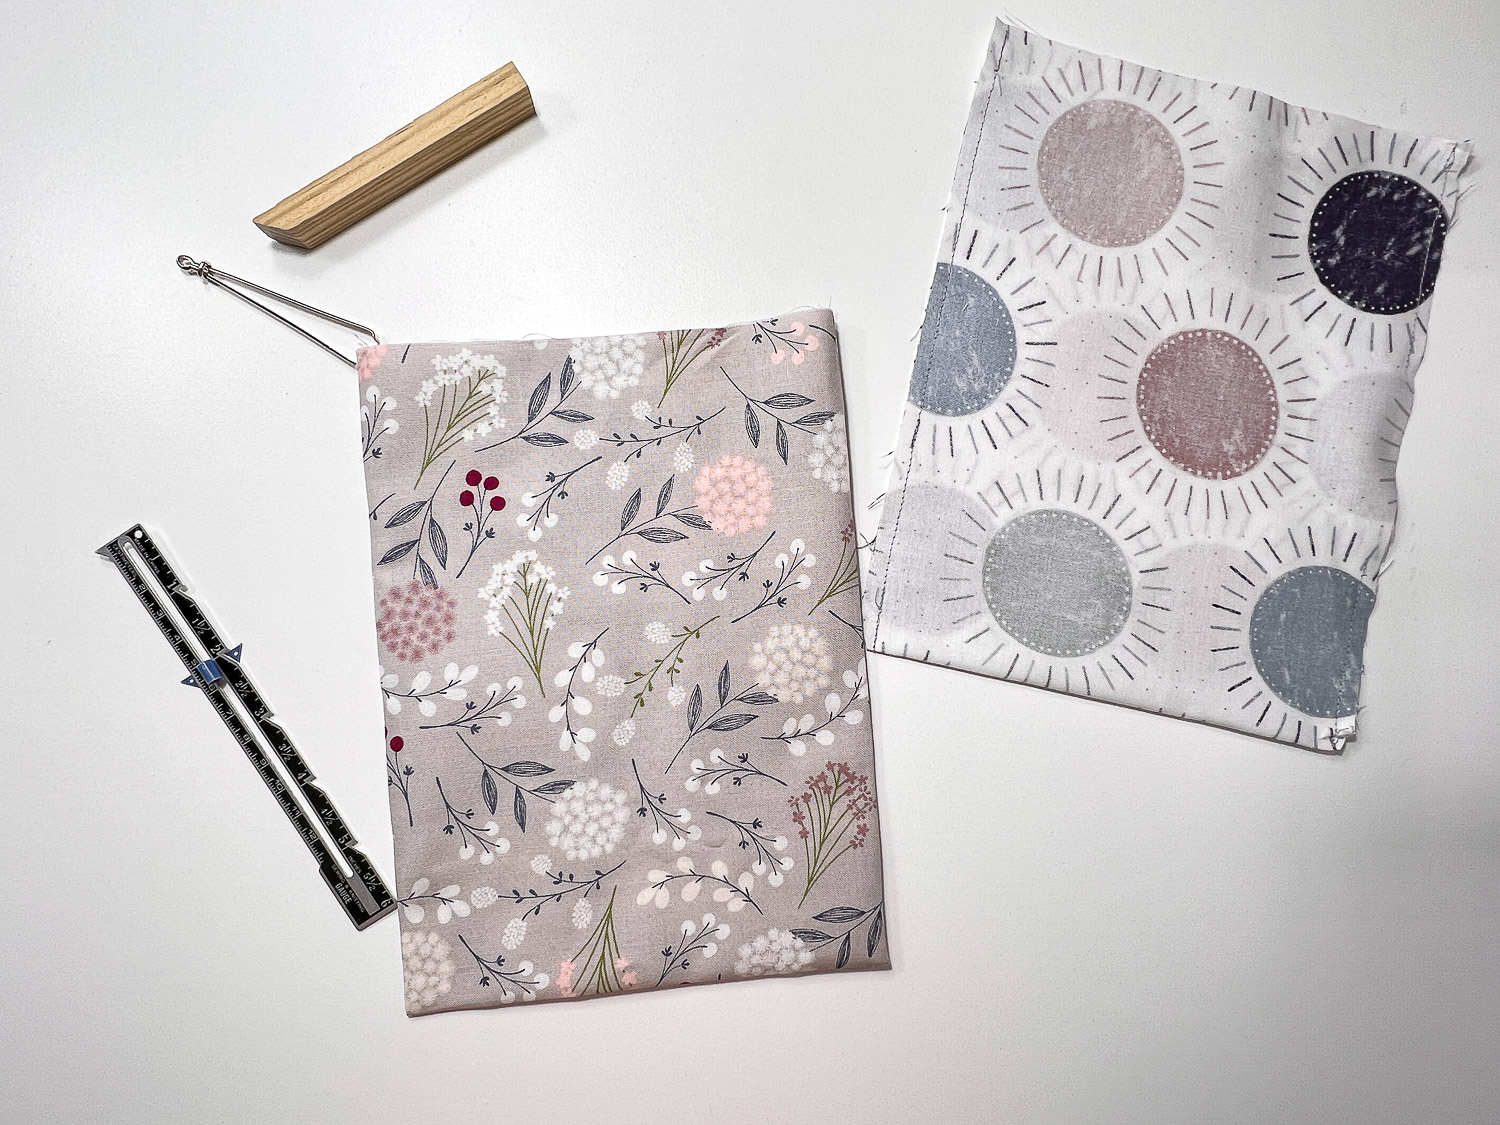
Supplies:
There are affiliate links in the description. If you click on one and purchase, I may earn a small commission without costing you a penny. You are appreciated!
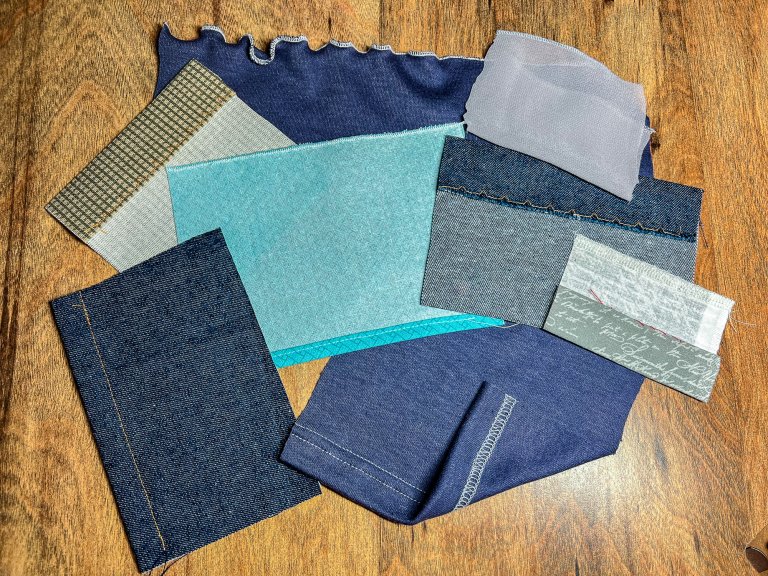
Fabric for one bag – 1/4 yard
Lining fabric for one bag – 1/4 yard
Ribbon or Twill Tape or Jute Rope – (2) 21″ long
Cut:
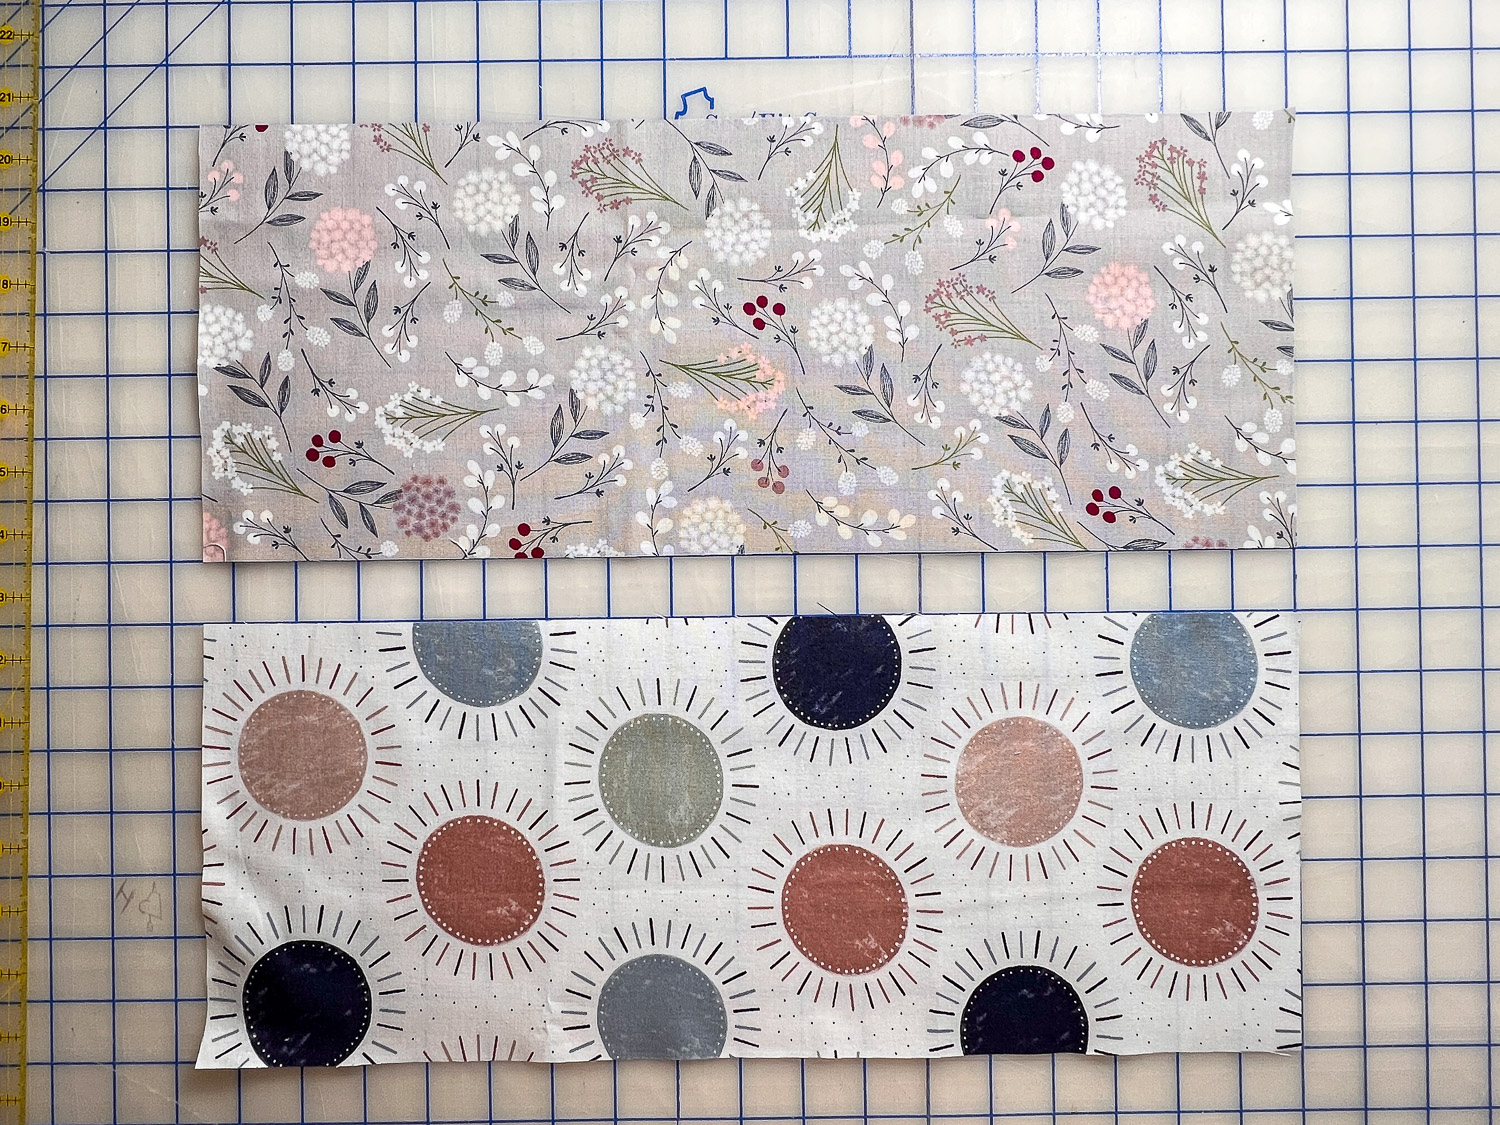
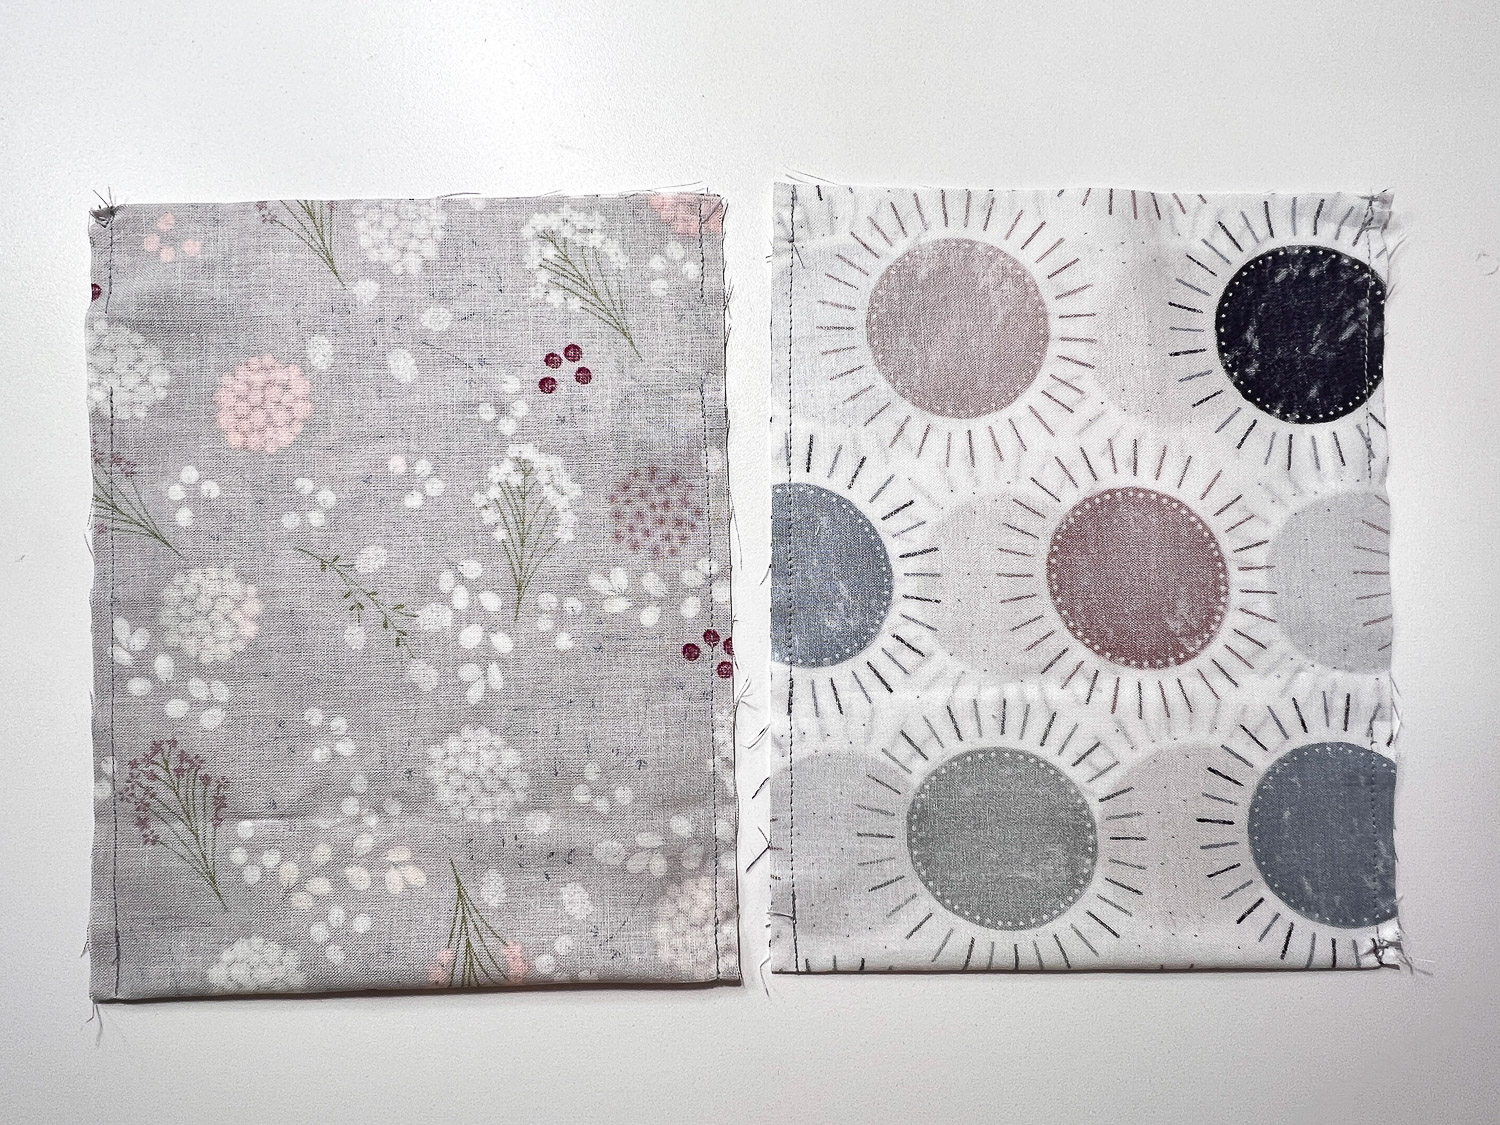
One piece of outer fabric 7″ x 17 1/2″
Lining fabric 7″ x 17 1/2″
Ribbon – cut (2) at 21″ long
Sew:
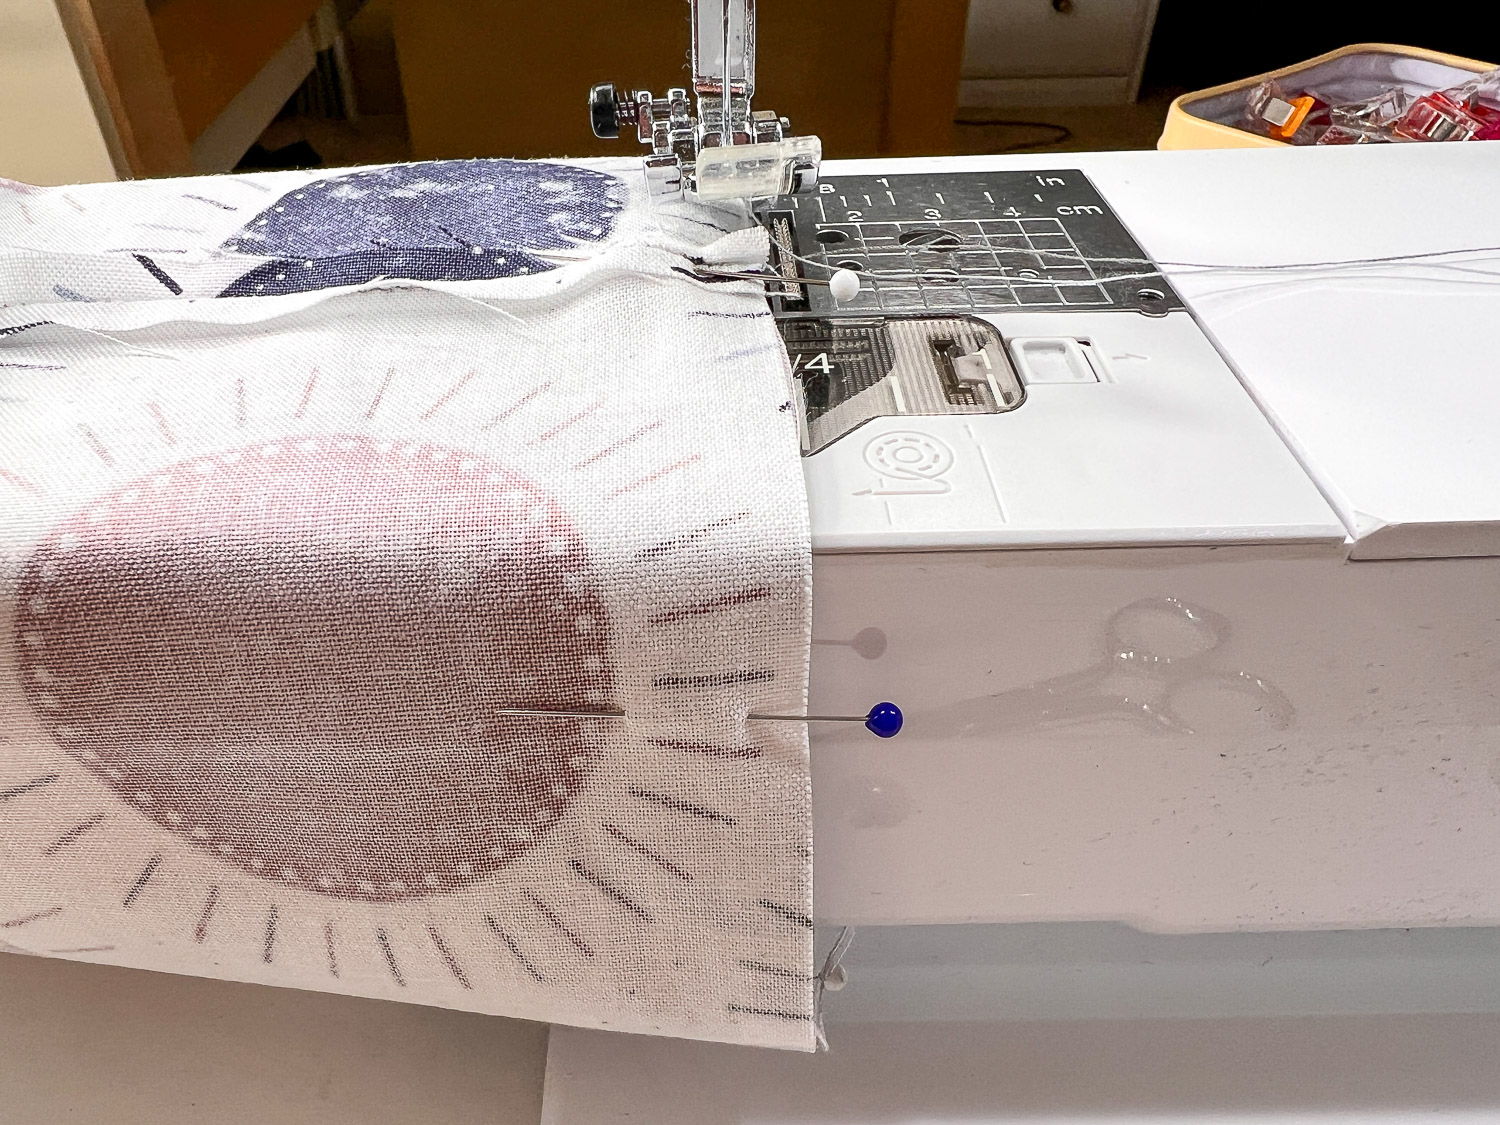
Lining fabric – Fold in half, Pin, Sew 1/4″ seams leaving an opening on one side. Notice where the pins are placed. The pins pointing to the center are where you leave open.
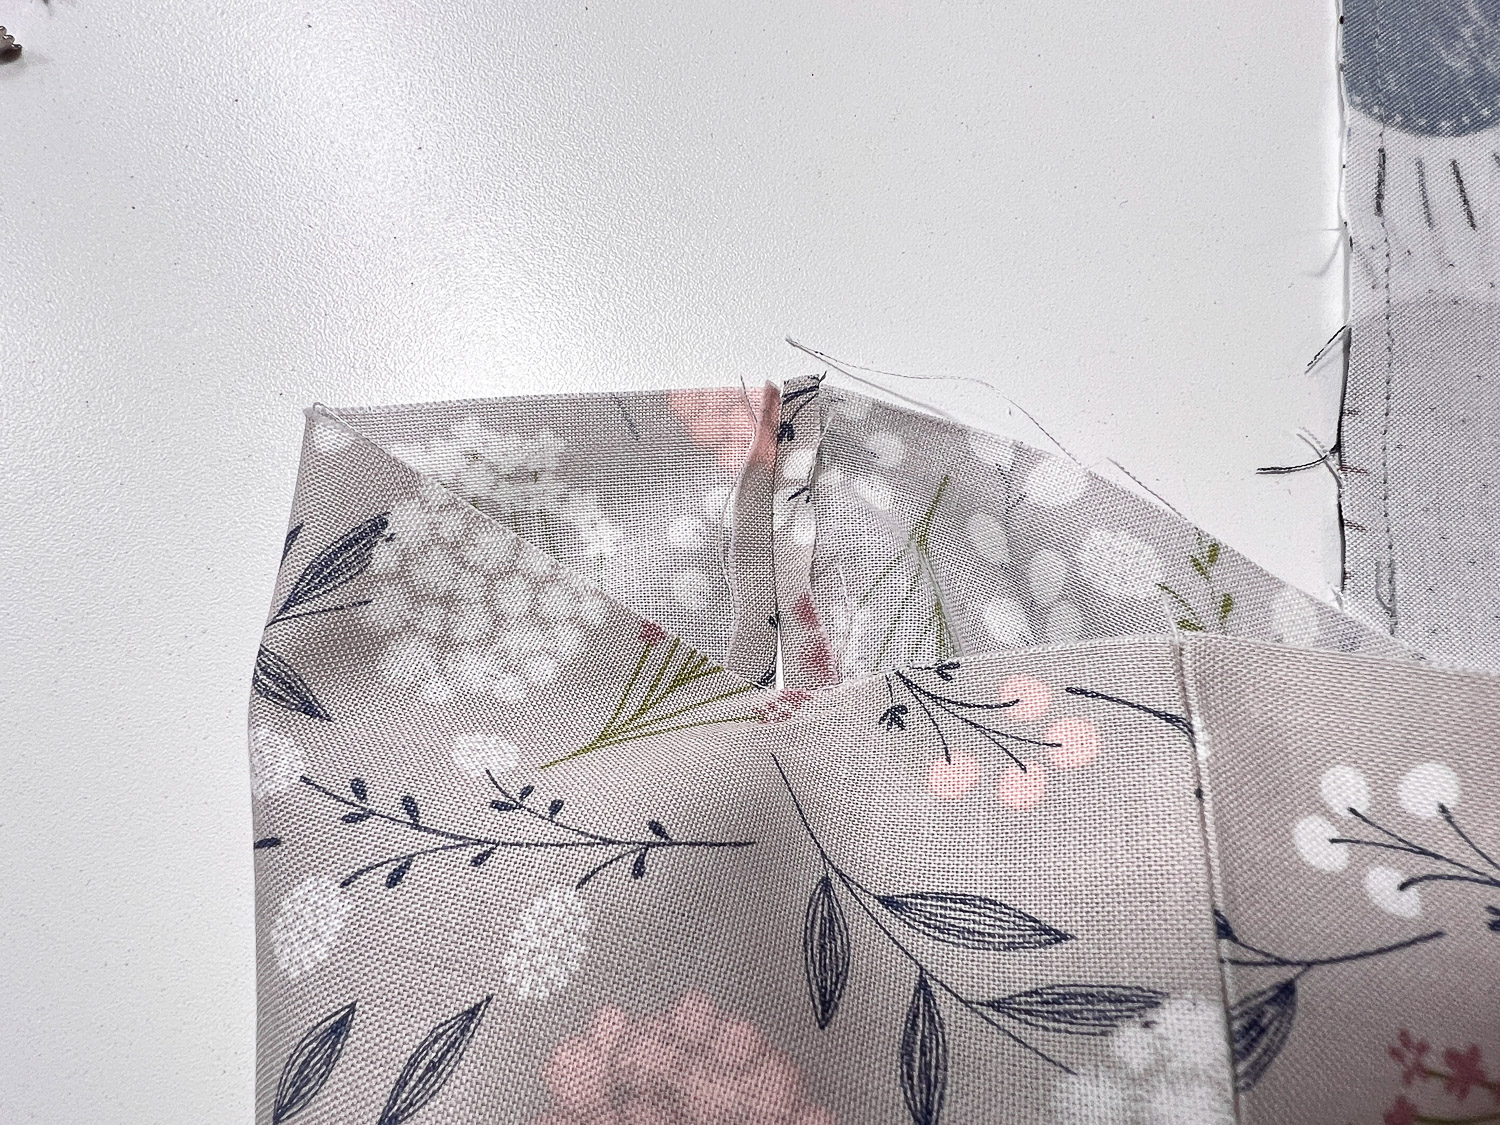
Outer fabric – Fold in half, Pin, and sew 1/4″ seams leaving an opening on each side. Notice the pins again.
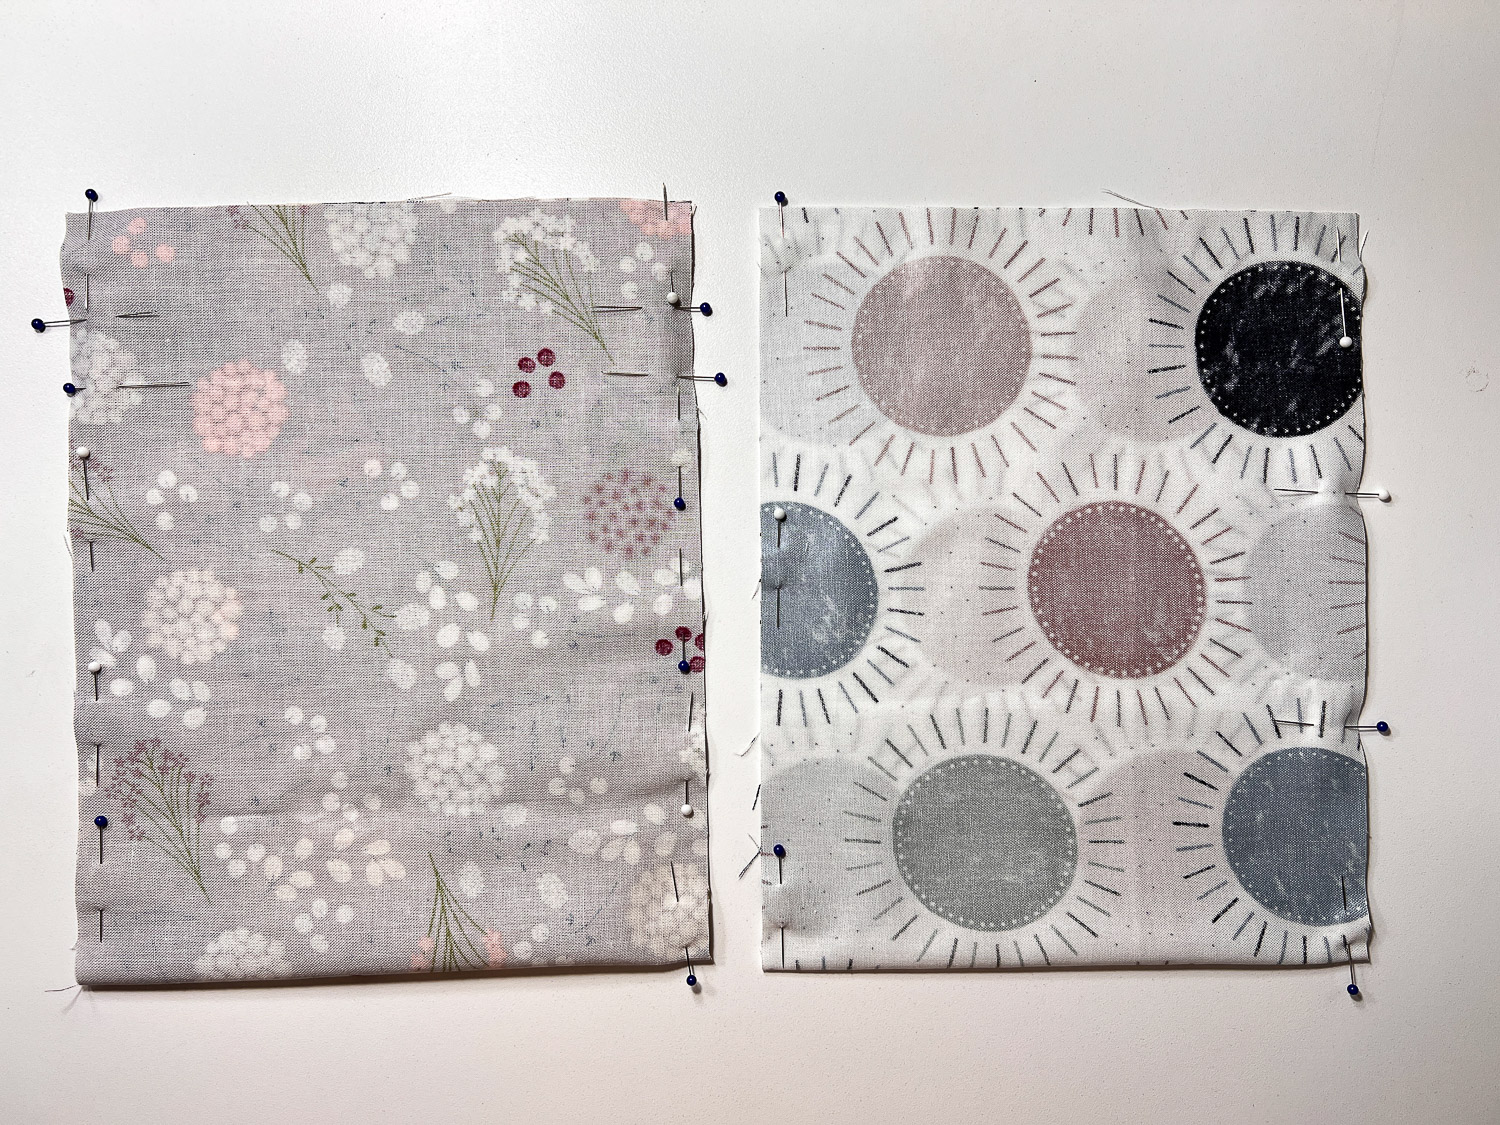
Start from the top and sew down 1 1/4″. Stop. Leave opening of 3/4″, then sew the rest of the way down.
Repeat on each side.
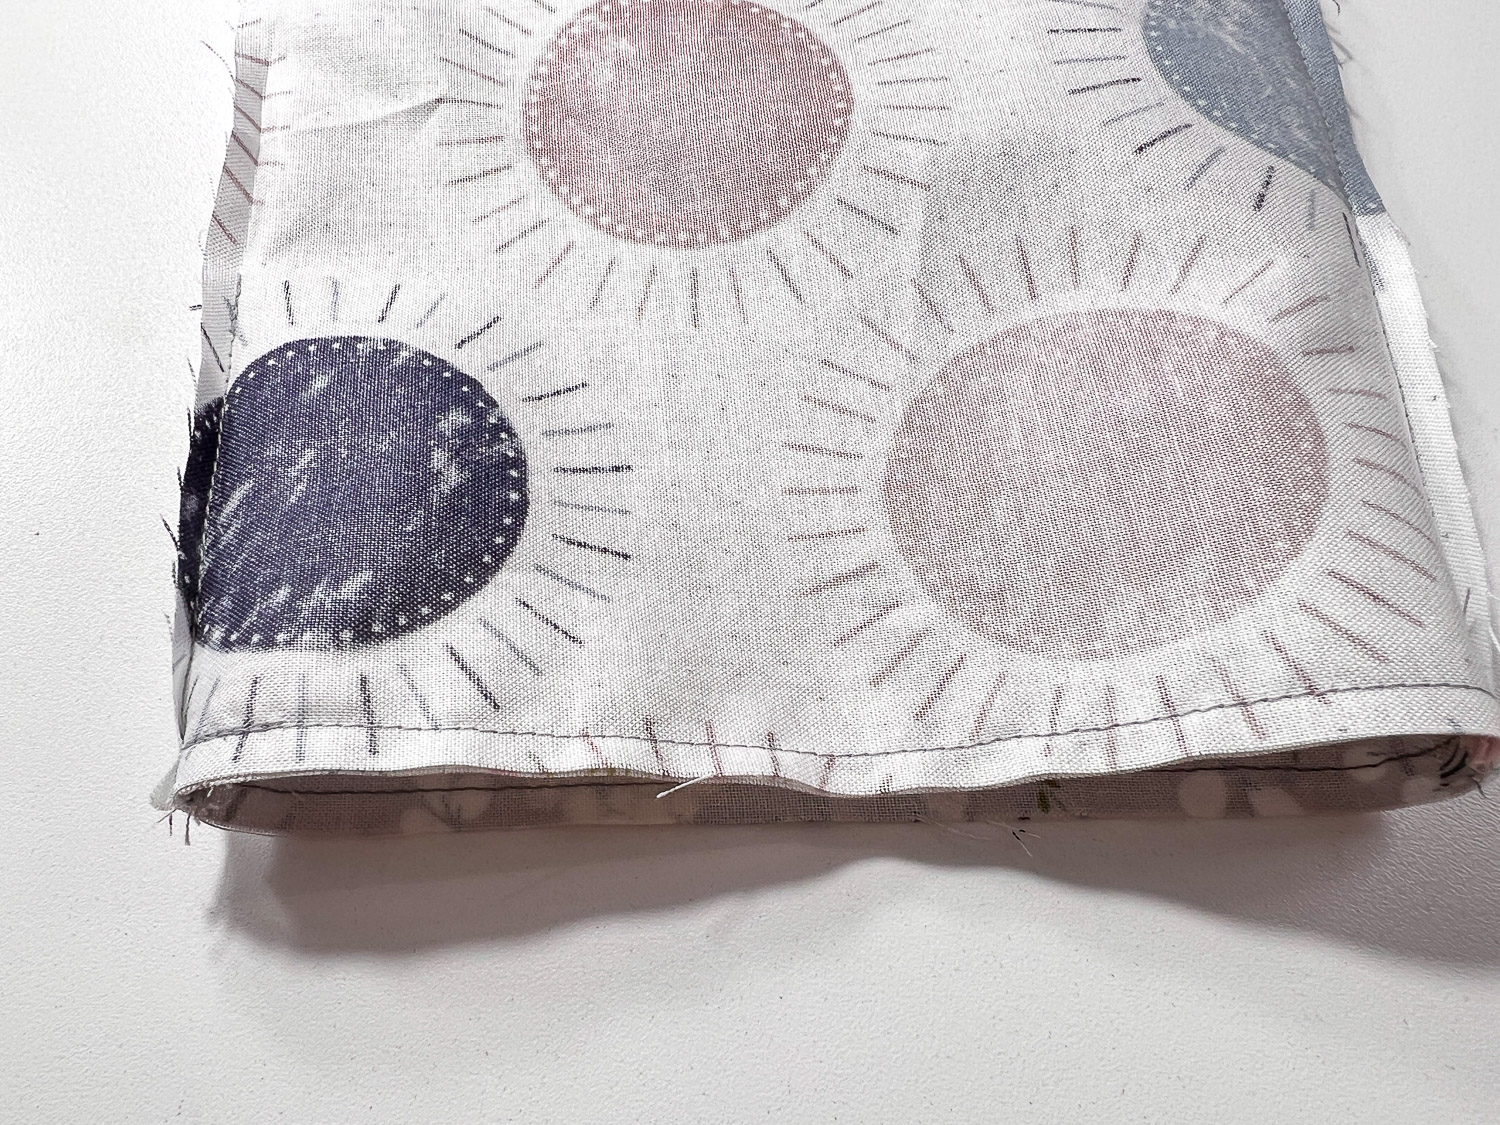
Clip the bottom corners.
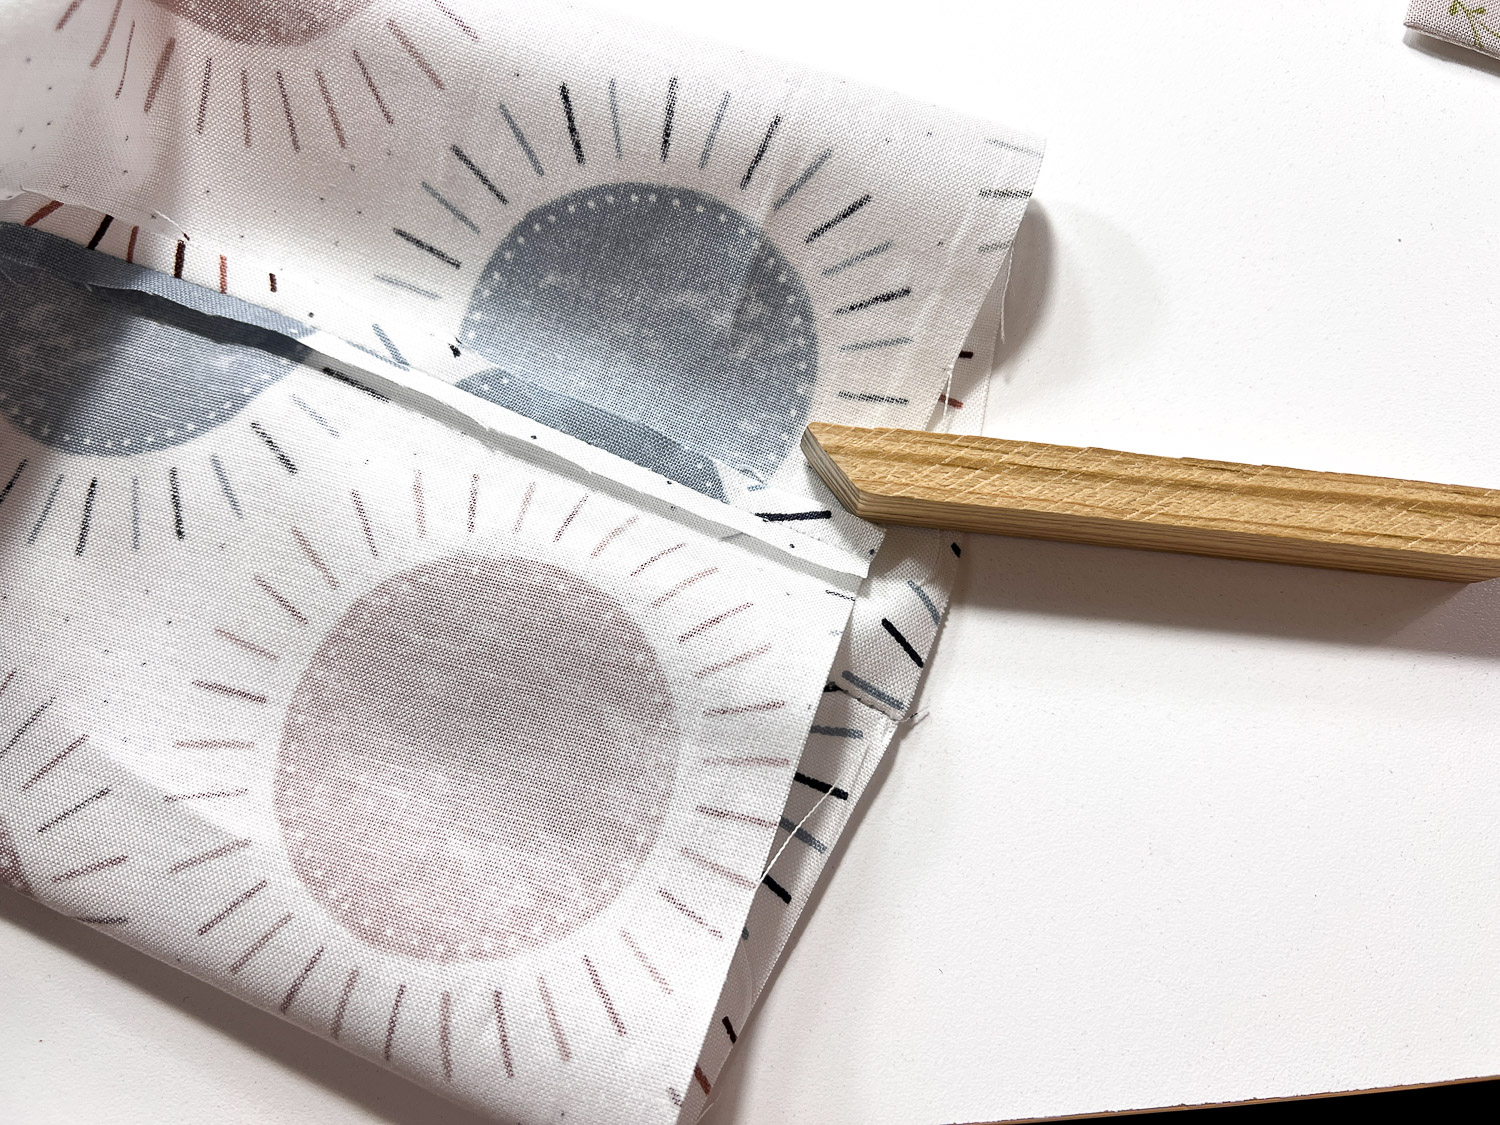
Turn outer fabric right side out. Push the points out with a point turner.
Press the seams open with your finger. I use a little wooden iron.
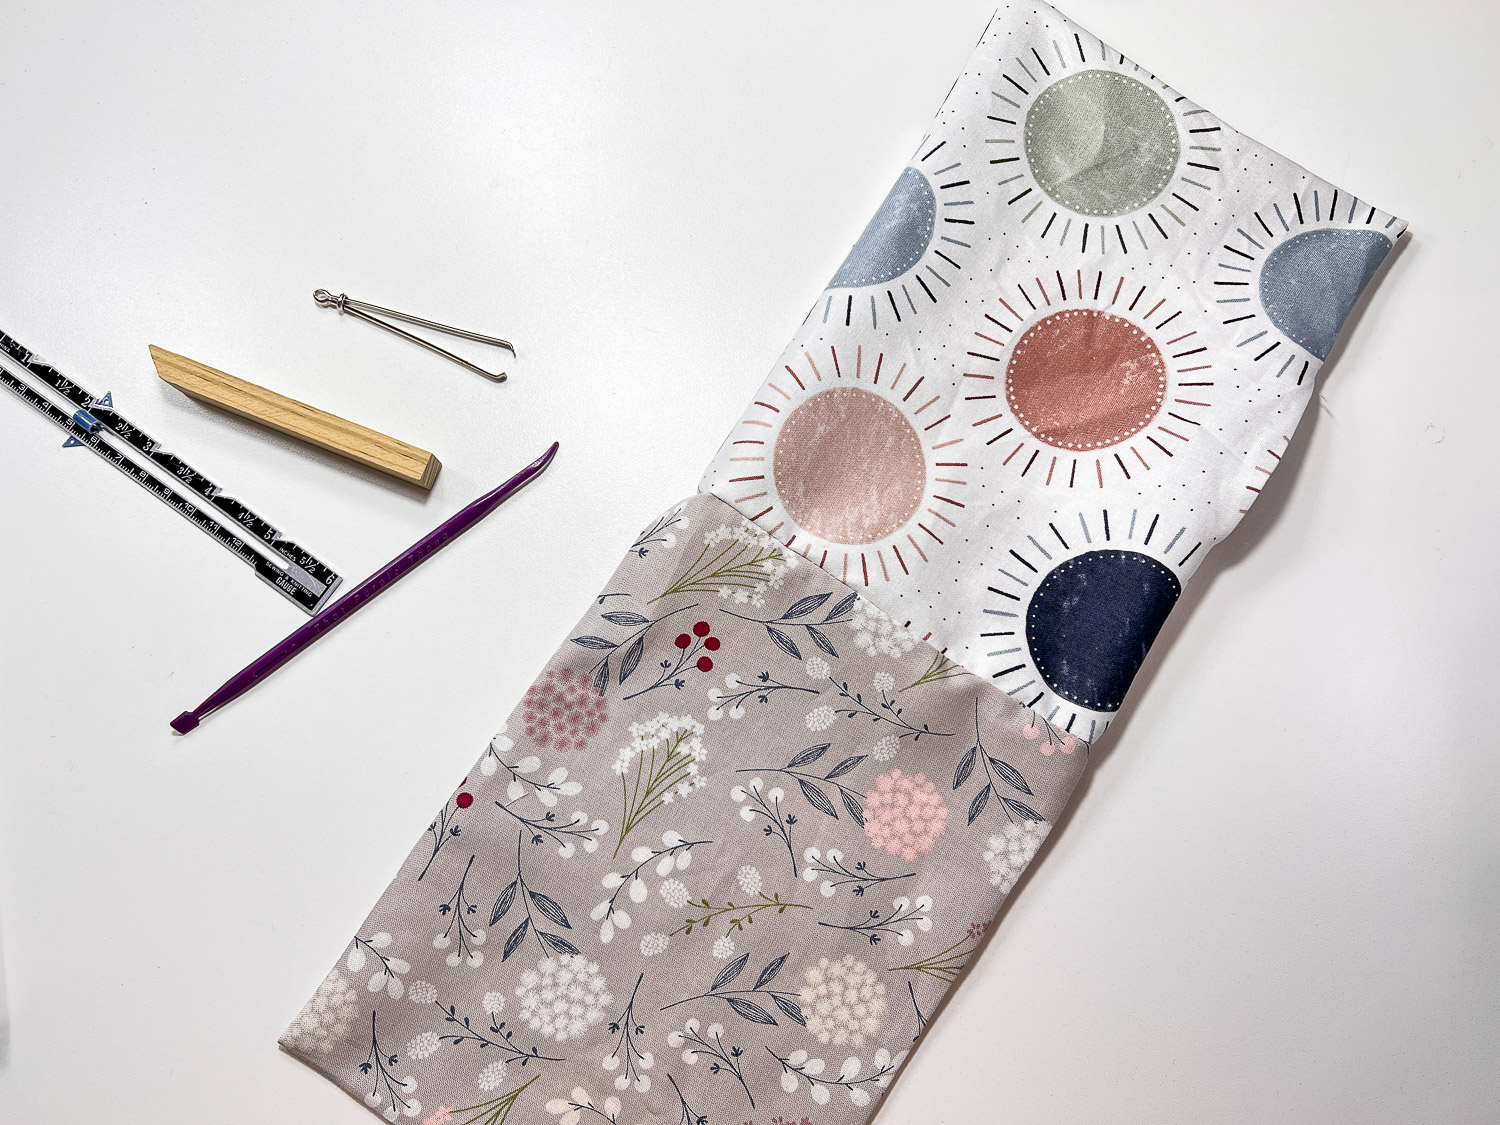
Place the outer piece inside the lining. Be sure the right sides are together.
Line up the open side seams. Pin.
Sew 1/4″ seam allowance around the top.
I remove the free arm so that it fits over the arm of the sewing machine. Otherwise, sew from the inside of the bag.
Turn right side out through the opening. Push corners out.
Close the opening on the lining by using 1/8″ seam allowance.
Tuck the lining inside the outer bag rolling the seams out. Press.
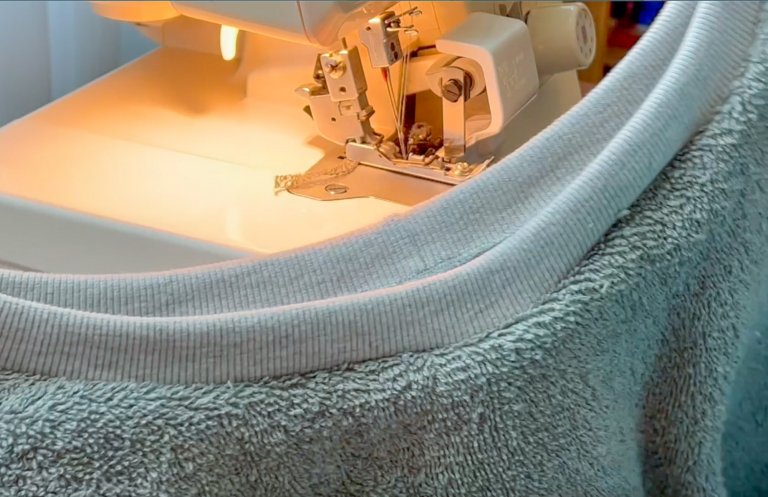
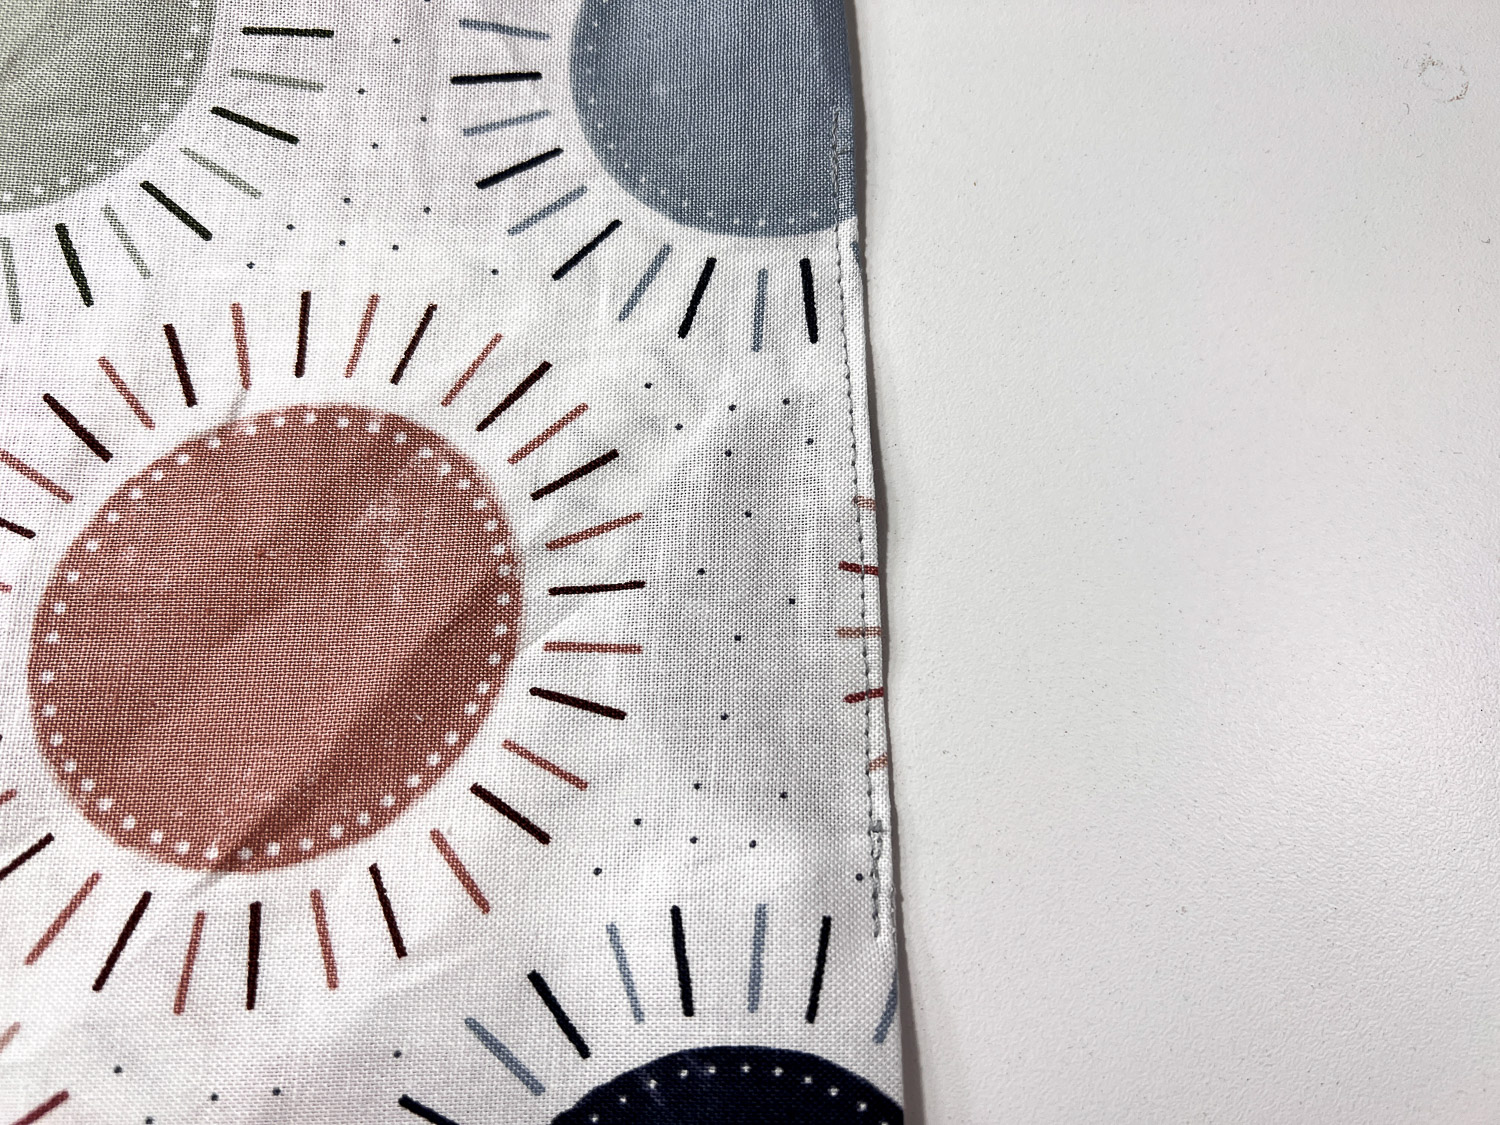
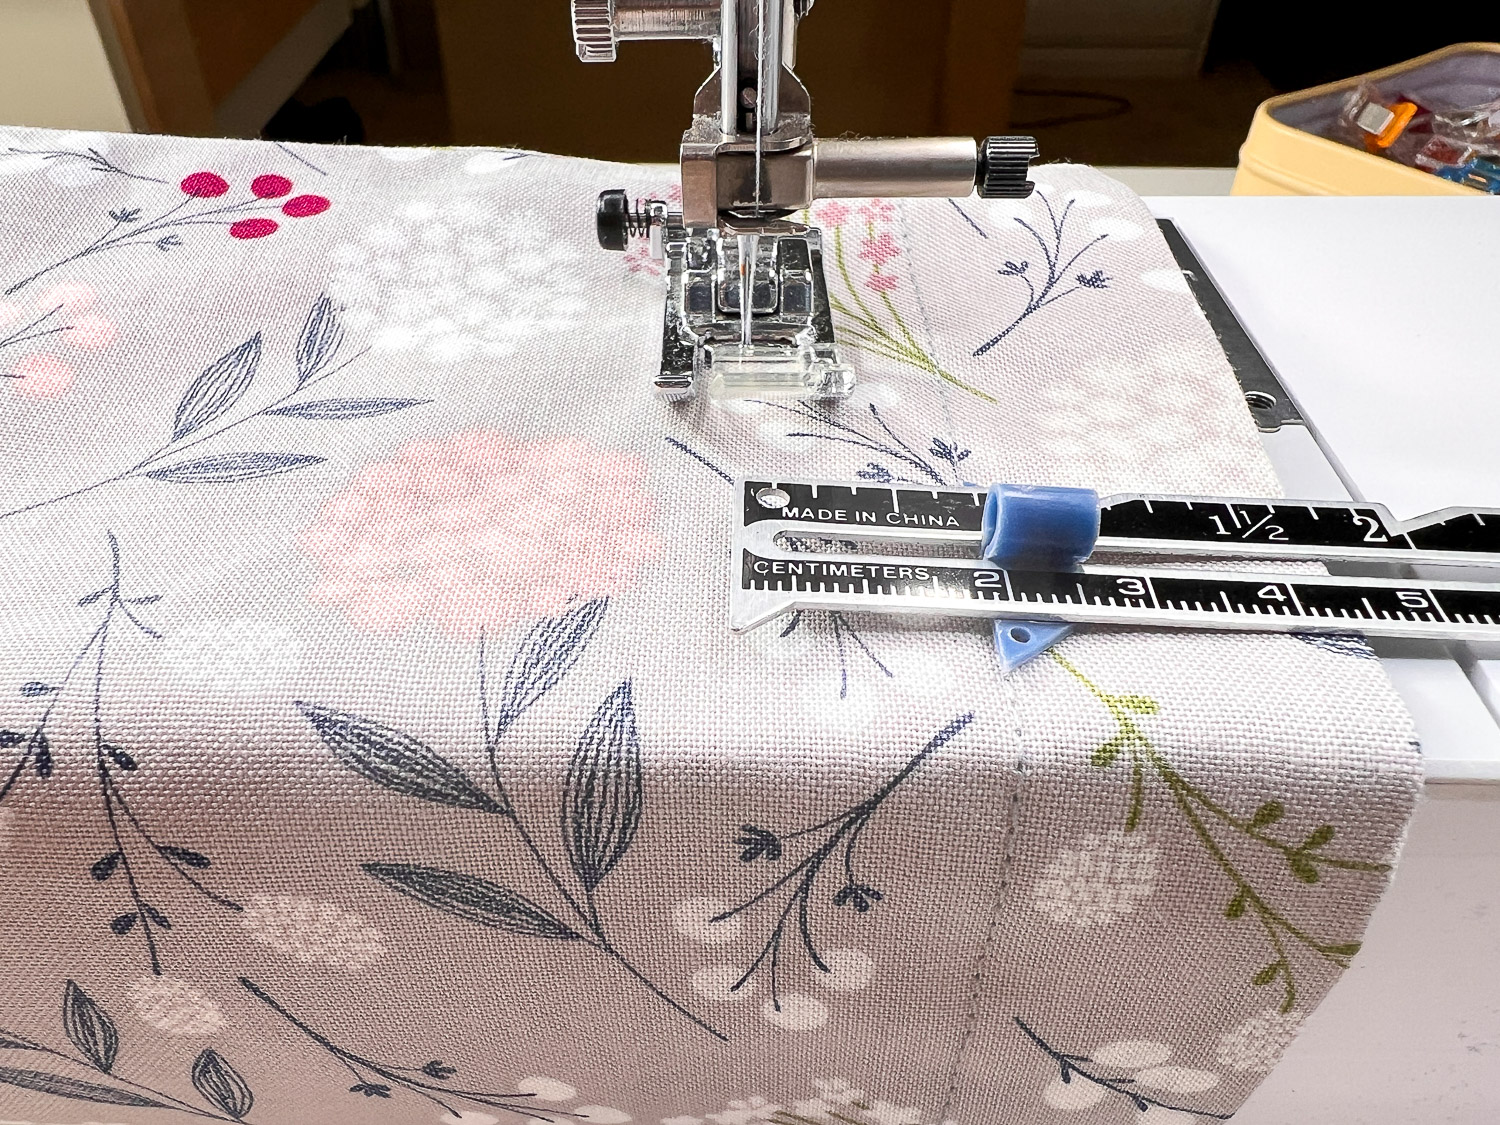
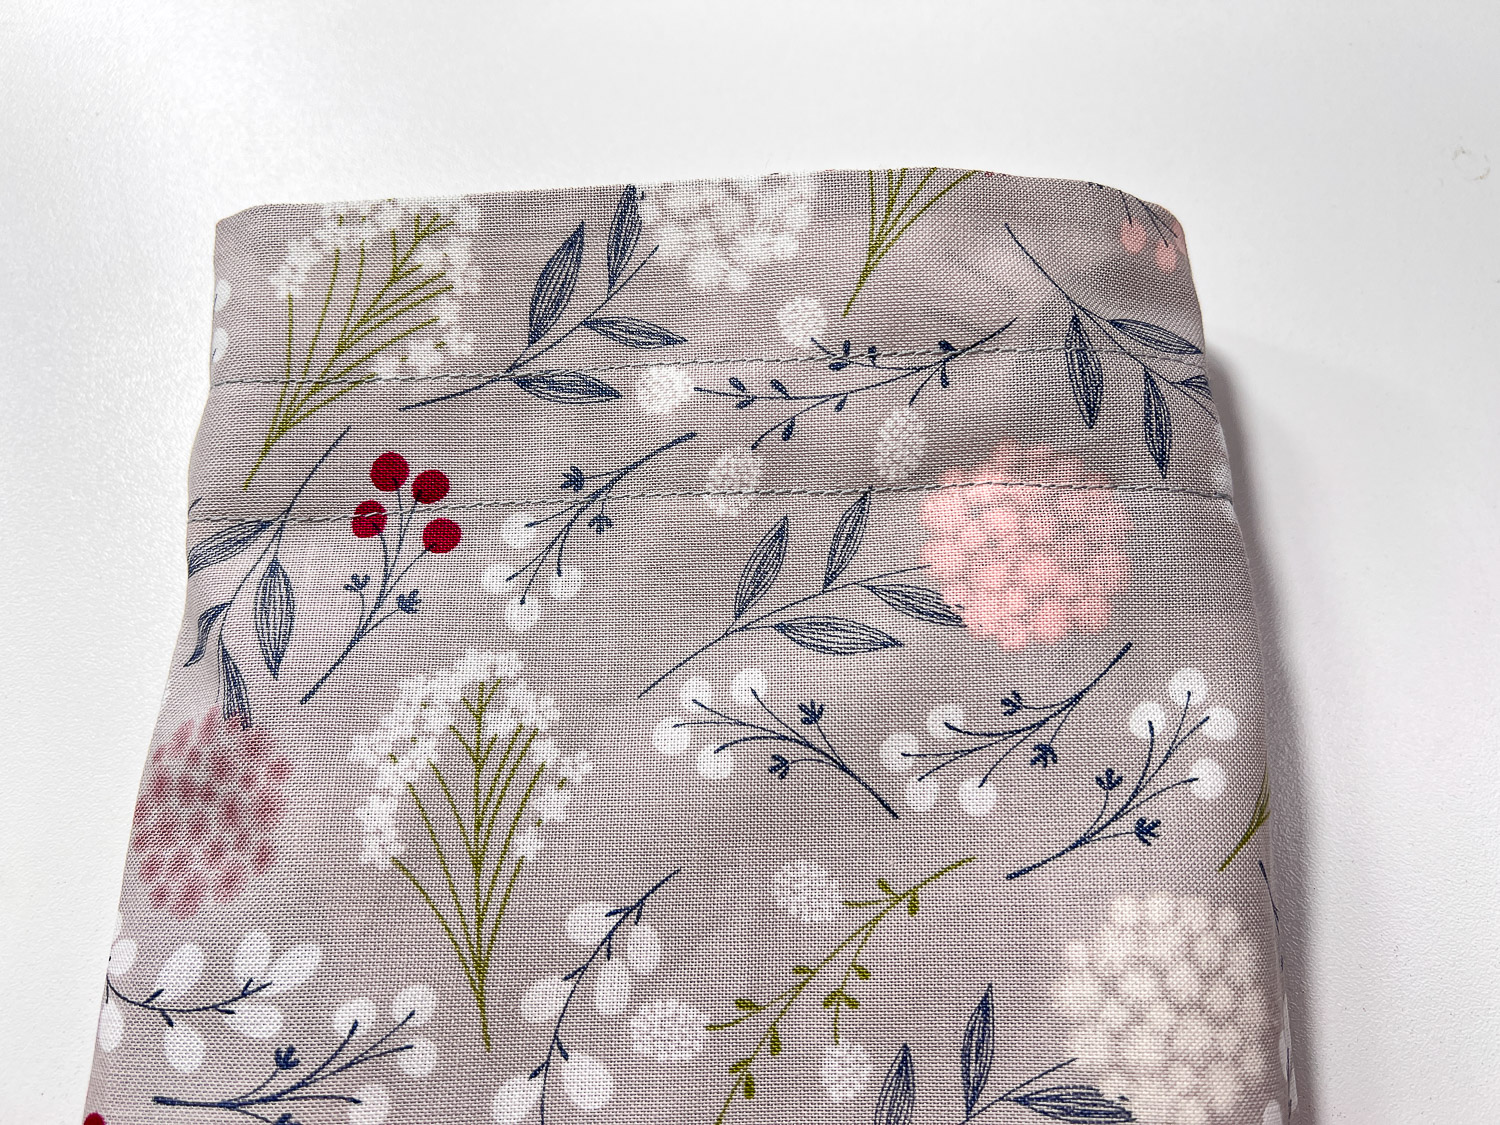
Place the bag over your free arm if you have one. Sew 1″ from the top. You are making the casing for the ribbon.
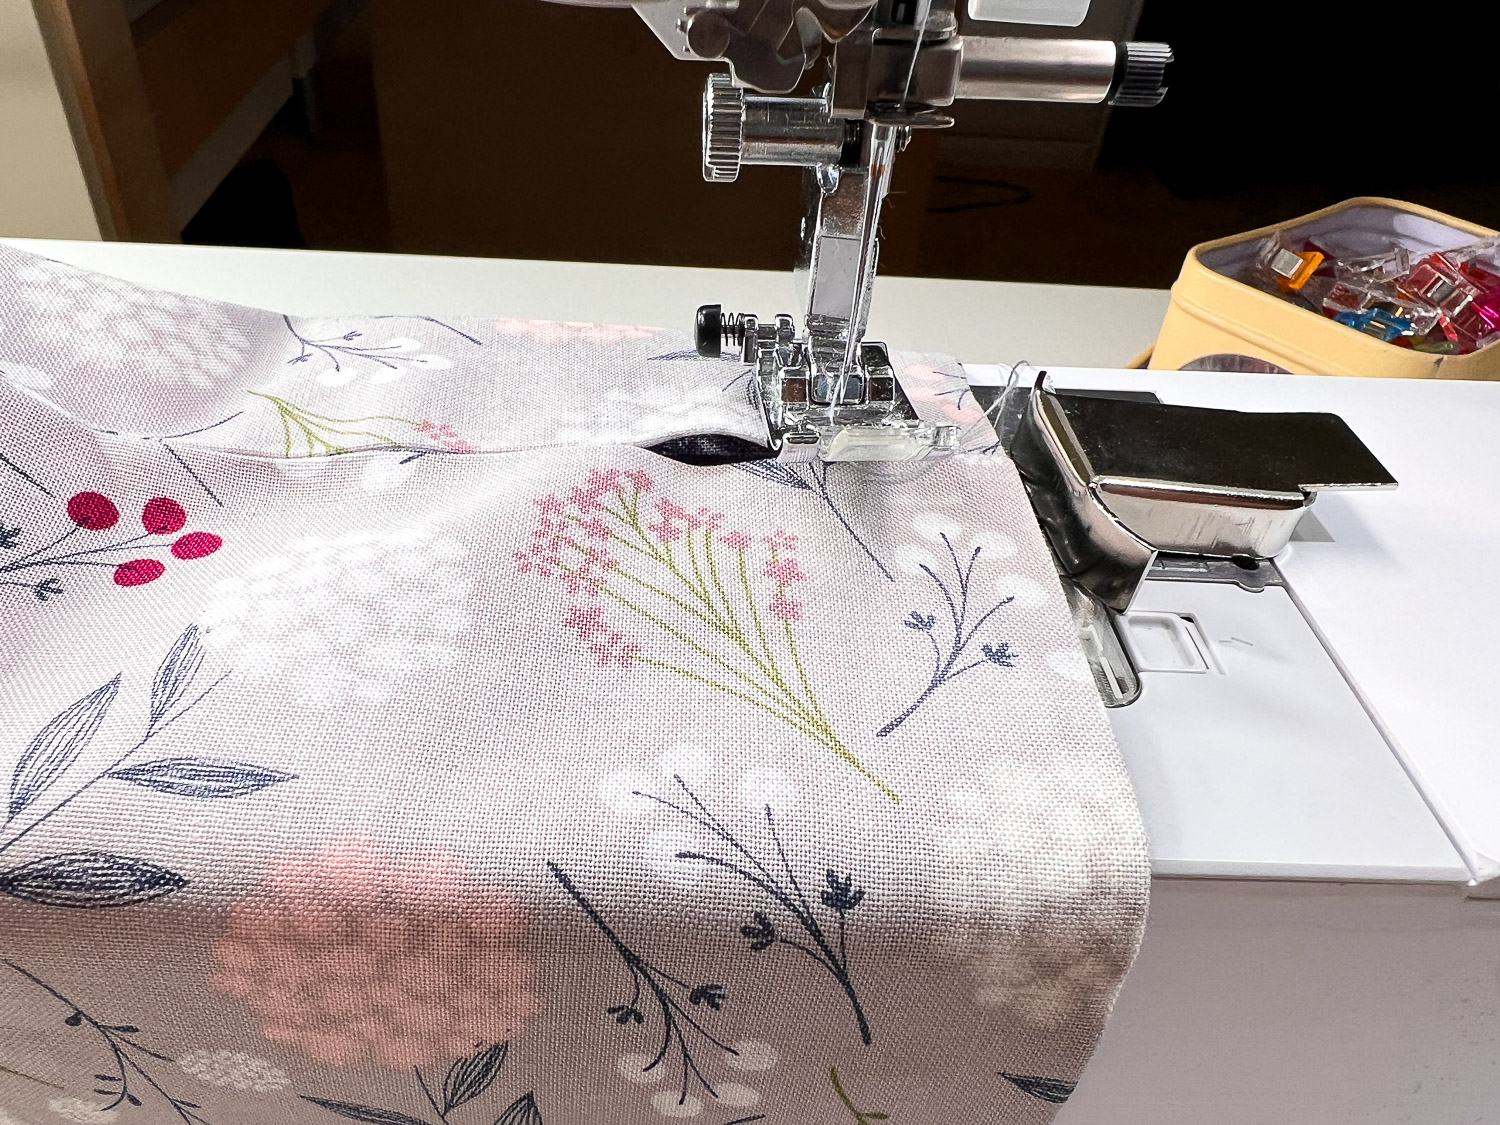
Next, sew 1 3/4″ down from the top, (it’s 3/4″ from your last stitching). Make sure the opening is between the stitching lines.
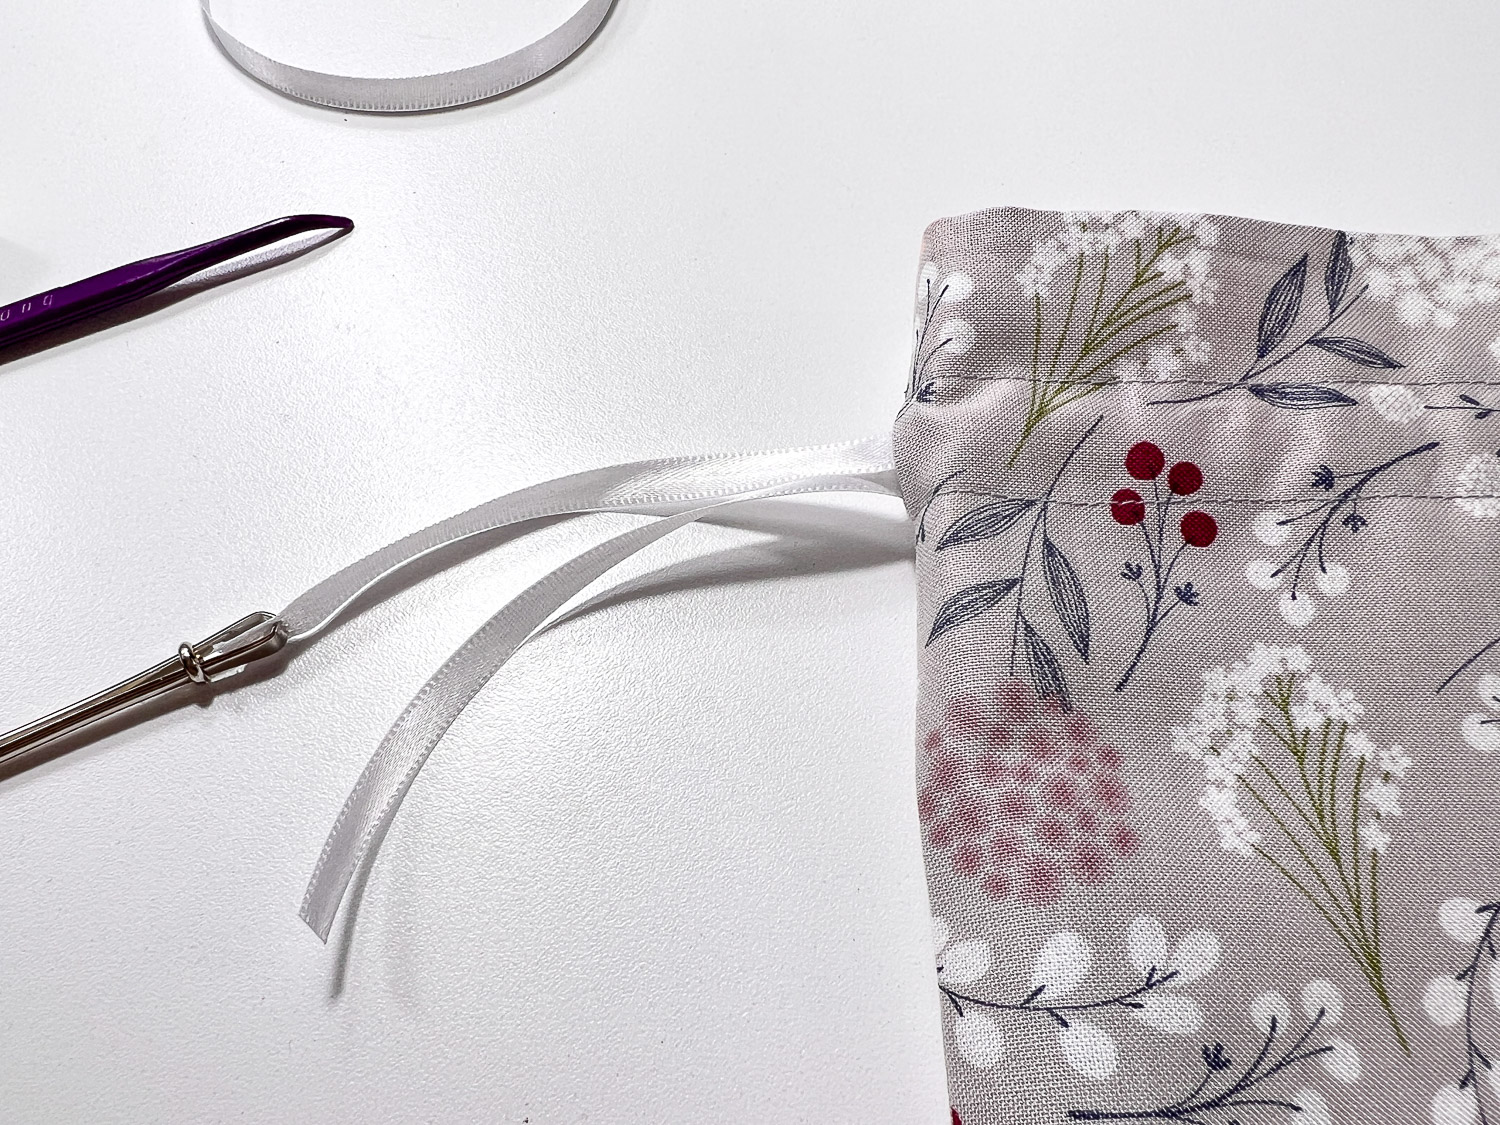
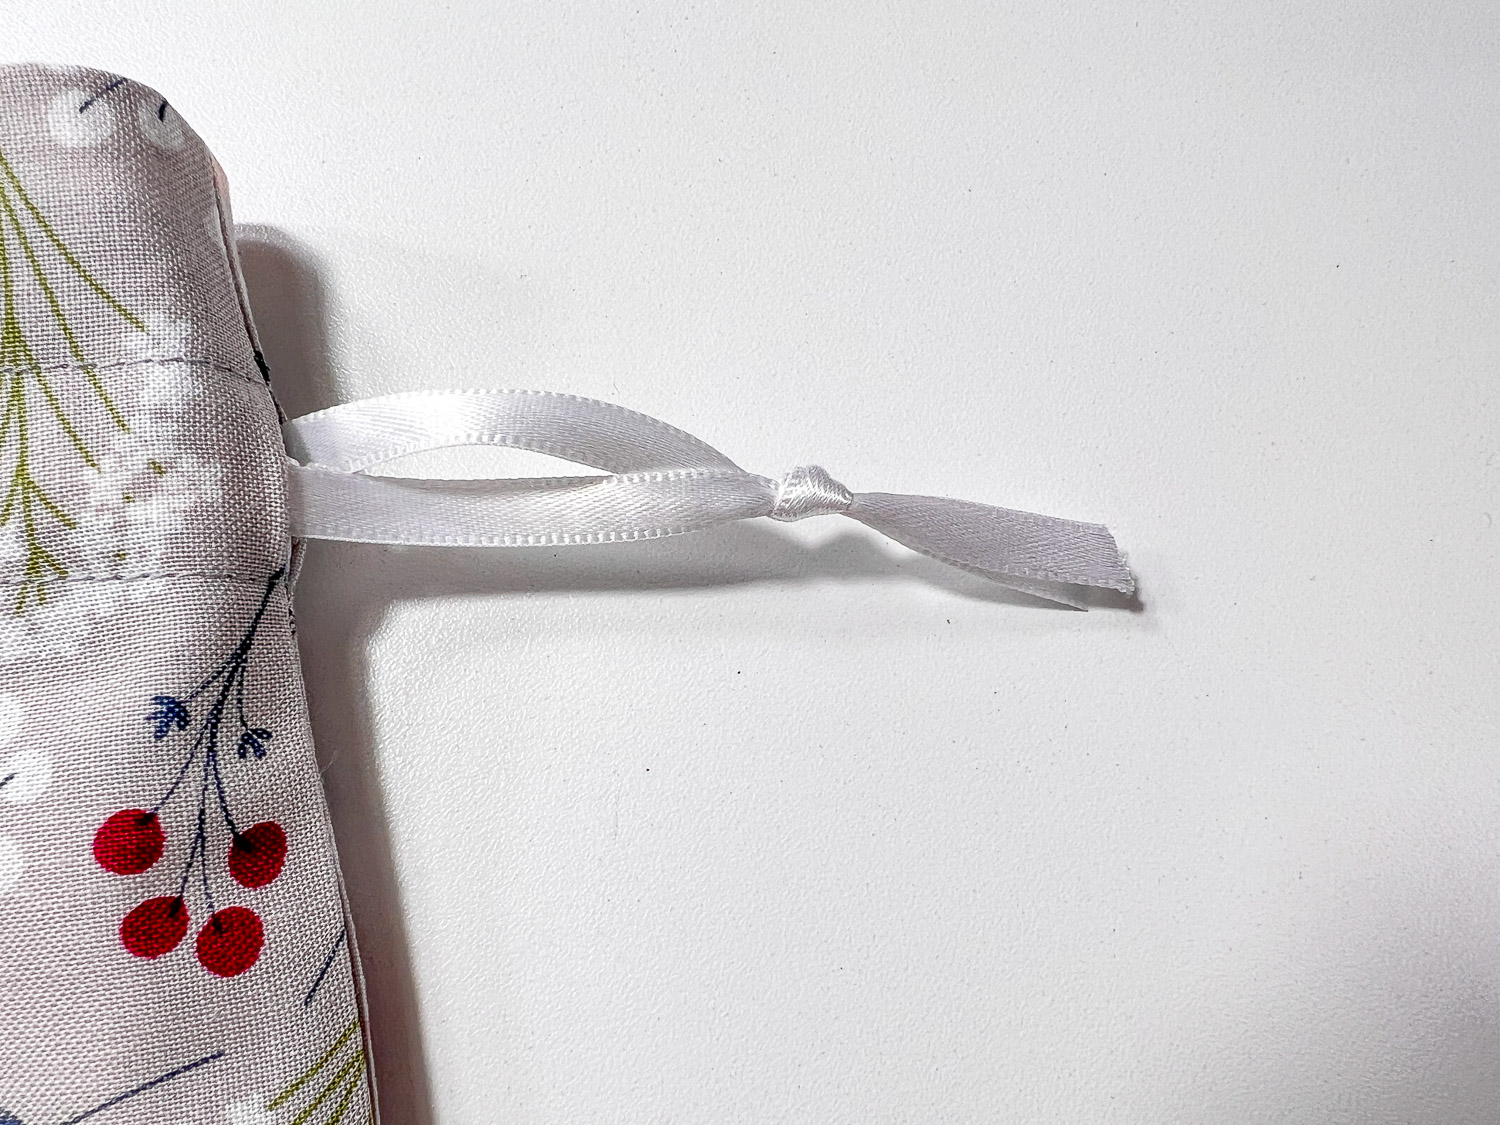
Using the bodkin, feed the ribbon or jute through opening. Go all the way around and out the same opening. Tie a knot like you are tying a balloon.
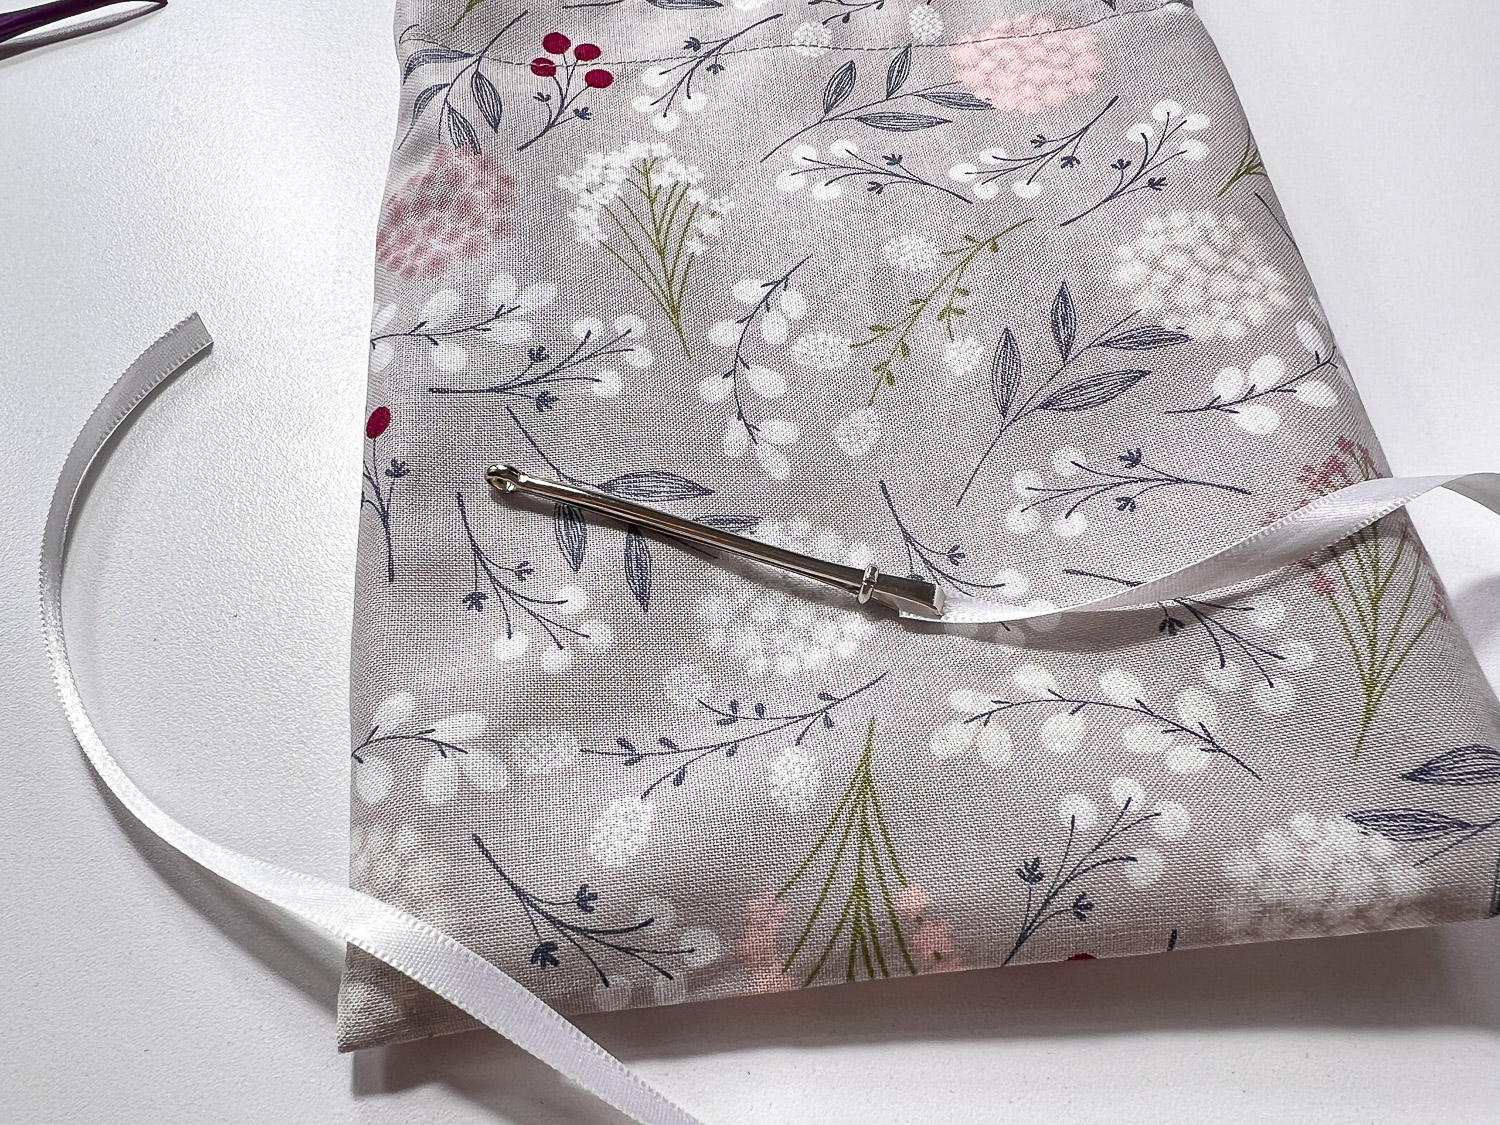
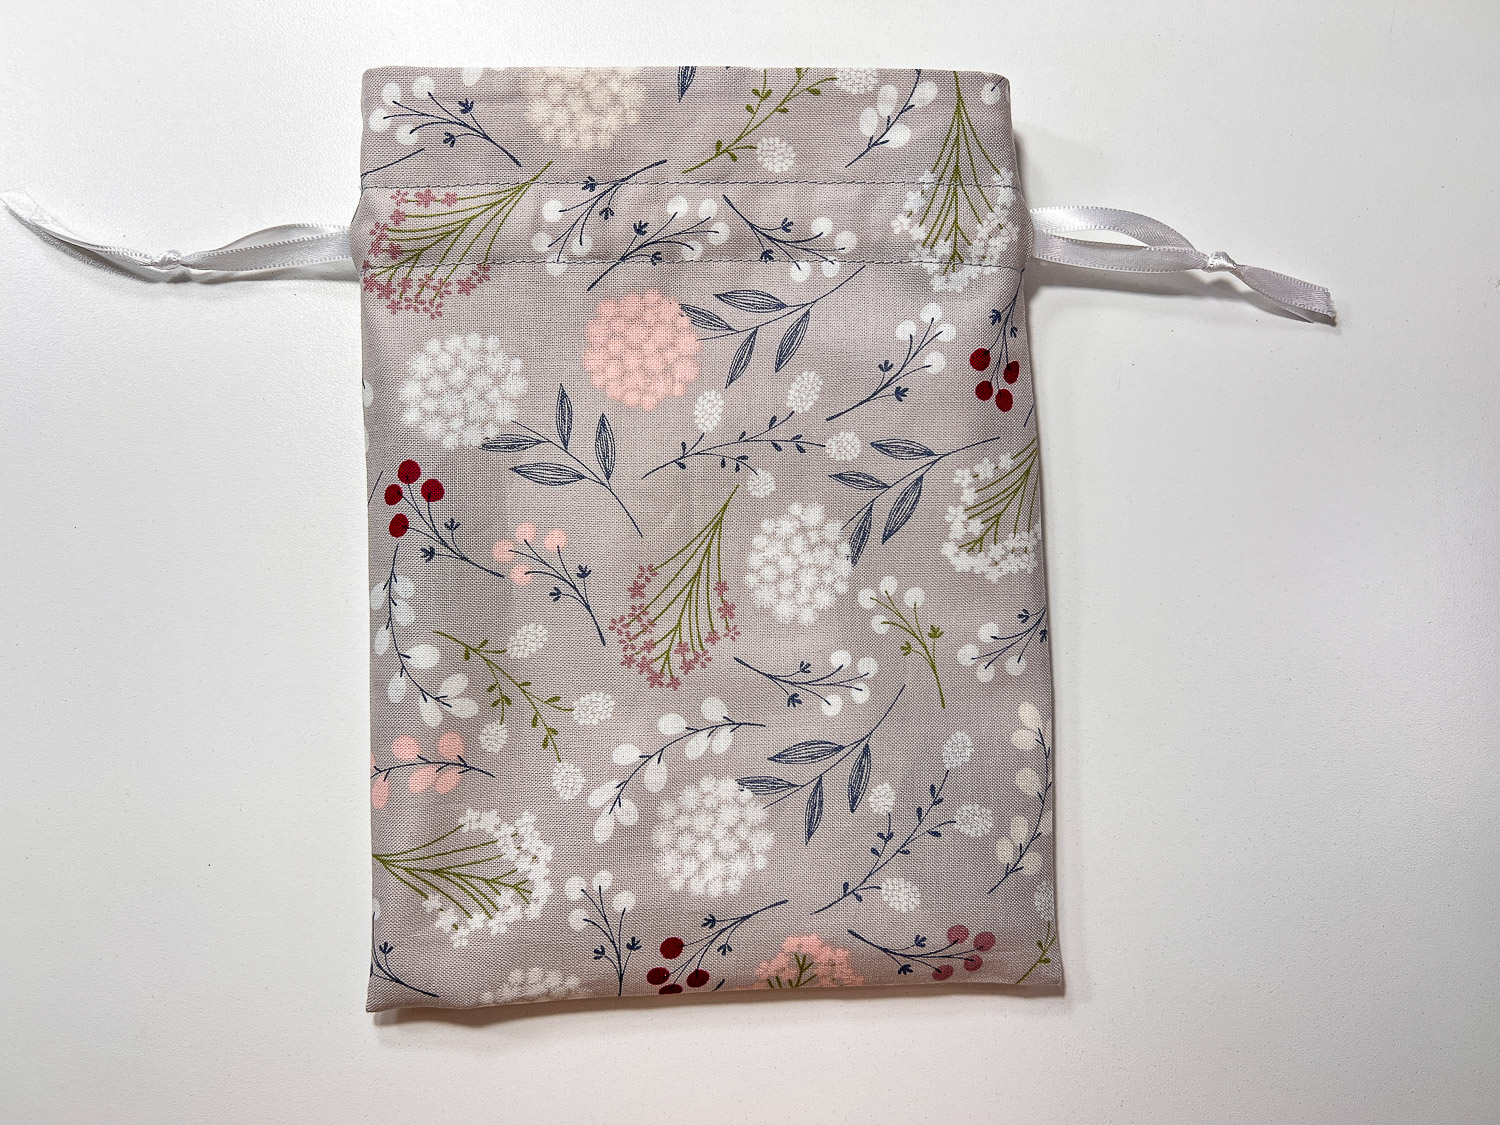
Repeat with the other ribbon starting on the other side. Tie a knot.
Now fill your drawstring bag with candy or a gift and give it away!
Pin it to remember: