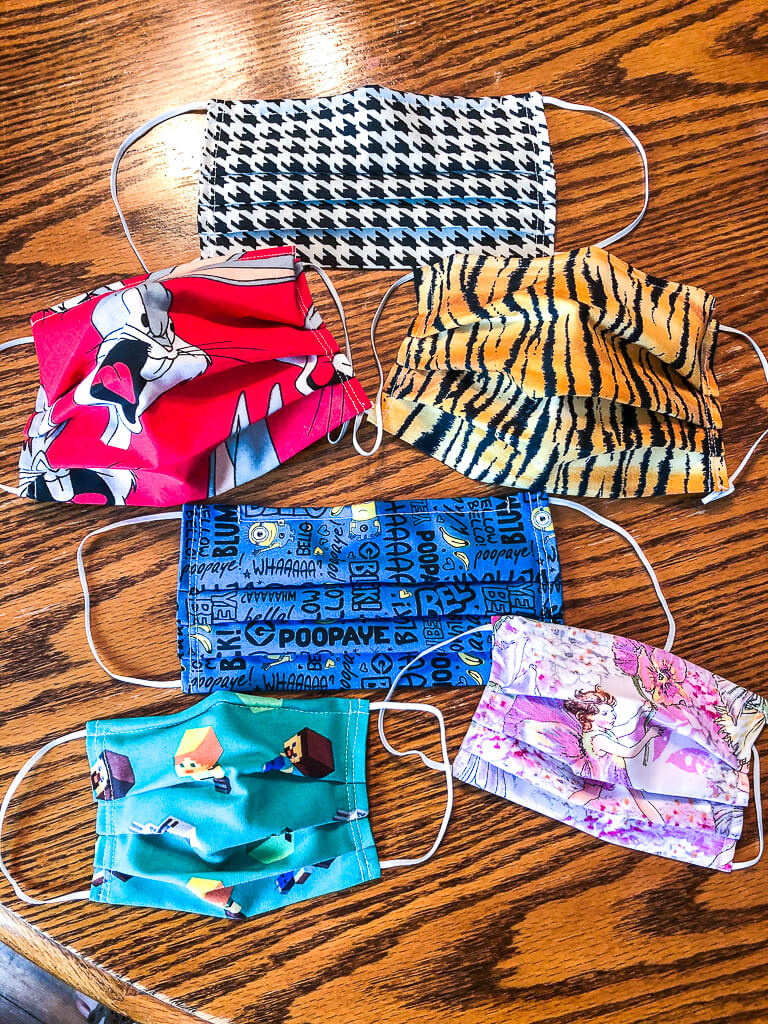
How to sew a non-surgical protective face mask
How to sew a non-surgical protective face mask
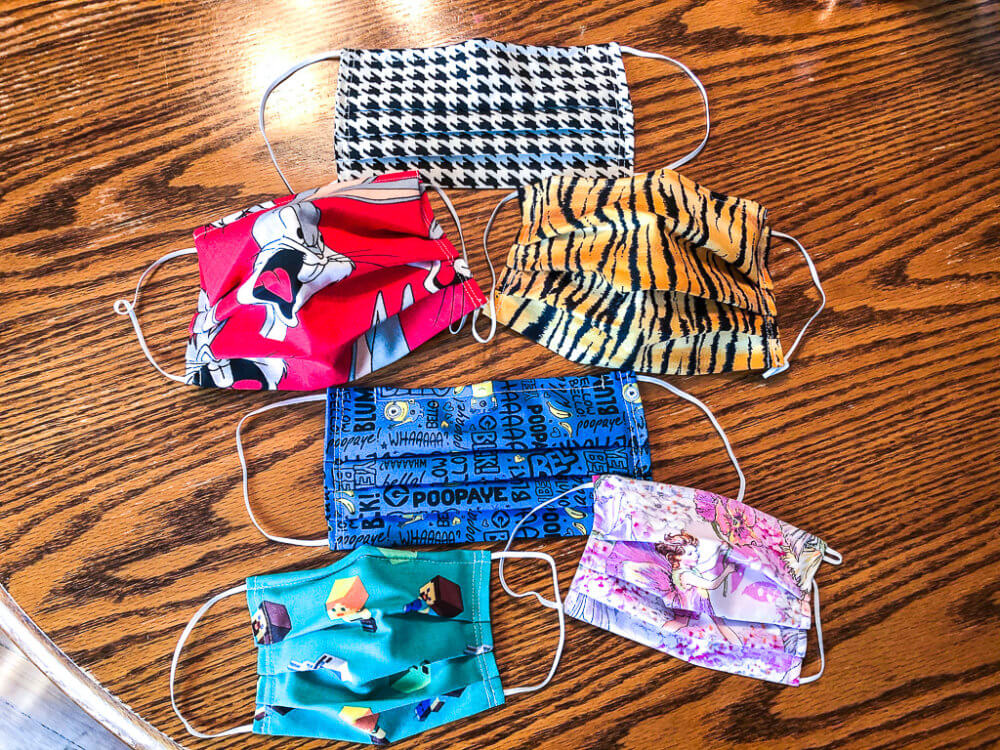
If you are wanting to learn how to sew a non-surgical protective face mask with an opening for a filter for yourself or others – that are not treating covid-19 patients, then follow these simple directions. The CDC says homemade cloth masks can help slow the spread of the coronavirus.
This mask is not intended for hospital or medical use and are not OSHA certified. Please follow the CDC guidelines for use of a mask. They can be used over the N-95 mask for extra protection.
These fabric masks can help protect you when you want to go to the grocery store or the post office where it’s harder to keep a safe six-foot distance from other shoppers. This works best when everyone wears them because people who don’t have any symptoms could still be spreading the virus.
Supplies:
Sewing machine
Thread
Scissors
Ruler
Pins or clips
Tightly woven, 100% cotton fabric
1/8” elastic or optional ribbon
pipe cleaner
First thing to do on how to sew a non-surgical protective face mask:
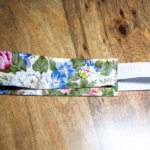
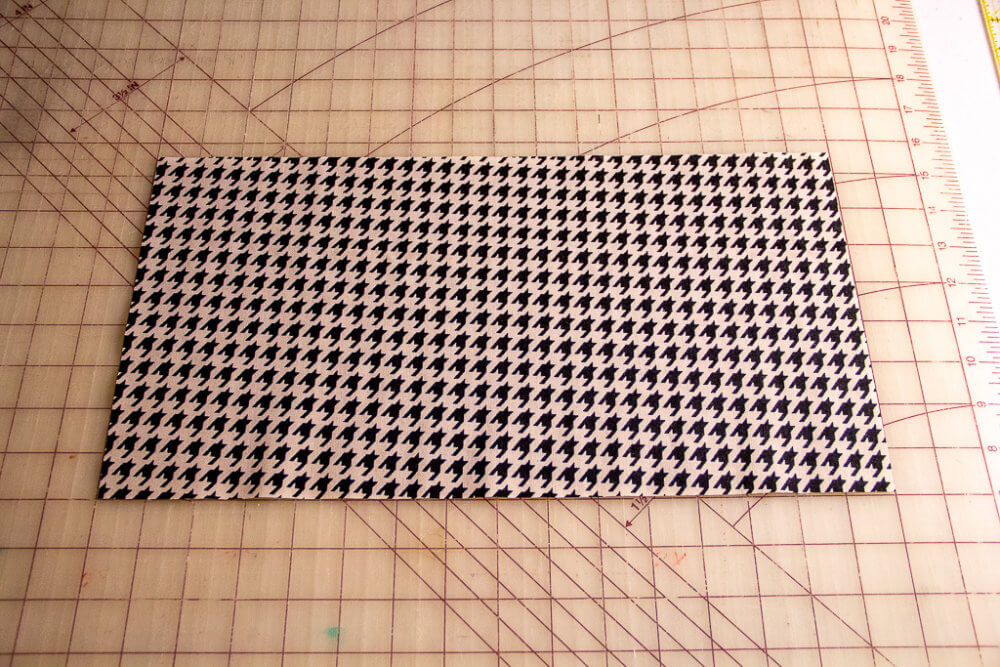
Cut the fabric – you need one rectangular piece
Adult – 8 1/2” wide by 16” long
Teen – 7 1/2” wide by 15” long
Child – 6 1/2” wide by 14” long
Cut the elastic – cut 2 pieces
Adult – 7” (or 8” if you have a what-a-head-lol)
Teen – 6 1/2”
Child – 6”
Second:
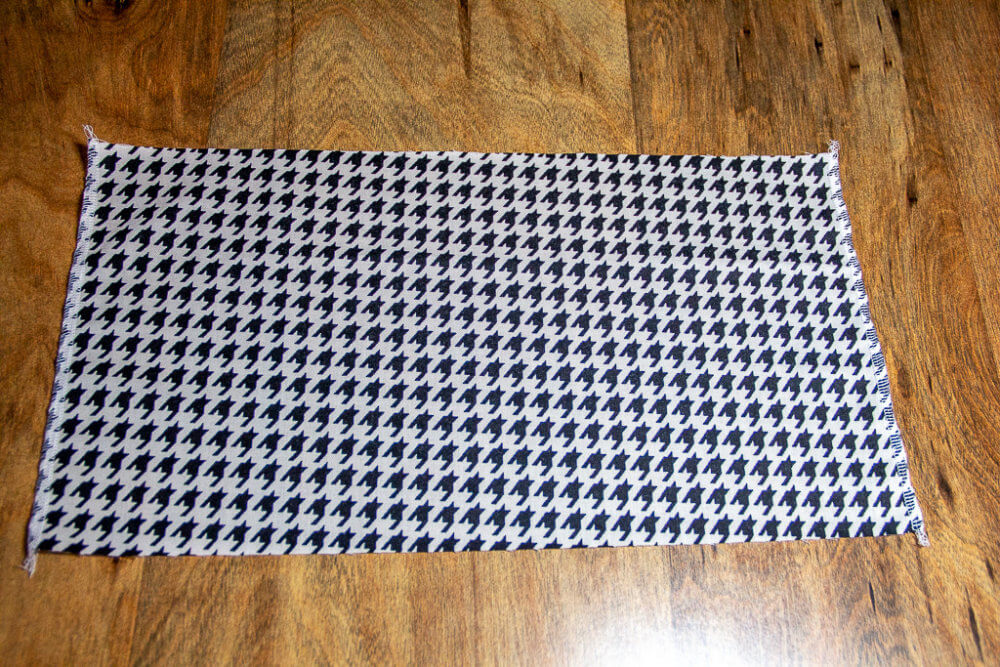
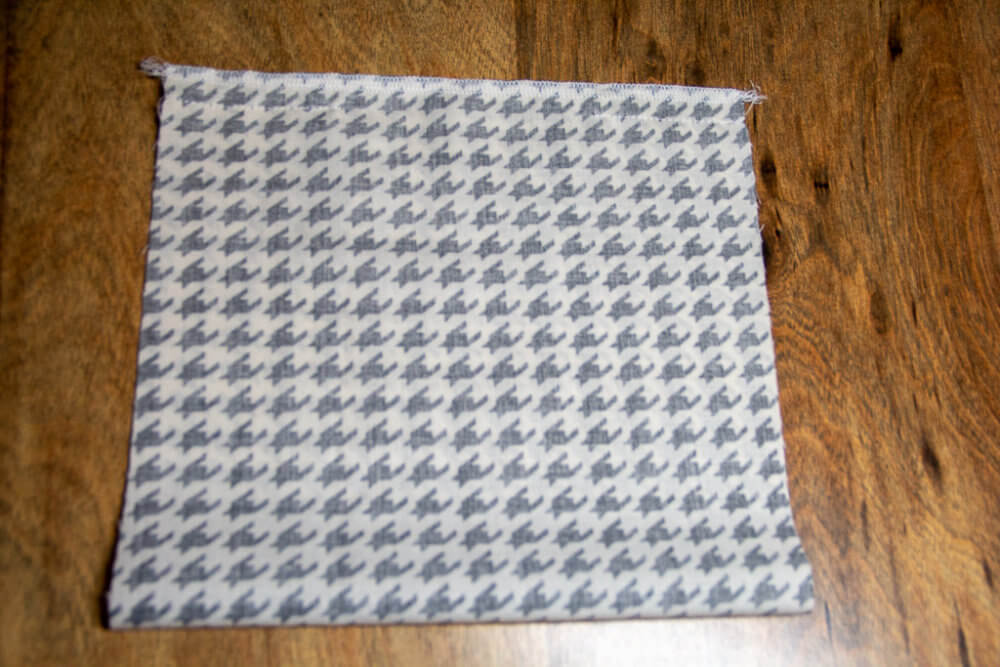
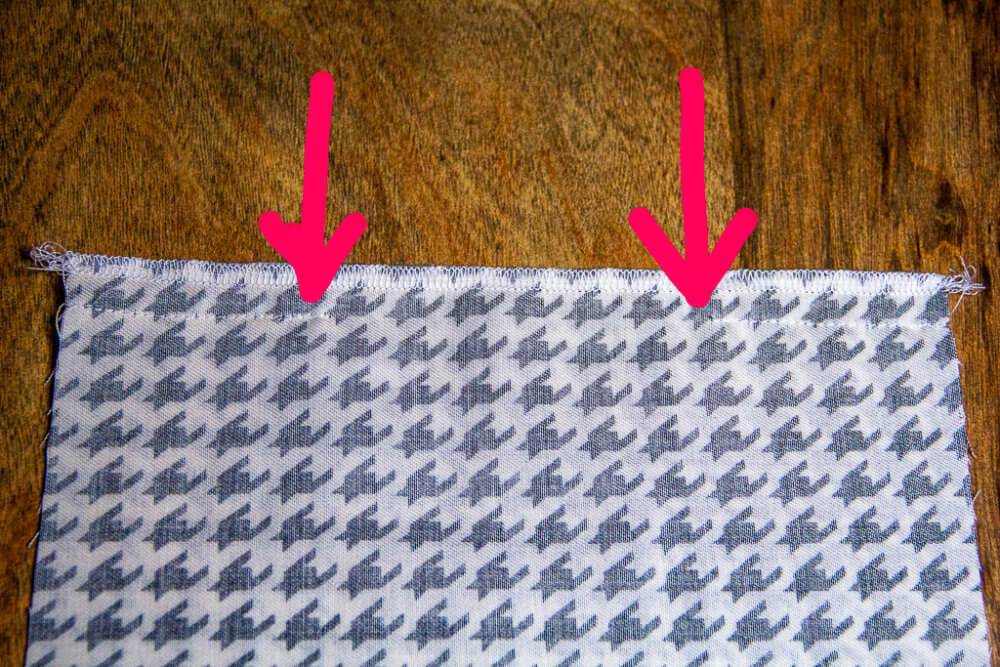
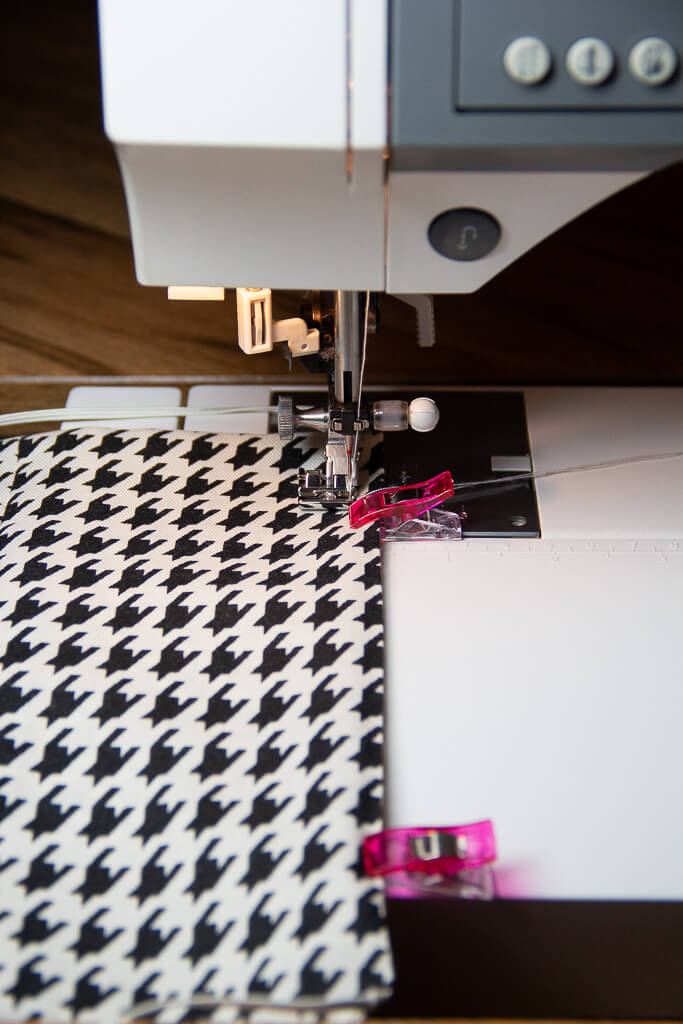
Serge or finish the short sides. You can use an overlock seam or zig-zag or just turn under and stitch.
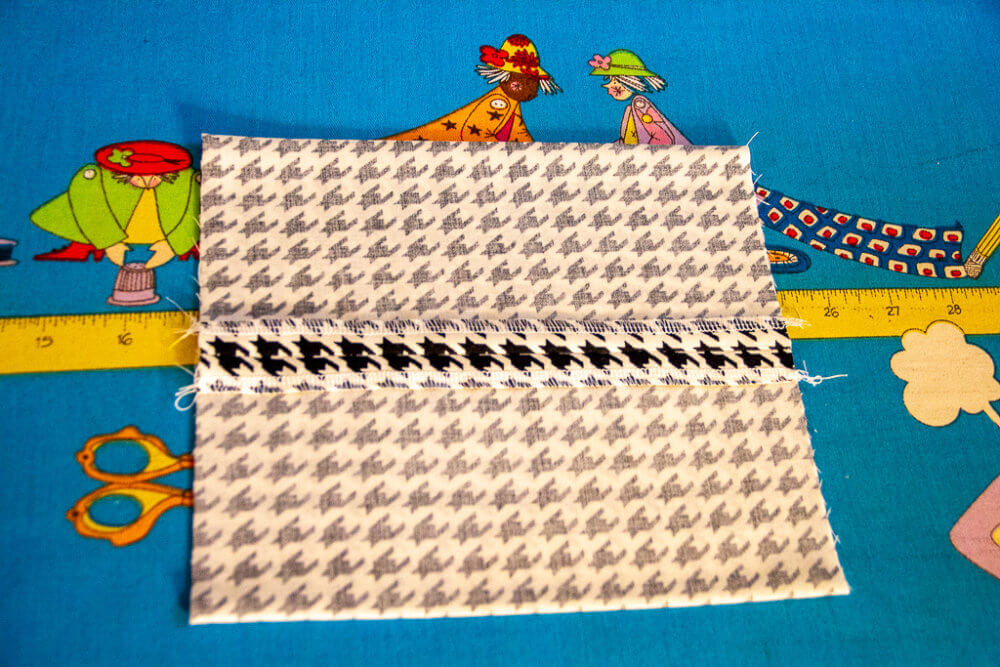
Put right sides together on shorter (wide) ends (8 1/2” ends)
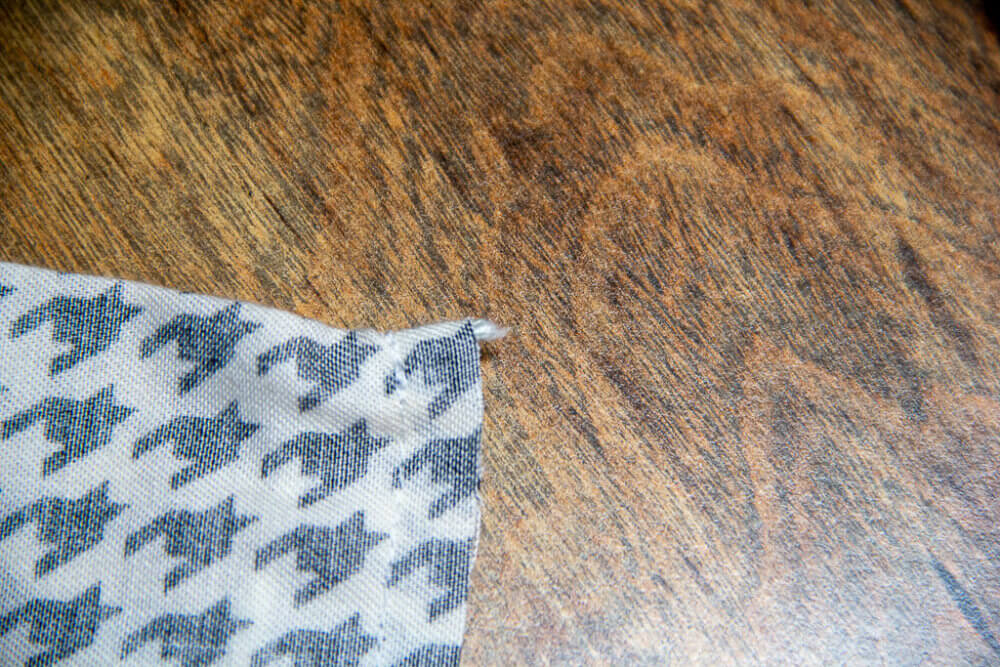
Backstitching at the beginning and end, sew each end and leave a 4” opening in the center. This will be used to turn the mask right side out and be left open for a filter to be inserted in the mask. Use a 1/2” seam allowance.
Press the seams open. Center seam in middle of mask and press each end.
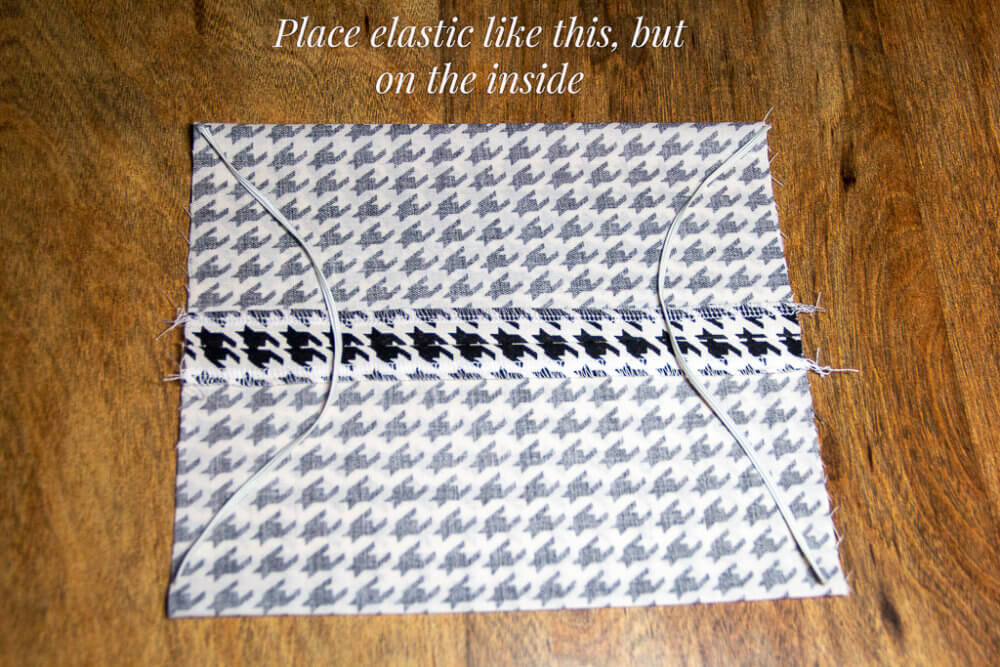
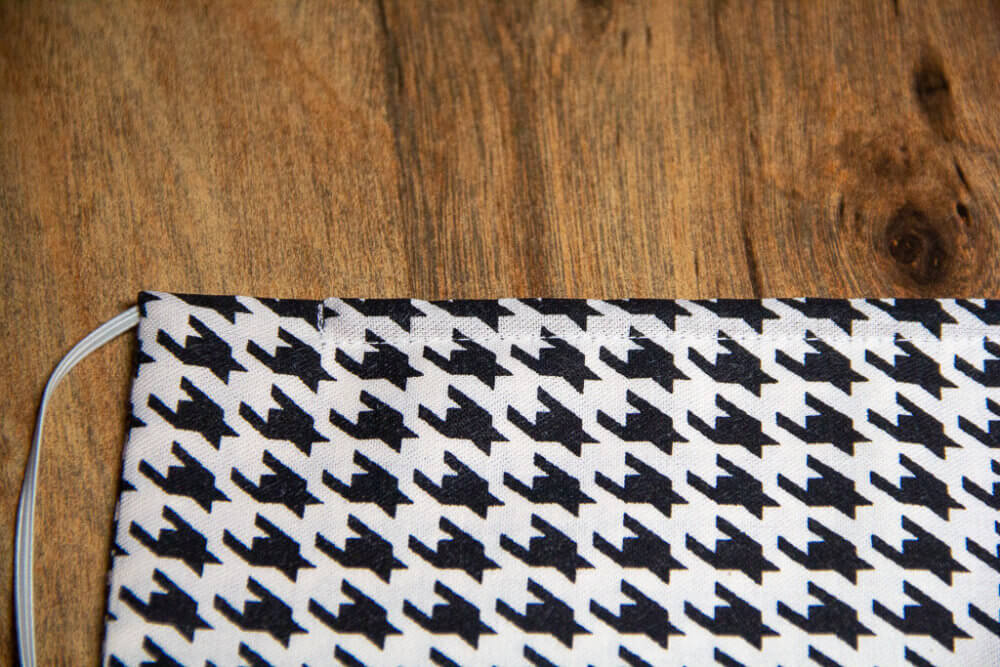
Sandwich the elastic inside the mask, one piece on each side, one end to the top corner and one end to the bottom corner.
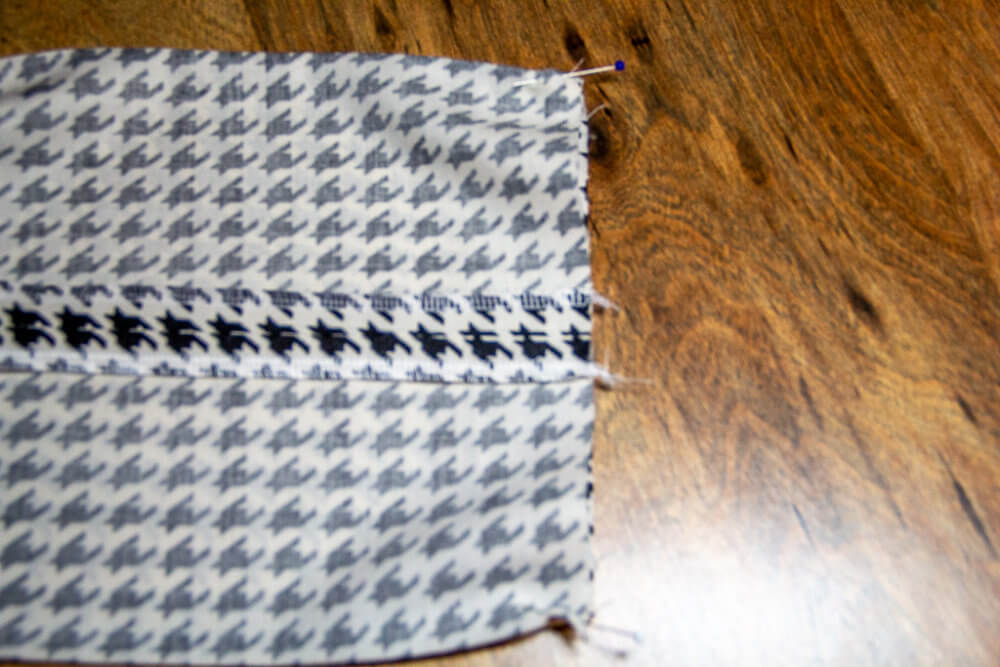
You can use 4 fabric ties or ribbon that are 16” long. Pin one tie to each corner, with the rest of the ribbon inside the two layers of fabric. Pin and sew a 3/8” seam on each side back-stitching over the elastic being sure it’s secured. Be careful not to catch any elastic except at the ends.
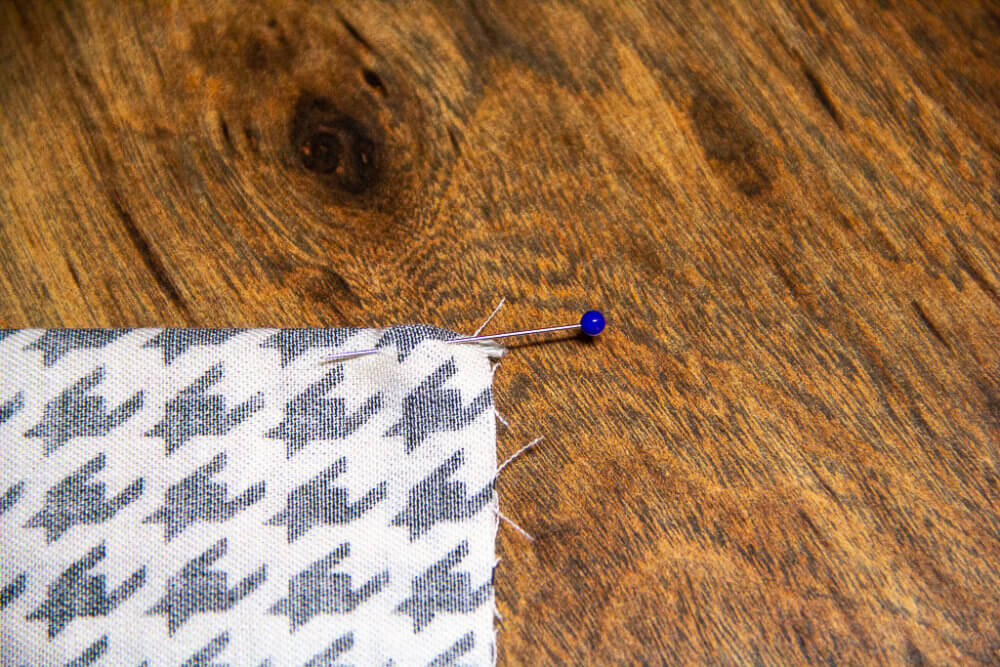
Trim corners being sure not to cut through stitching.
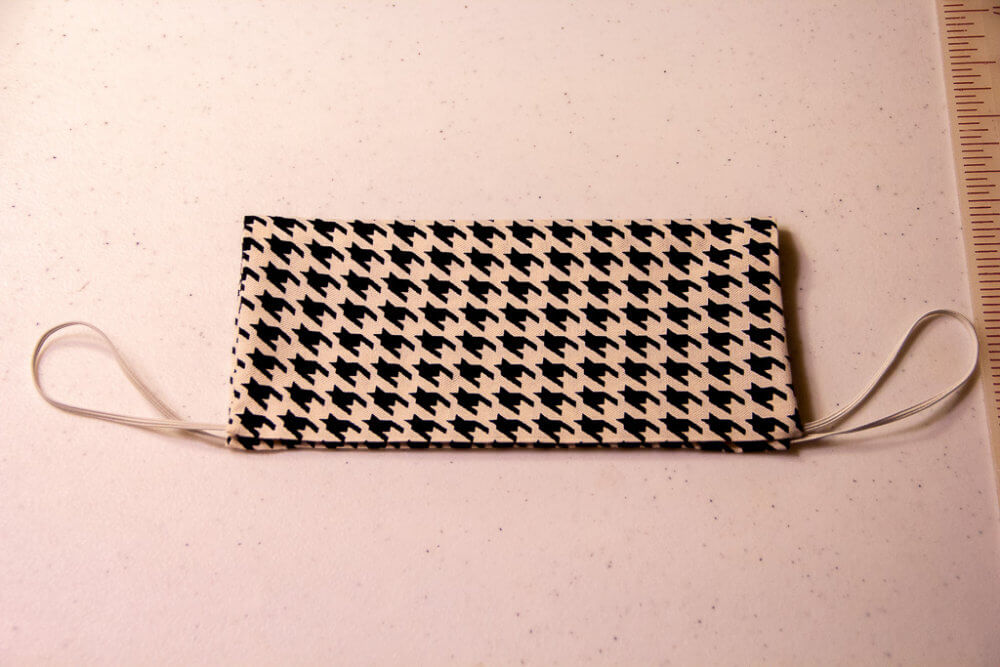
Turn right side out and press.
Third –
Cut a piece of pipe cleaner –
Adult – 7”
Teen – 6”
Child – 5”
Fold the ends down a bit onto itself to keep the wire from poking through.
Slide the pipe cleaner up to the top of the mask.

Using a zipper foot, take a 1/4” seam to hold it in place. This will be used as the nosepiece.
Fourth –
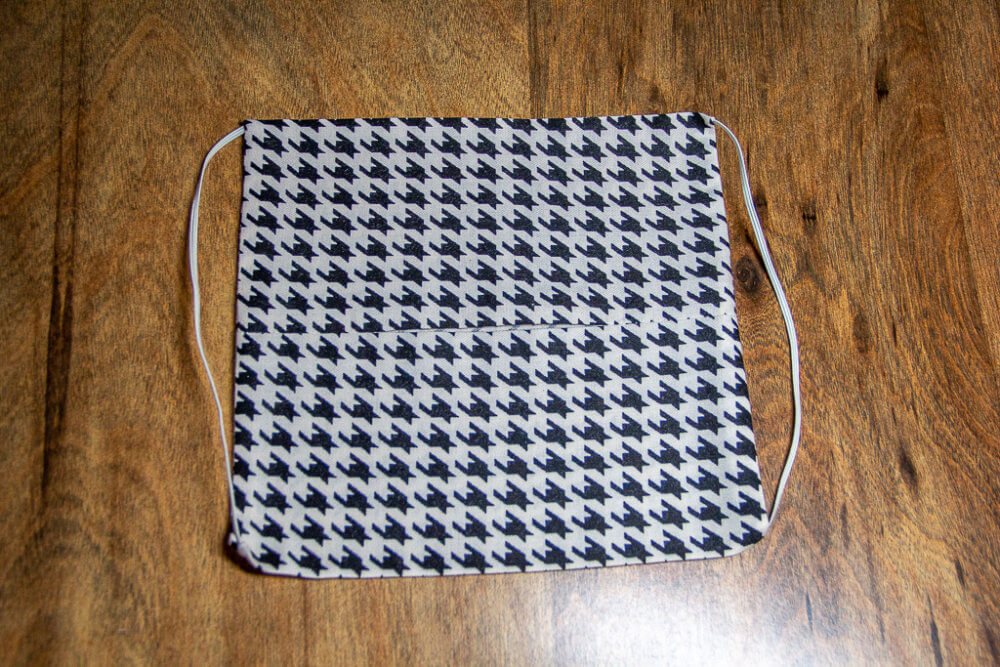
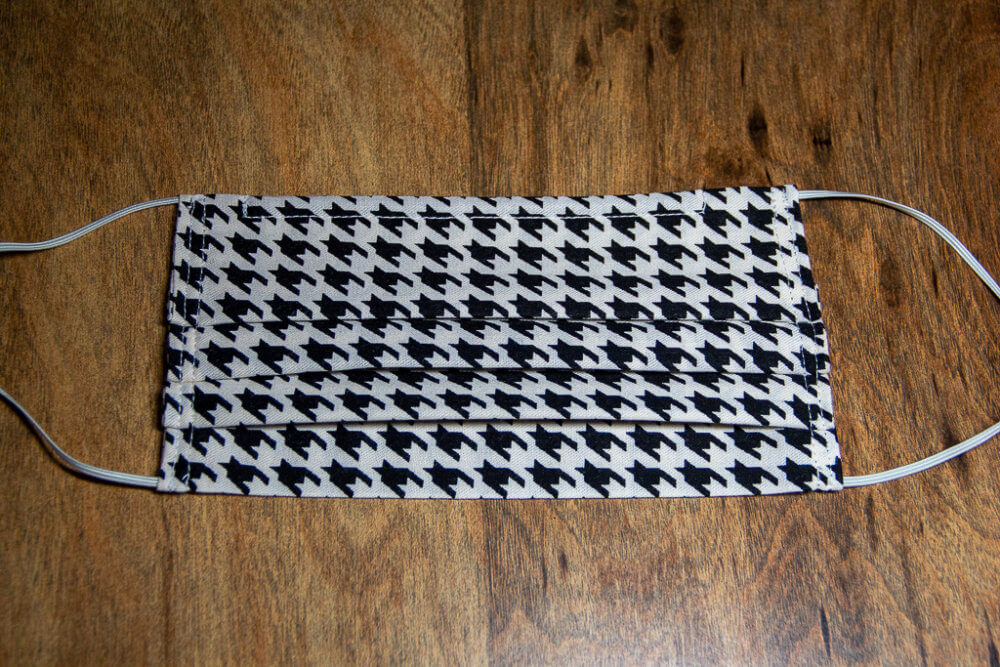
Make and sew the pleats. Fold in half and press.
Fold each end in to center and press. That makes 3 pleats.
There will be three evenly spaced 1/2” pleats. Pin the folds in place, making sure that the pleats are all facing the same direction. The pleats will be facing down from the pipe cleaner (nosepiece) to prevent anything from collecting in the fold pockets.
Sew down each side 1/8” from edge. Sew another seam 1/8” from that seam. This secures the pleats facing downward.
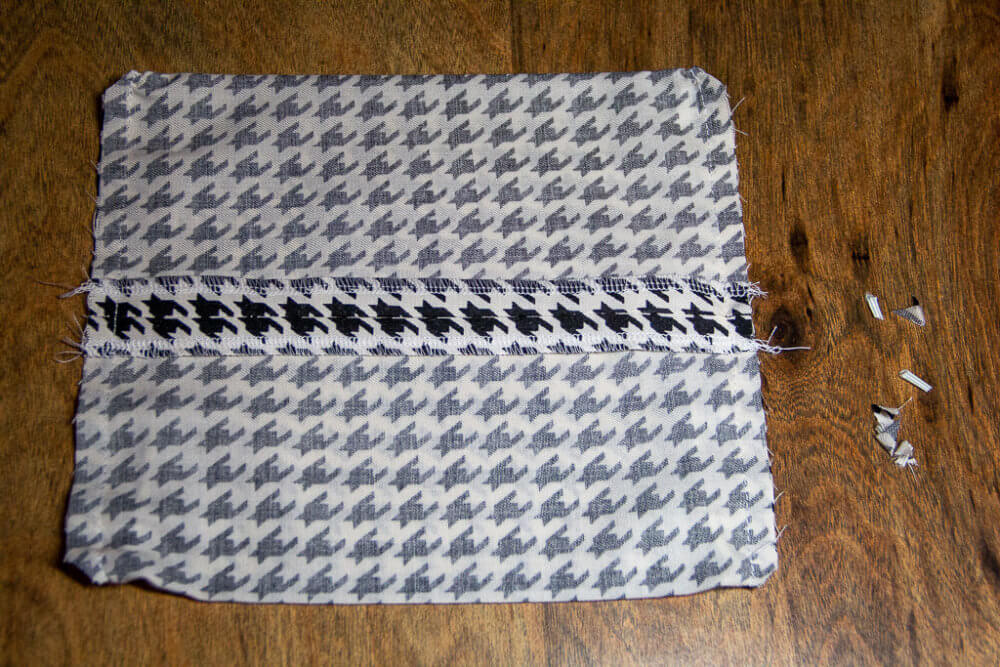
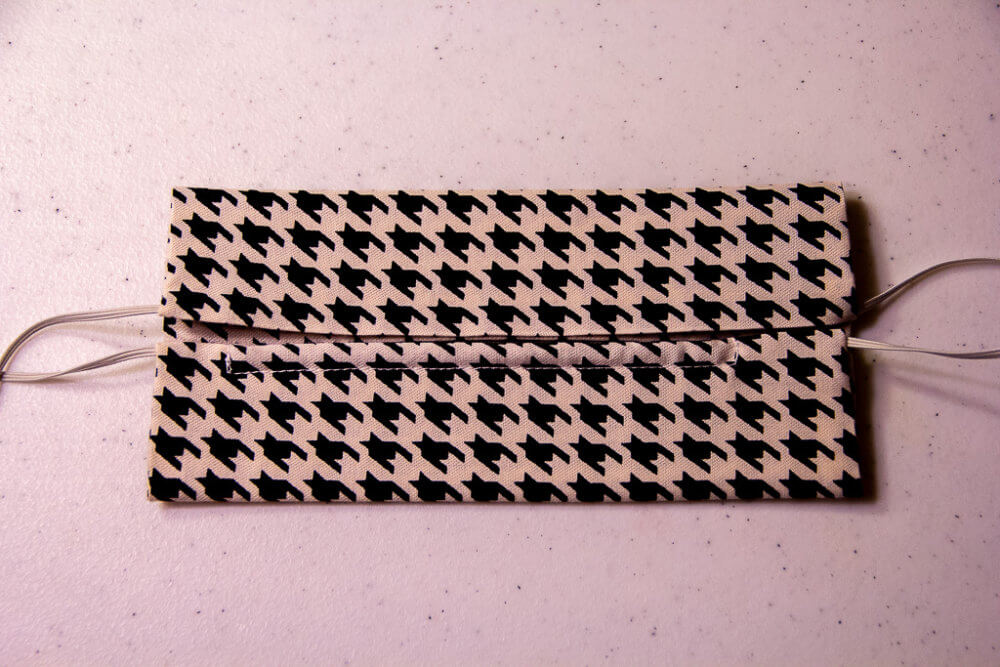
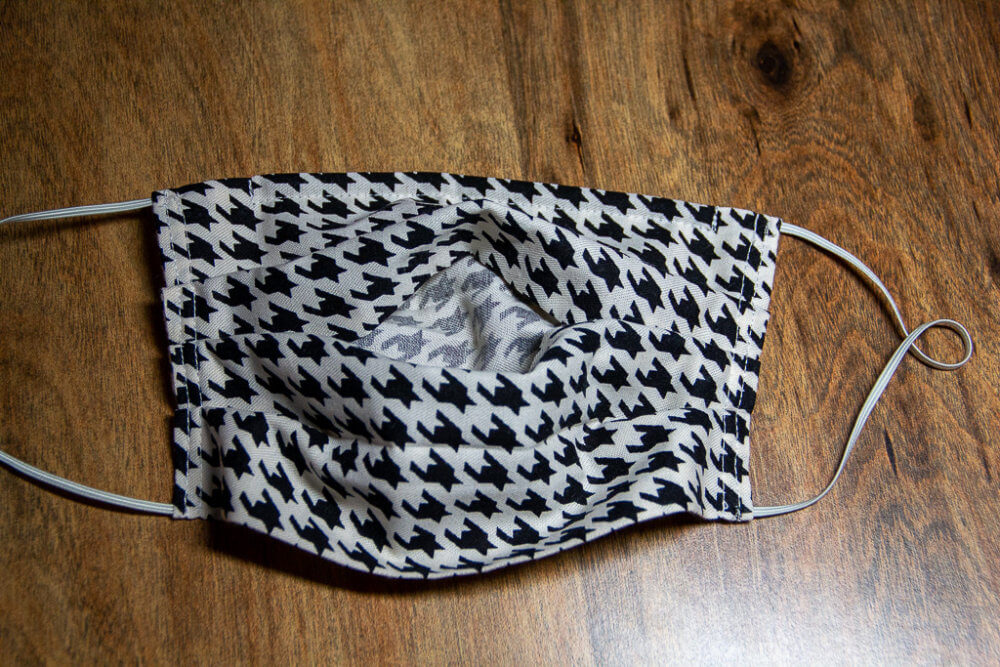
This is the inside where you insert the filter. I found that a coffee filter works best.
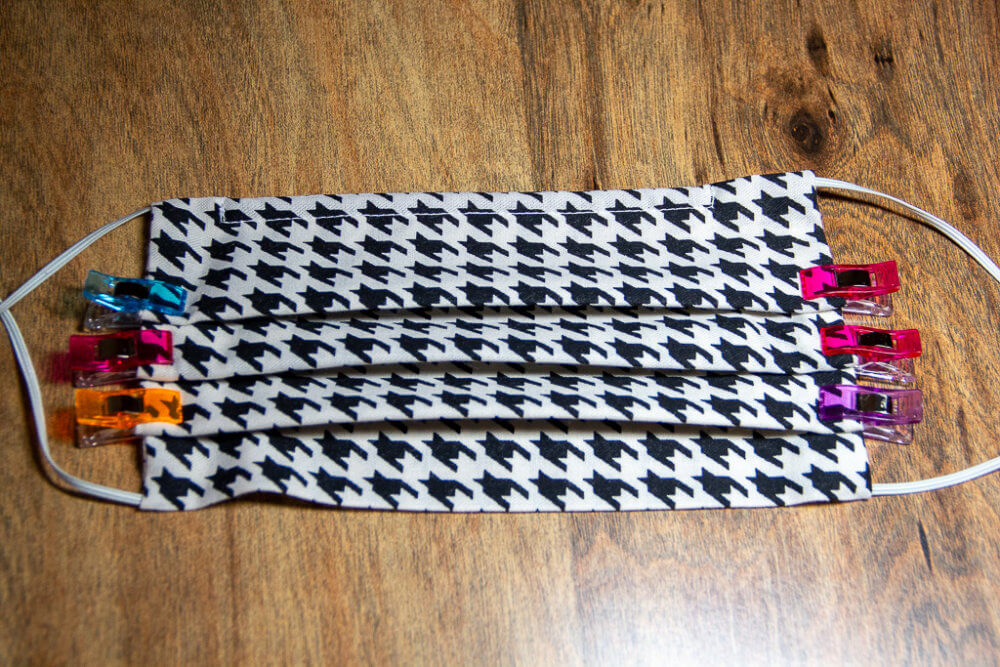
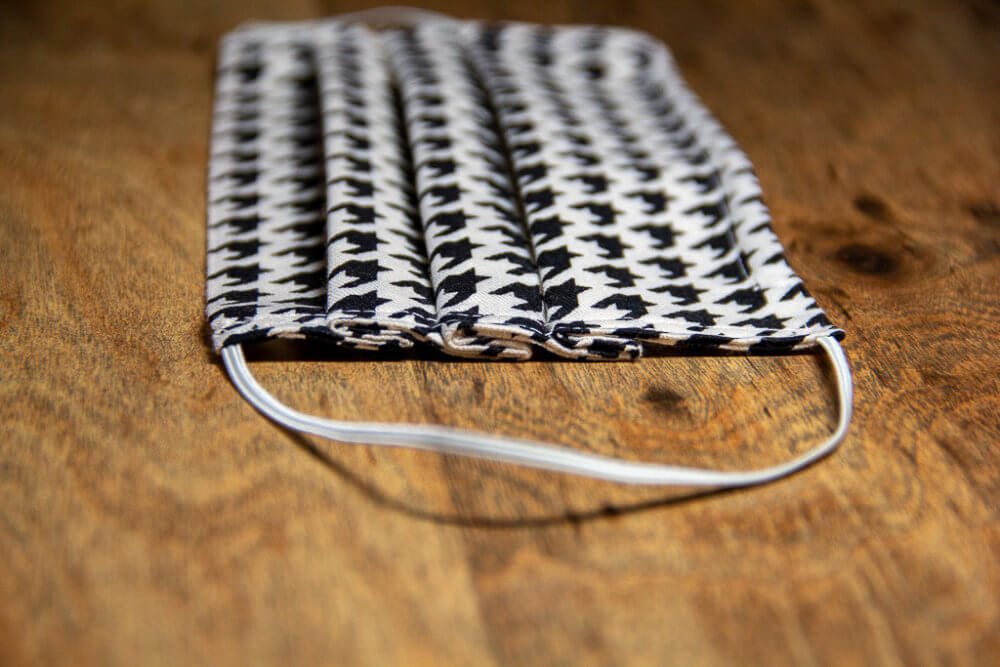
 This is a side view so you can see how the pleats butt up against each other.
Way to go, you did it! Now, make the whole family a mask since you know how to sew a non-surgical protective face mask.
Check out this post to learn how to make a headband with buttons to save the ears from the elastic on the masks.