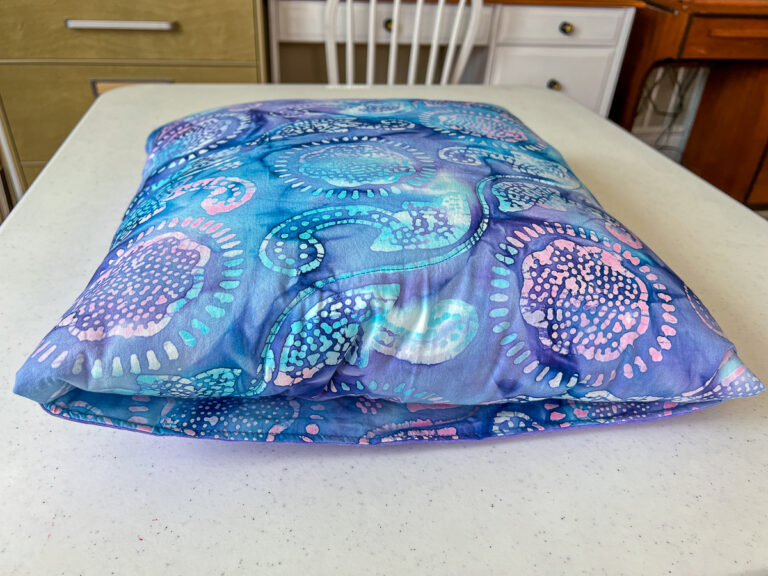
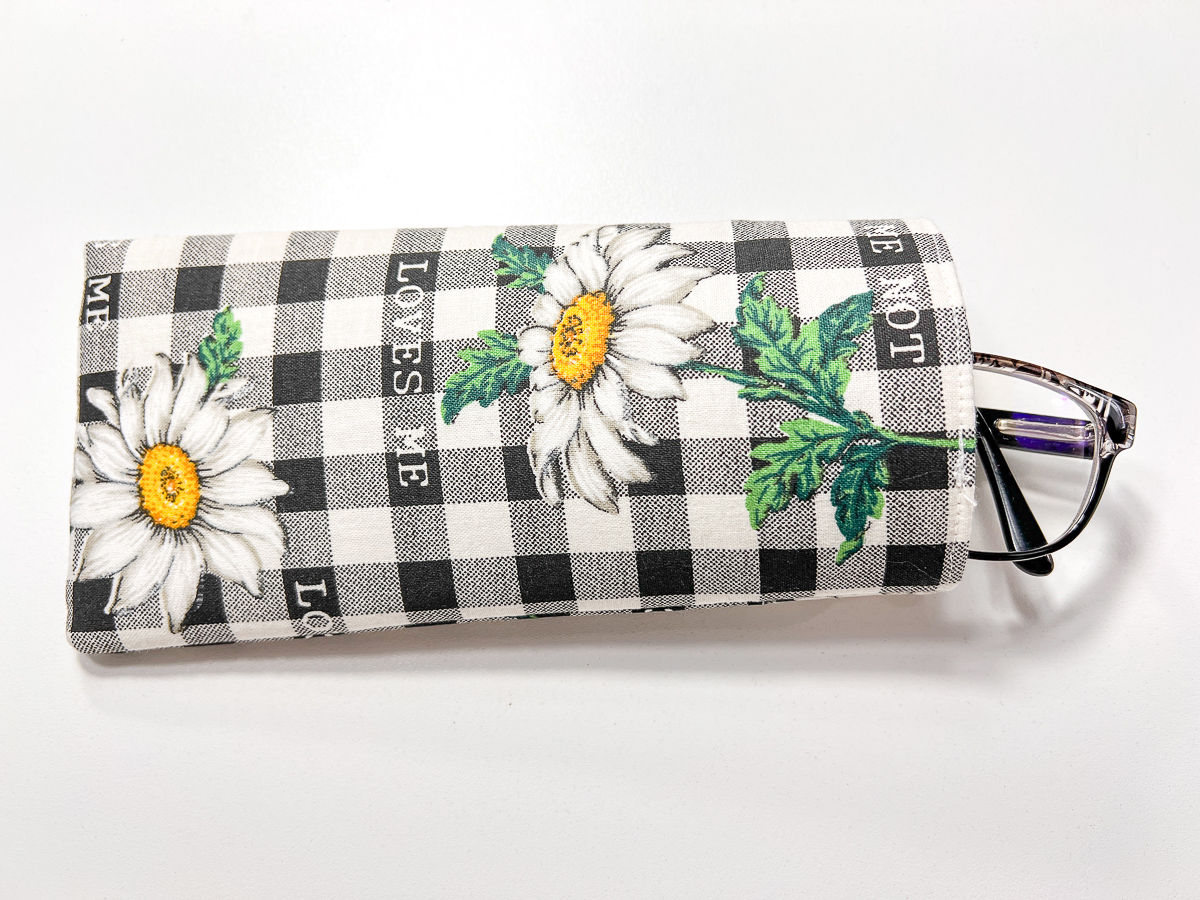
Glasses Case DIY
Fast and Easy glasses case DIY. Let’s do it!
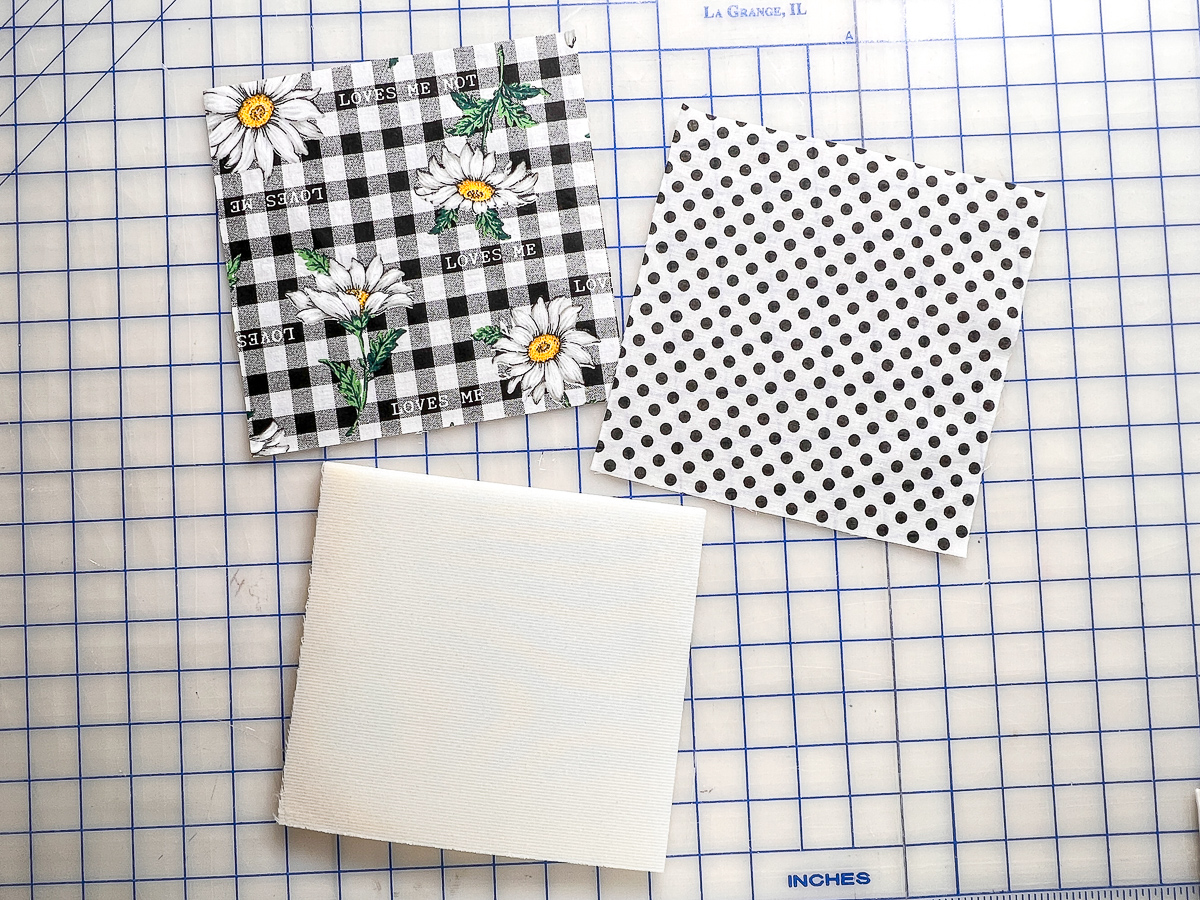
Supplies:
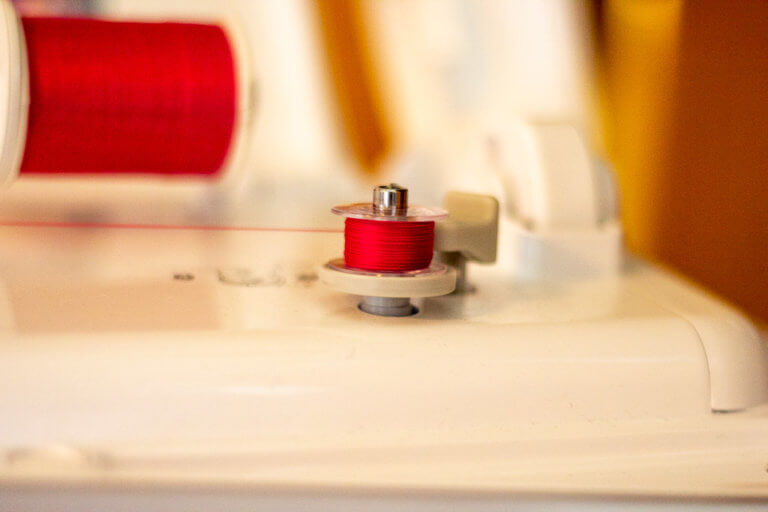
Sewing Machine and Thread
Pins or Clips
Outer Fabric
Lining Fabric
Flex-Foam 1-sided fusible stabilizer
For a $5 pattern and instructions, click here!
Instructions:
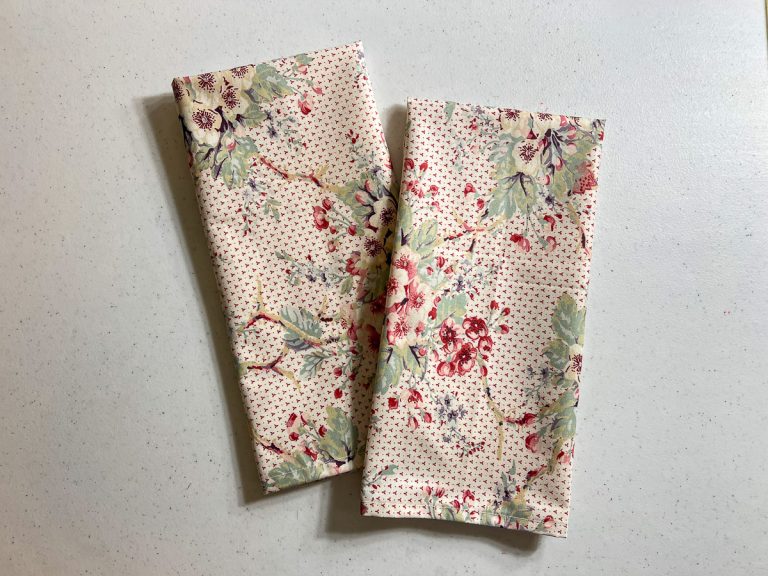
Cut a 7 1/2″ square of outer Fabric, a 7 1/2″ square of Lining Fabric, and a 7″ x 7 1/2″ foam.
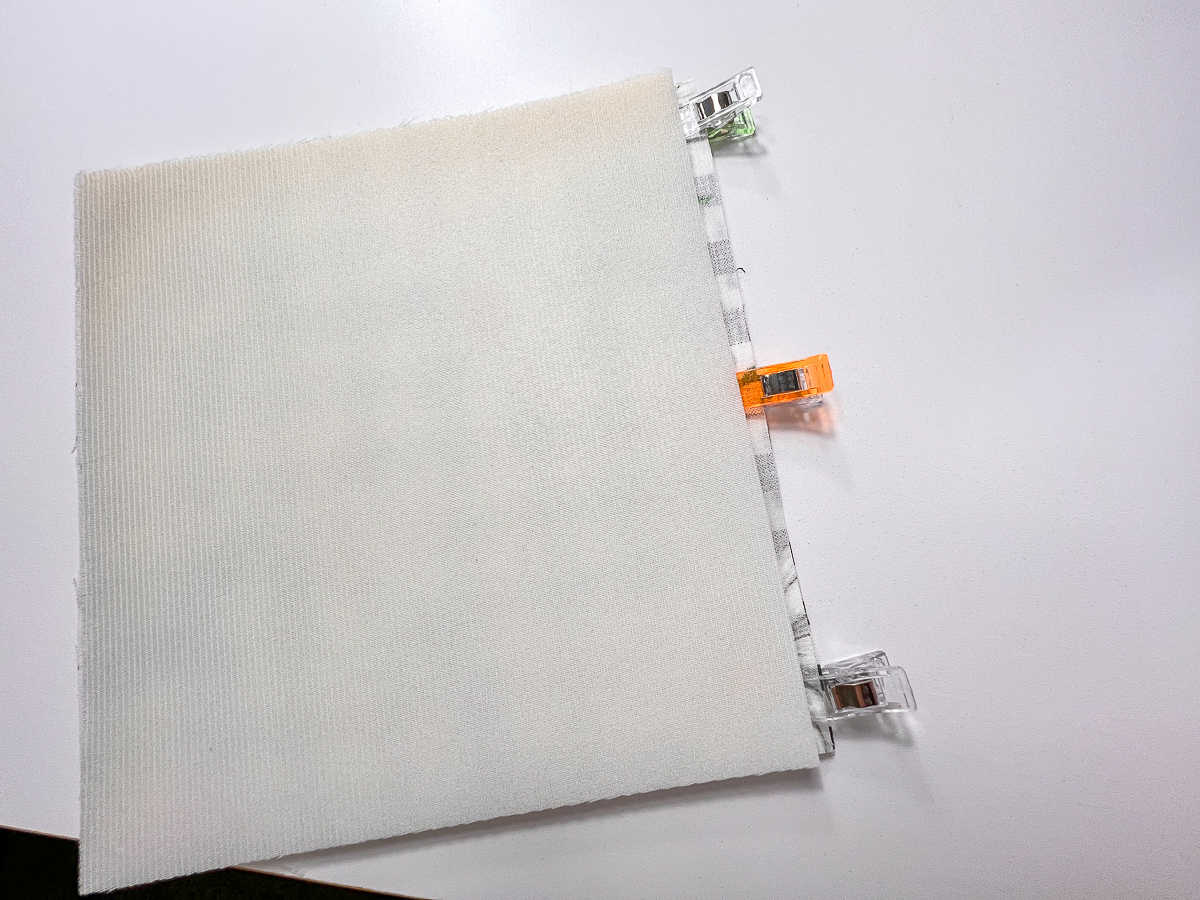
Center the foam on the outer fabric (leave 1/4″ at top and at bottom).
Keep in mind which is the top in case you have directional fabric.
Press the fusible side of foam to the wrong side of the outer fabric.
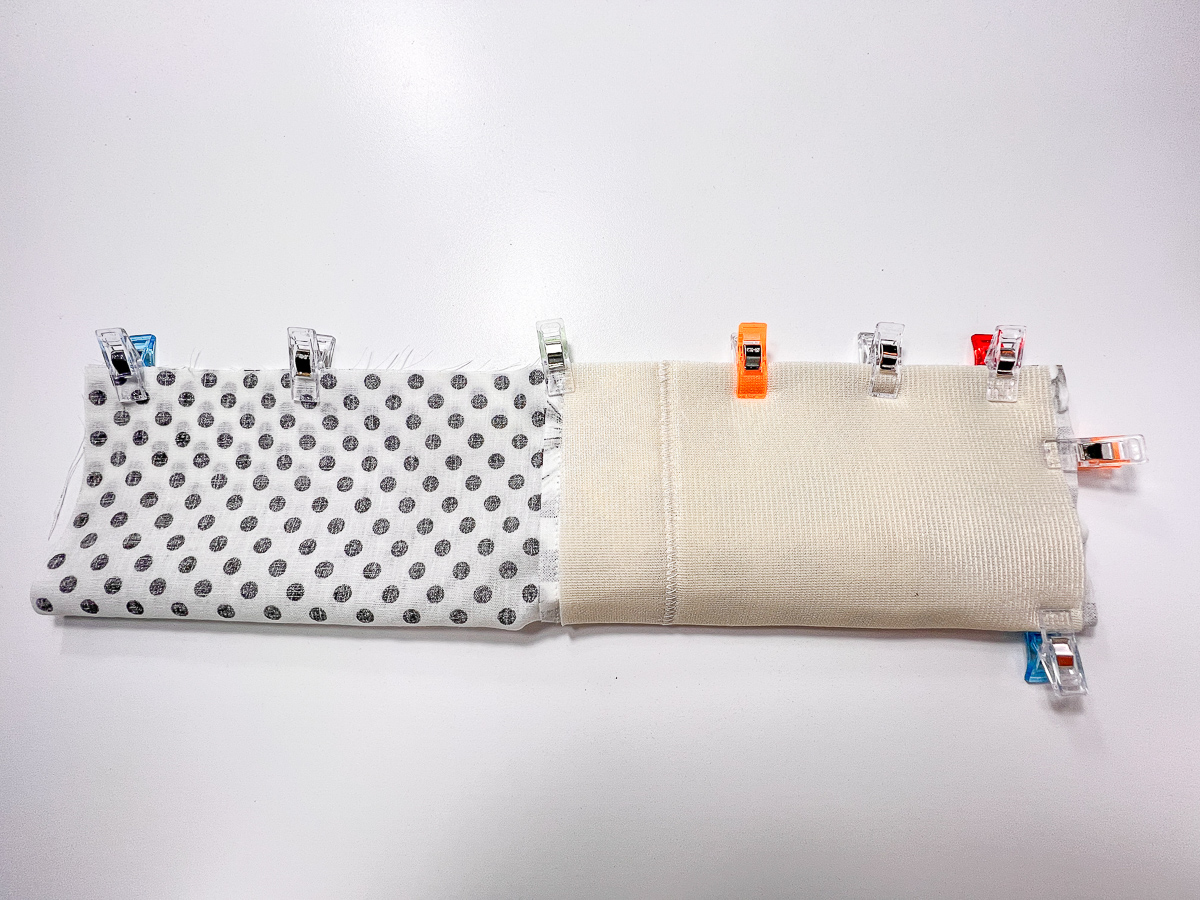
Put fabric right sides together and clip.
Sew a 1/4″ seam allowance across the top edge. Do not catch the foam. That’s why we left 1/4″ at top.
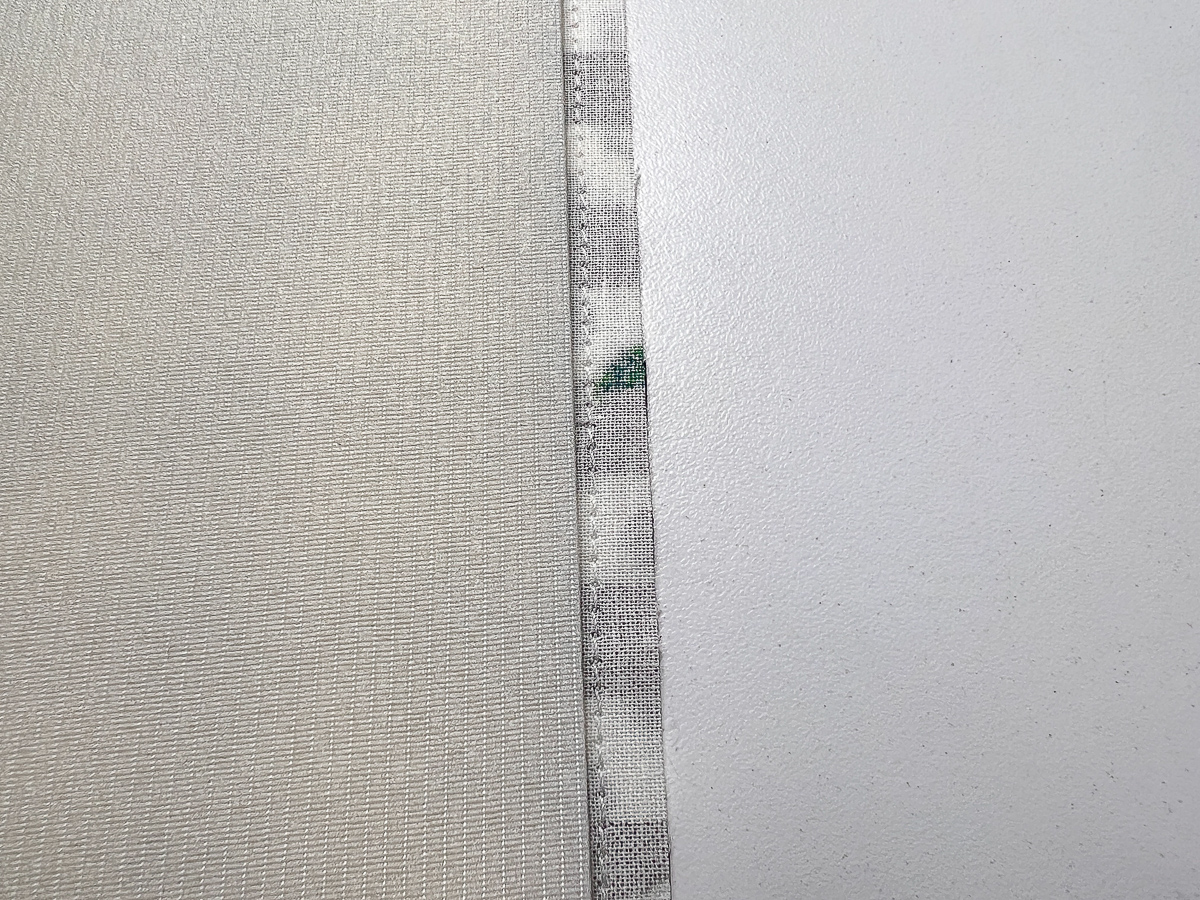
Press towards the lining.
Open up. Fold in half longways with right sides together matching the seam.
Pin or clip together. Leave the bottom of lining open. (That’s where we will turn it right side out.)
I pieced my foam together with a zig zag stitch because I only had remnants of the fusible one.
Sew 1/4″ seam pivoting at the corner, leaving the bottom of lining open to turn.
Clip the corner seam.
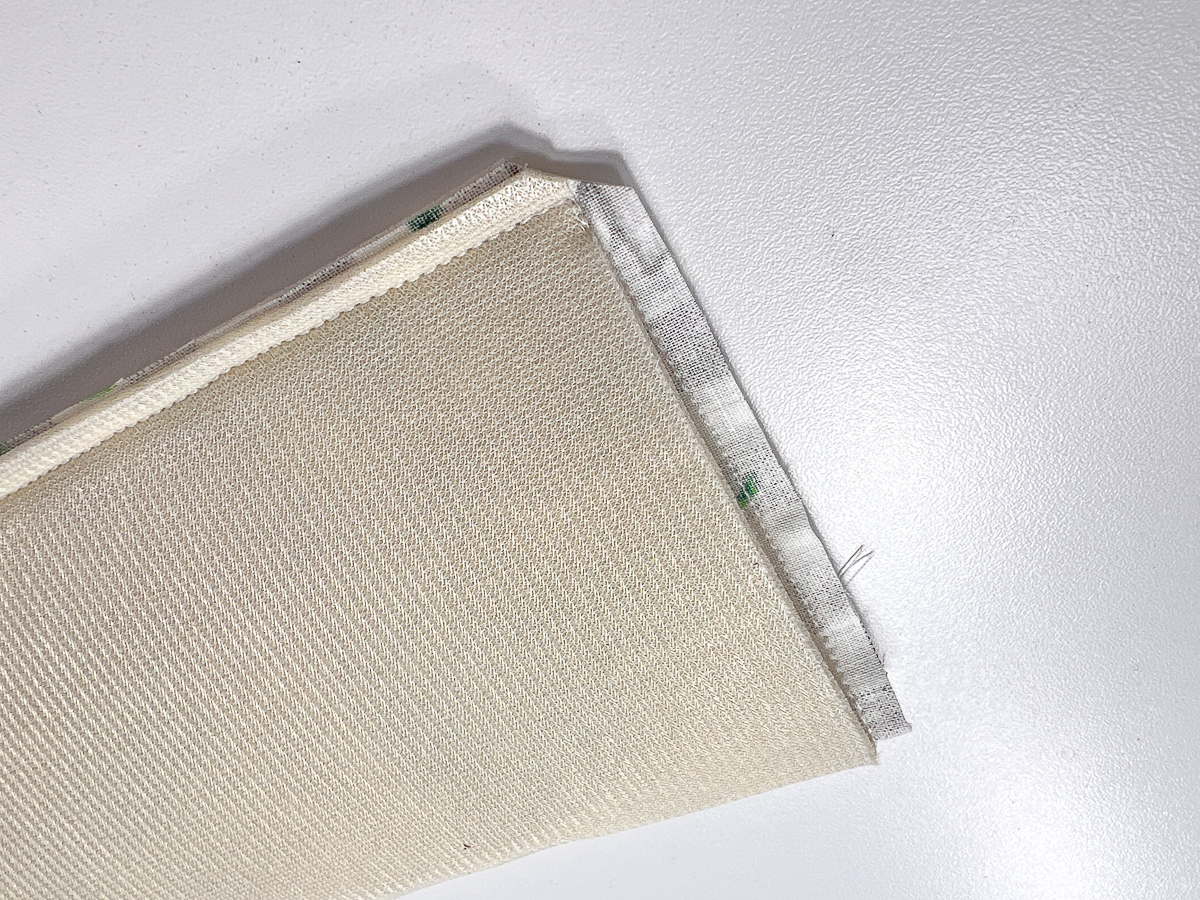
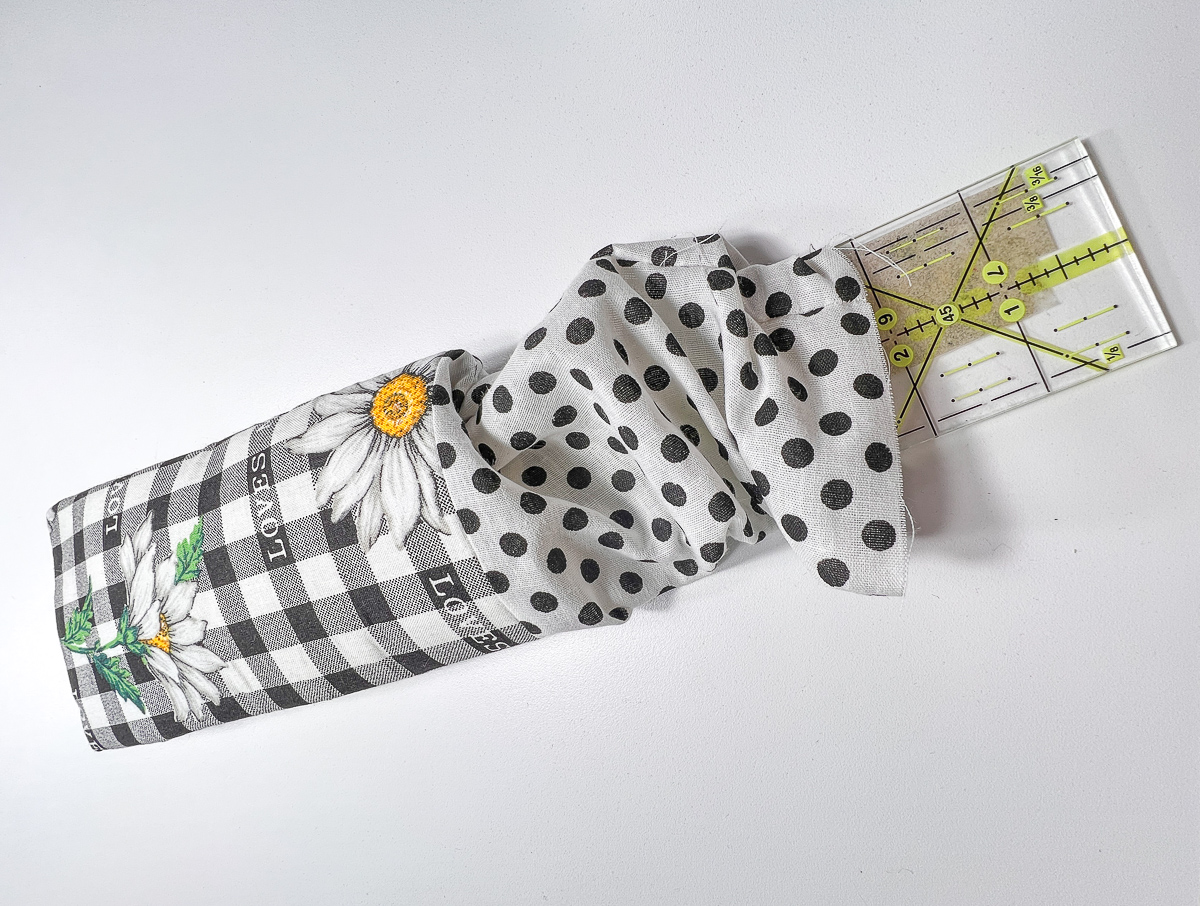
Turn right side out through the opening you left at the bottom.
Use a ruler to put it out. Use a point turner to push corners out being careful not to push through the seam.
Press.
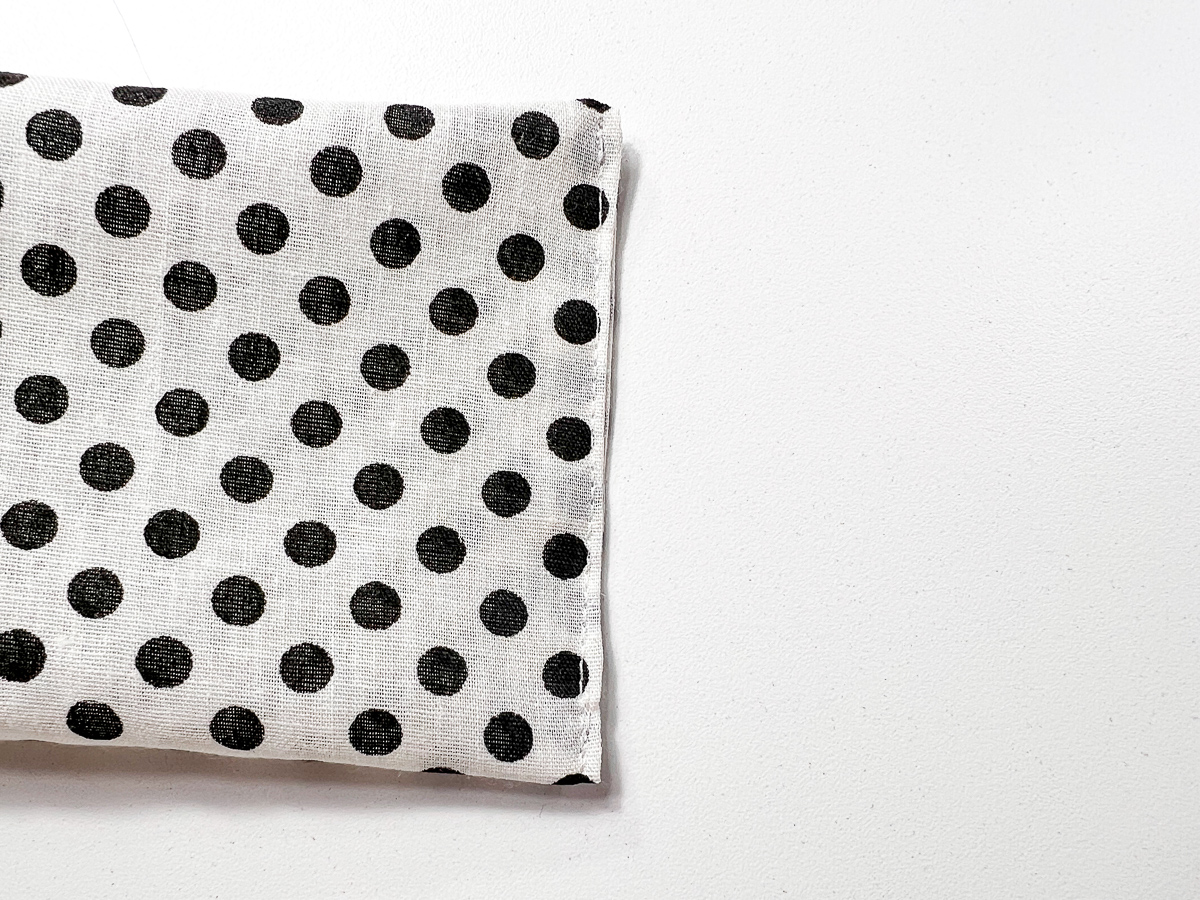
Turn under raw edges of lining to the inside about 3/8″ to 1/2″.
Press.
Top stitch 1/8″ from pressed under edges.
Push the lining inside the case using a ruler.
Roll the seam and topstitch 1/8″ from edge.
Voila, you are done. These make nice gifts and sell well at craft fairs.
Pin to remember…