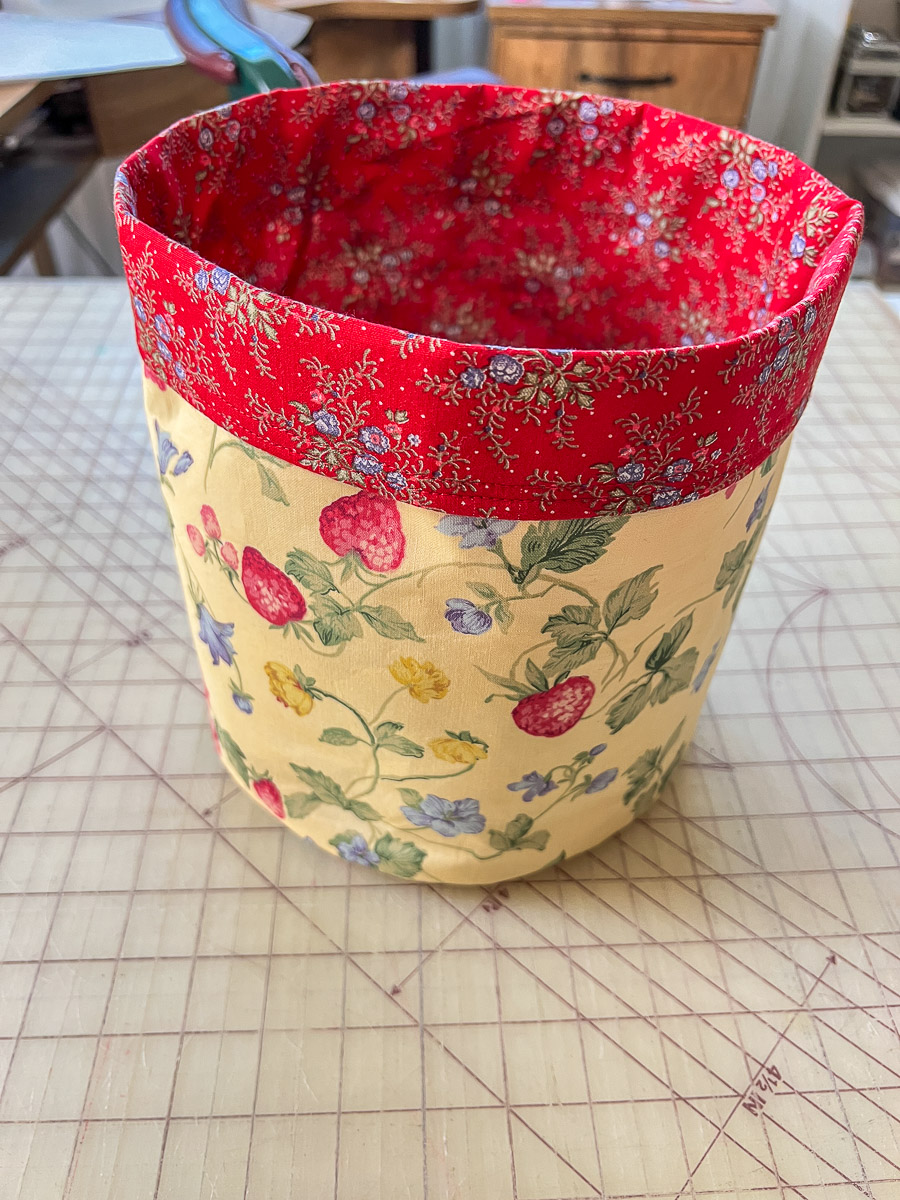
How to Make a Fabric Basket
This basket is quite challenging because of the stiffness and sewing in a circular motion around the base. However, it is totally doable. Learn how to make a fabric basket with me. Please note: it is reversible! YOU CAN DO IT!
Supplies
Fabric 1 (100% cotton quilt weight fabric) – 1/3 yard – your choice
Fabric 2 (100% cotton quilt weight fabric) – 1/3 yard – your choice
Pellon Decor Bond 44″ Fusible Interfacing #809 – 5/8 yard
Thread
Scissors OR
Rotary Mat, Rotary Cutter, Quilting Ruler
Pins or Sewing Clips
Instructions
Cut
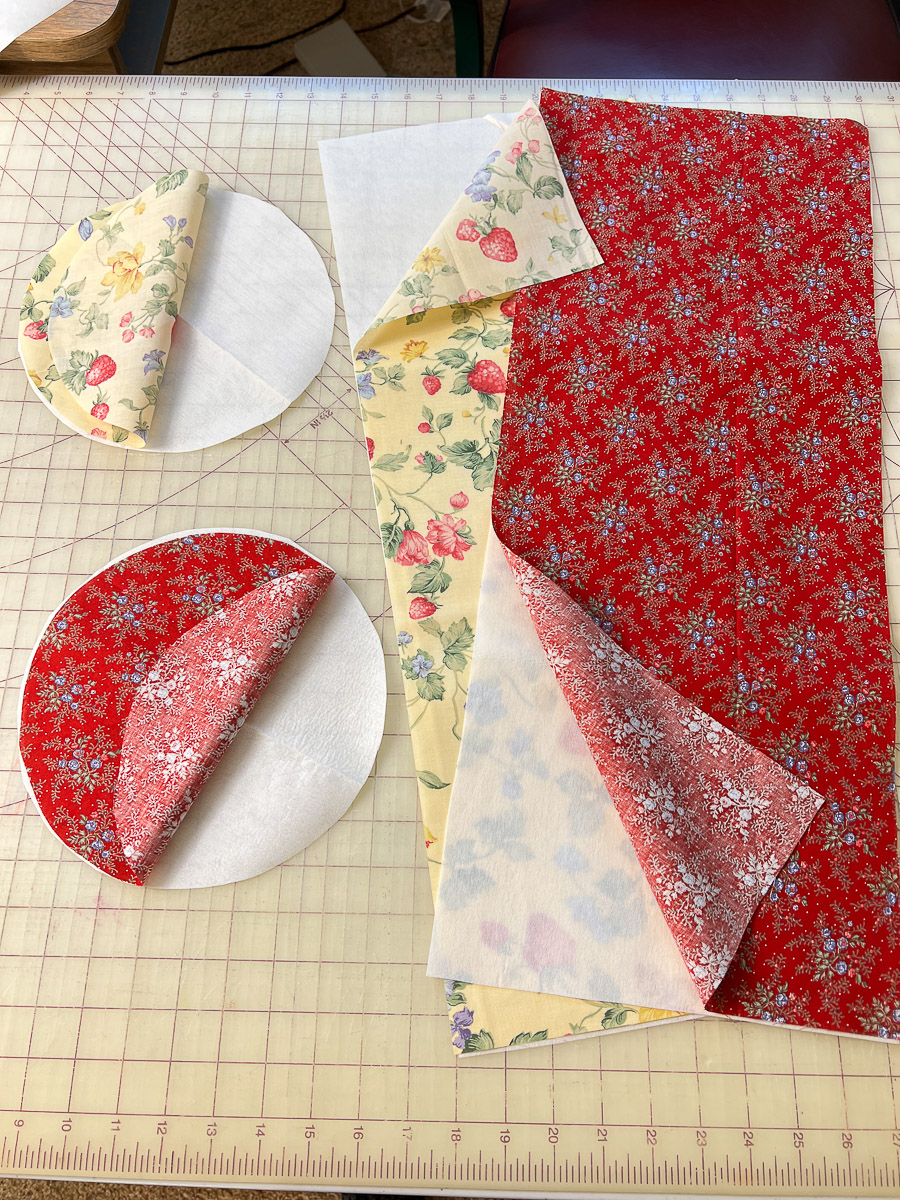
From each fabric, cut (2) 10″H x 25 1/2″W strip
and (1) 9″ Square
Interfacing – Cut the exact same as above
Do you prefer to watch on YouTube:
First
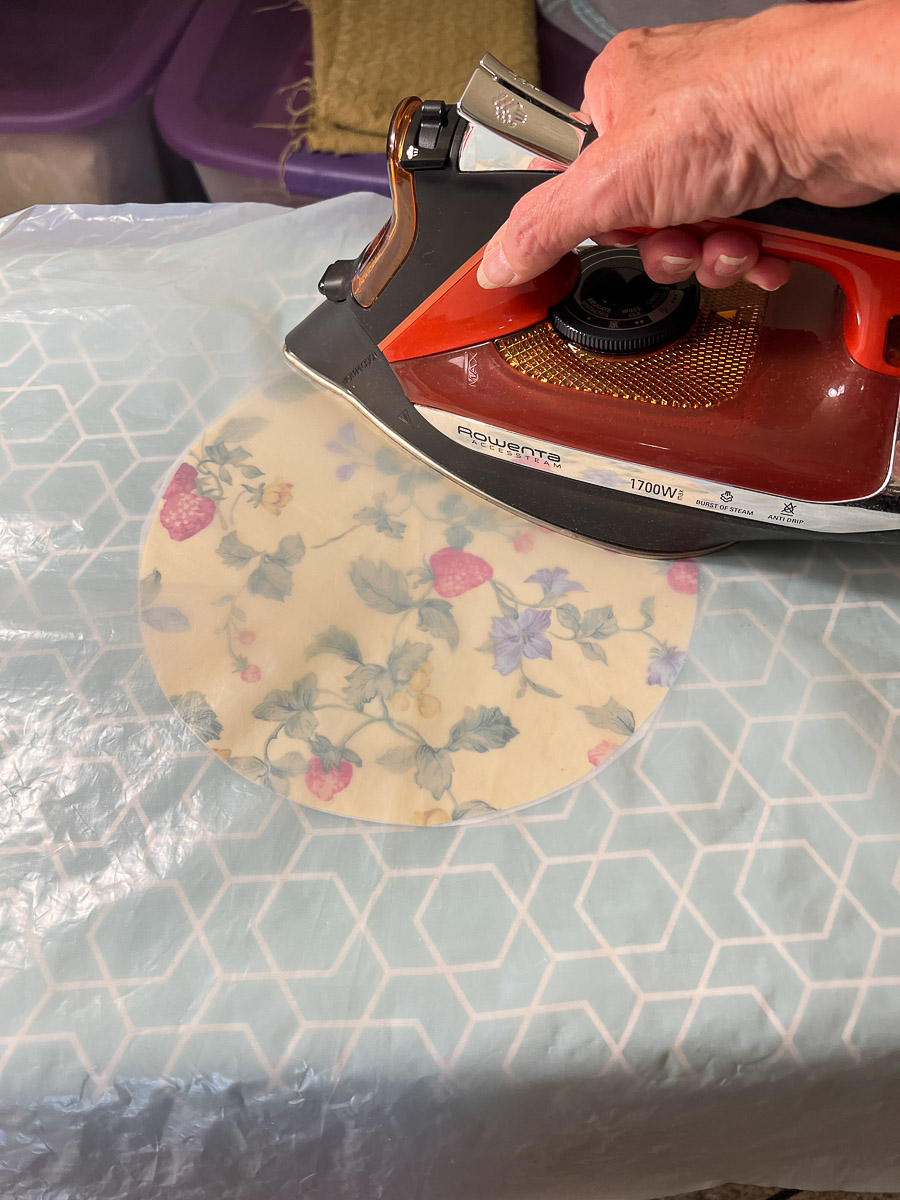
Iron the fusible interfacing to the wrong side of each strip and each square. I use a teflon sheet on the top.
You will have a strip and a square of two fabrics.
Second
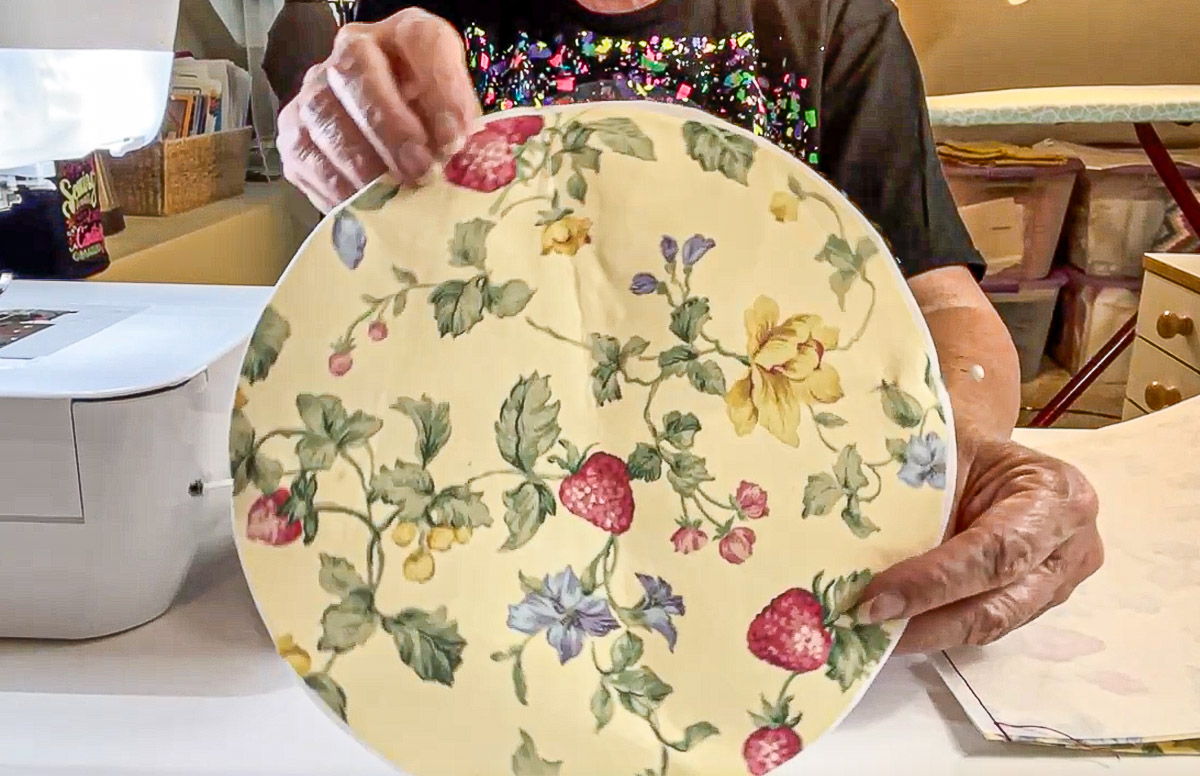
Cut out an 8 1/2″ circle from each 9″ square.
If you prefer, I have a template you can download here. You would need to fold your square in half and fold in half again to use the template.
Third
Next, you will sew the sides of the basket. Sew the short ends of the strips having right sides together. Press the seam open. Repeat with the other strip of fabric 2.
Divide the tube into 4 quarters. and mark on the interfacing side. Repeat with both tubes. If you have a directional fabric, mark at the bottom.

Additionally, find and mark the 4 quarters on both of the circle bases. Fold in half, mark the sides, and then fold in half the opposite way and mark.
Fourth
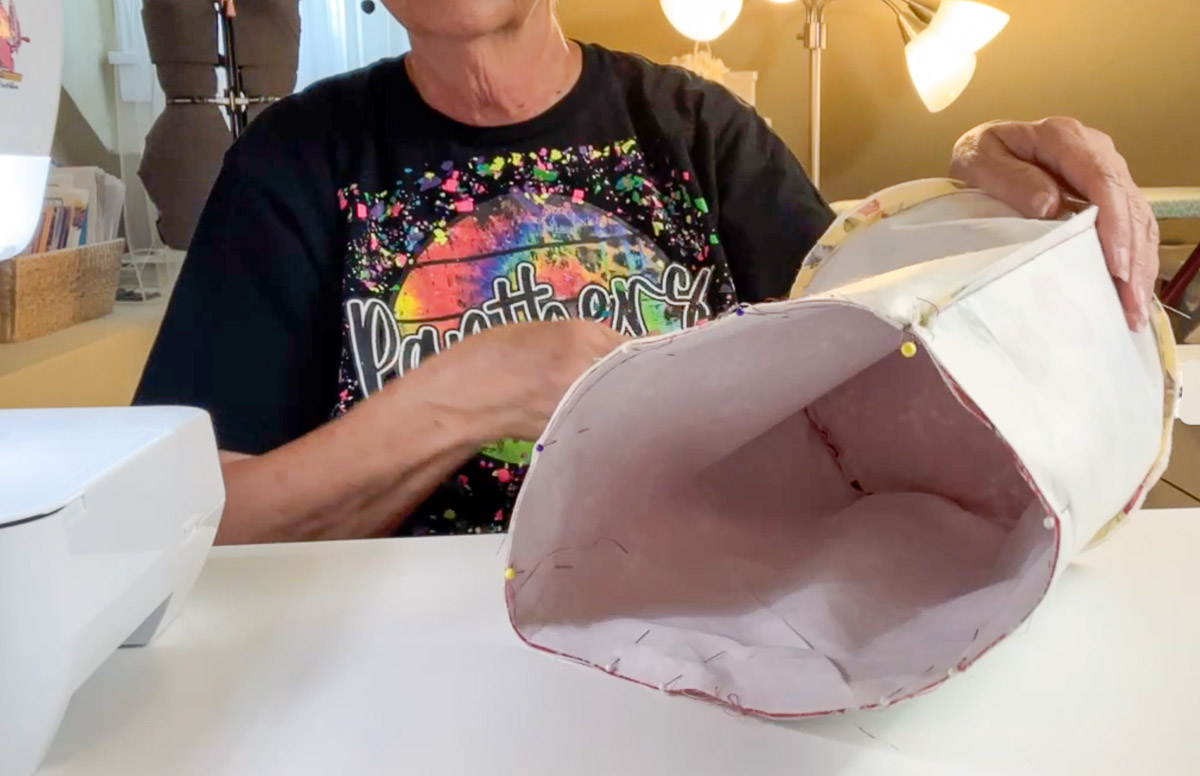
Assemble the basket, by placing one of the circle bases right sides together with the matching basket tube. Align the 4 quarter marks and pin in place.
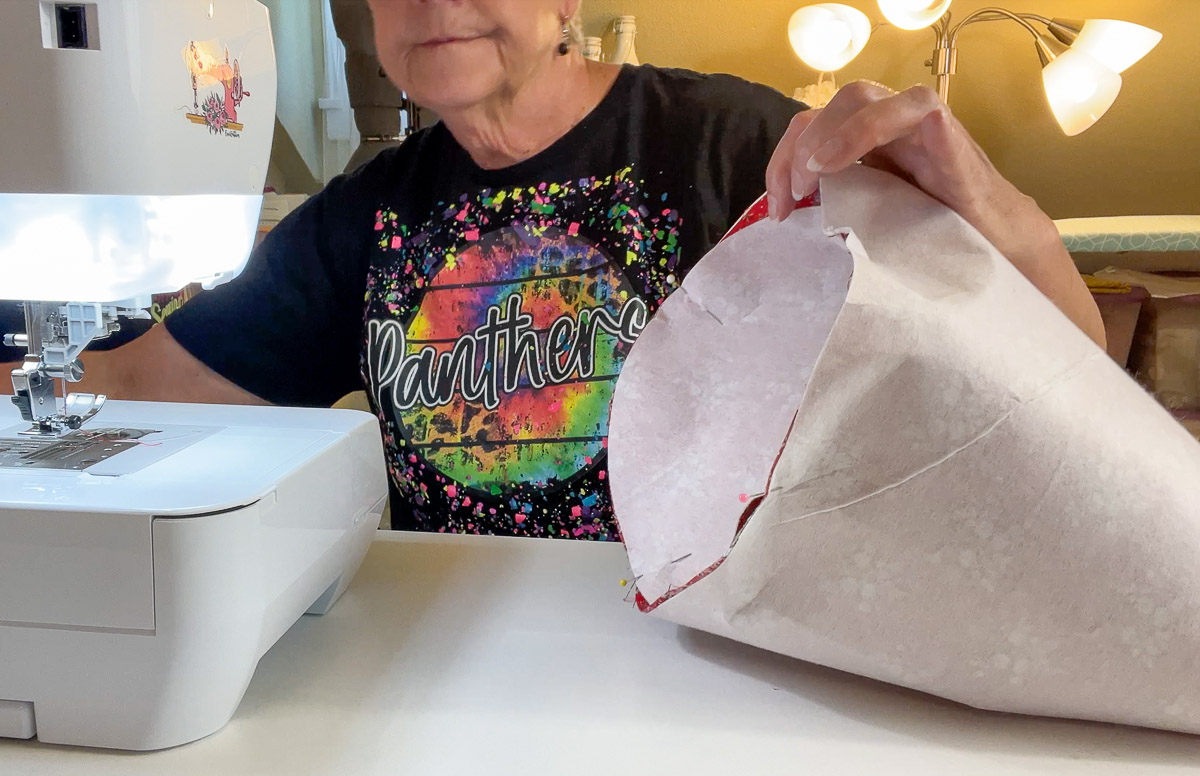
Continue pinning the circle in place. I sewed them from the circle side and from the basket side and found it much easier to sew from the circle side, so it’s best to pin it on the circle end.
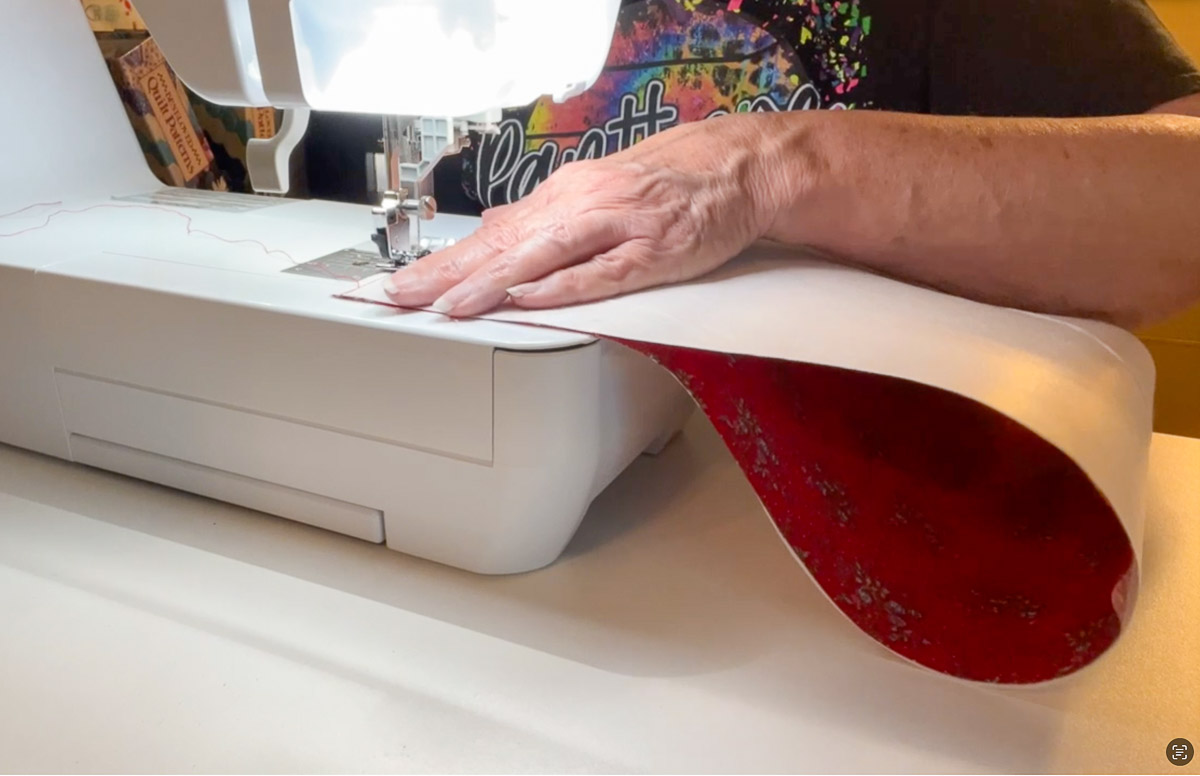
Sew 1/4″ around the base. Sew with the circle on top. It helps to ease in the fullness of the sides. Repeat with other base and side.
Fifth
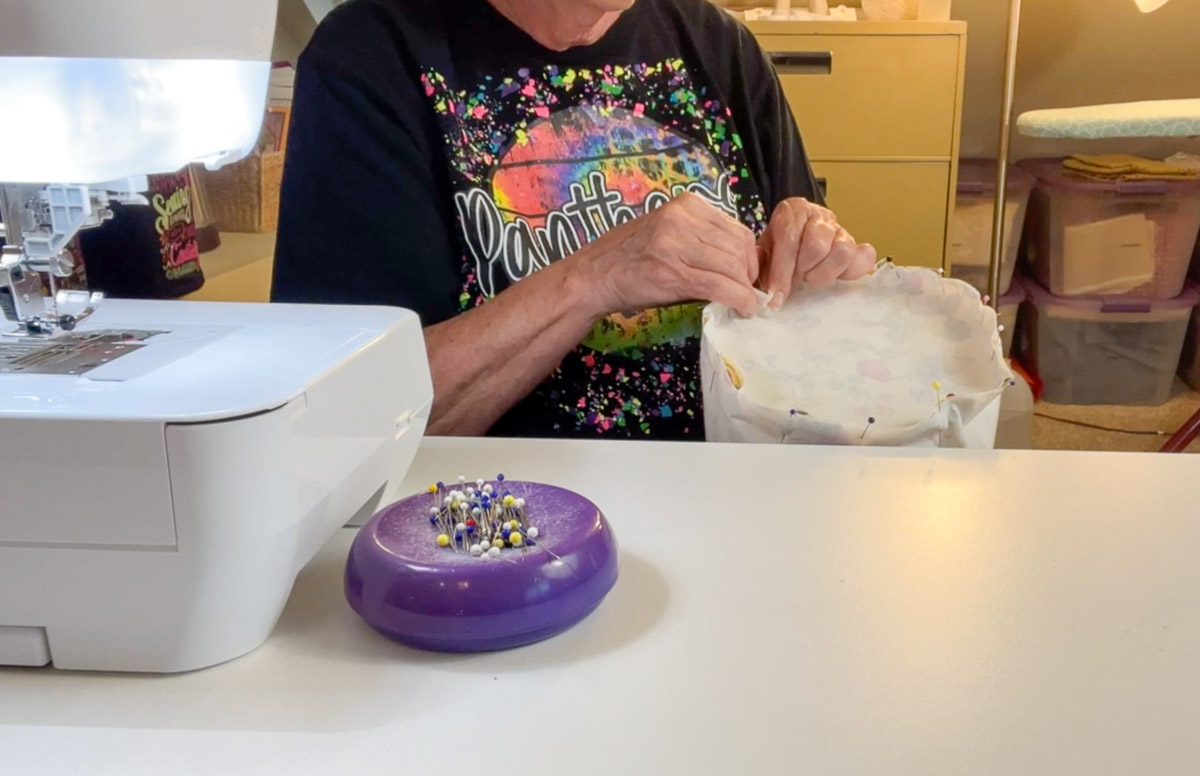
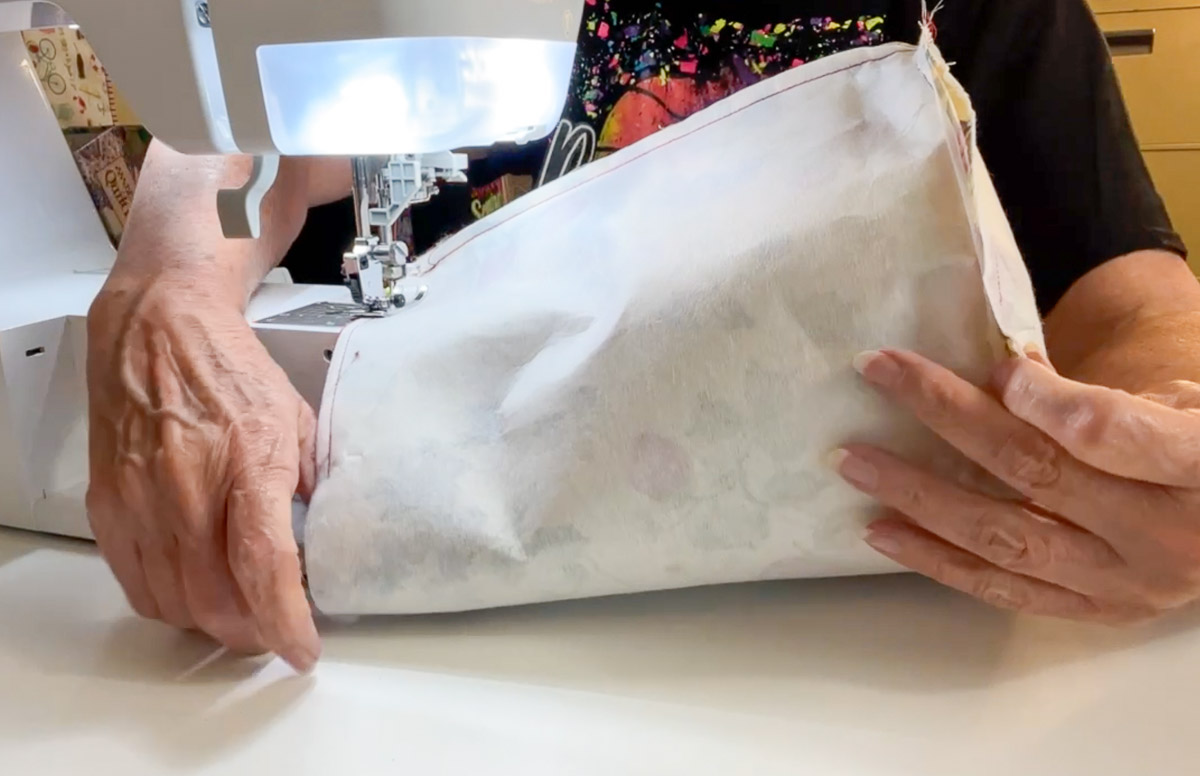
Turn one of the pieces right side out. Place the basket inside the unit that is wrong side out. This will be right sides together.
Pin around the top edge.

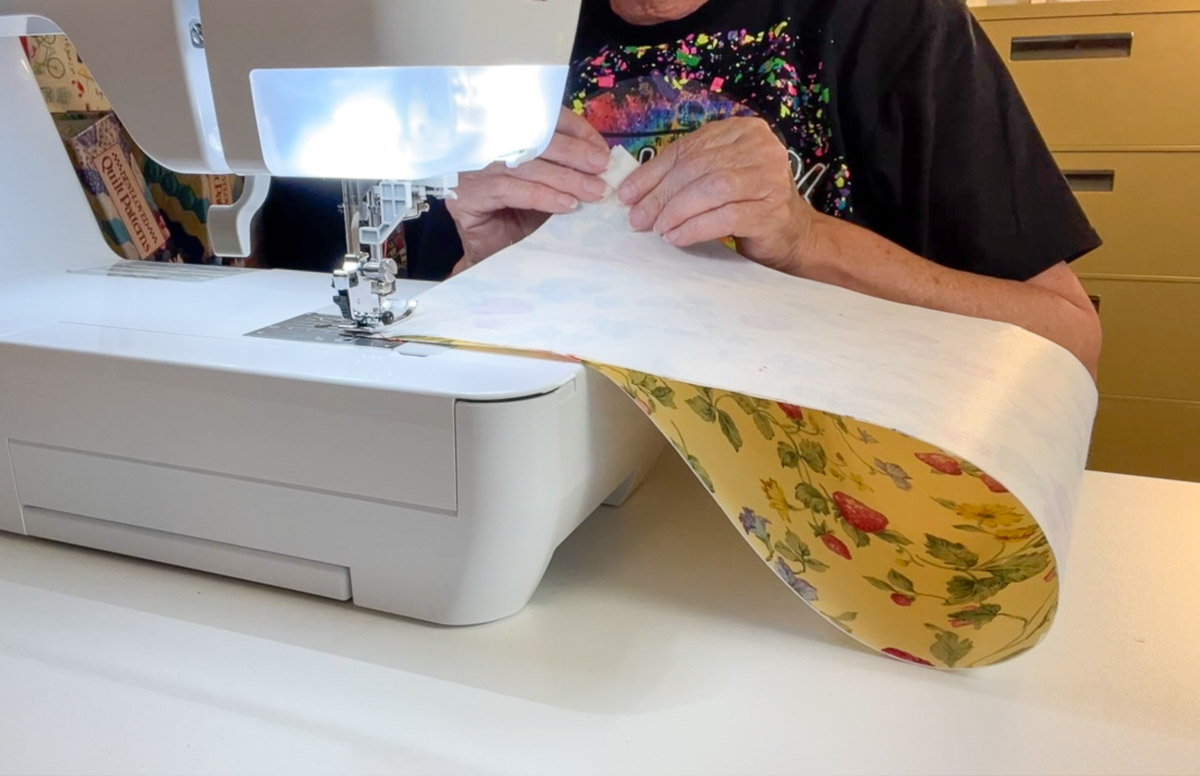
Sew 1/4″ around the top leaving an opening to turn. If your sewing machine has a free arm, remove it. This makes it easier to sew this step.
Finally
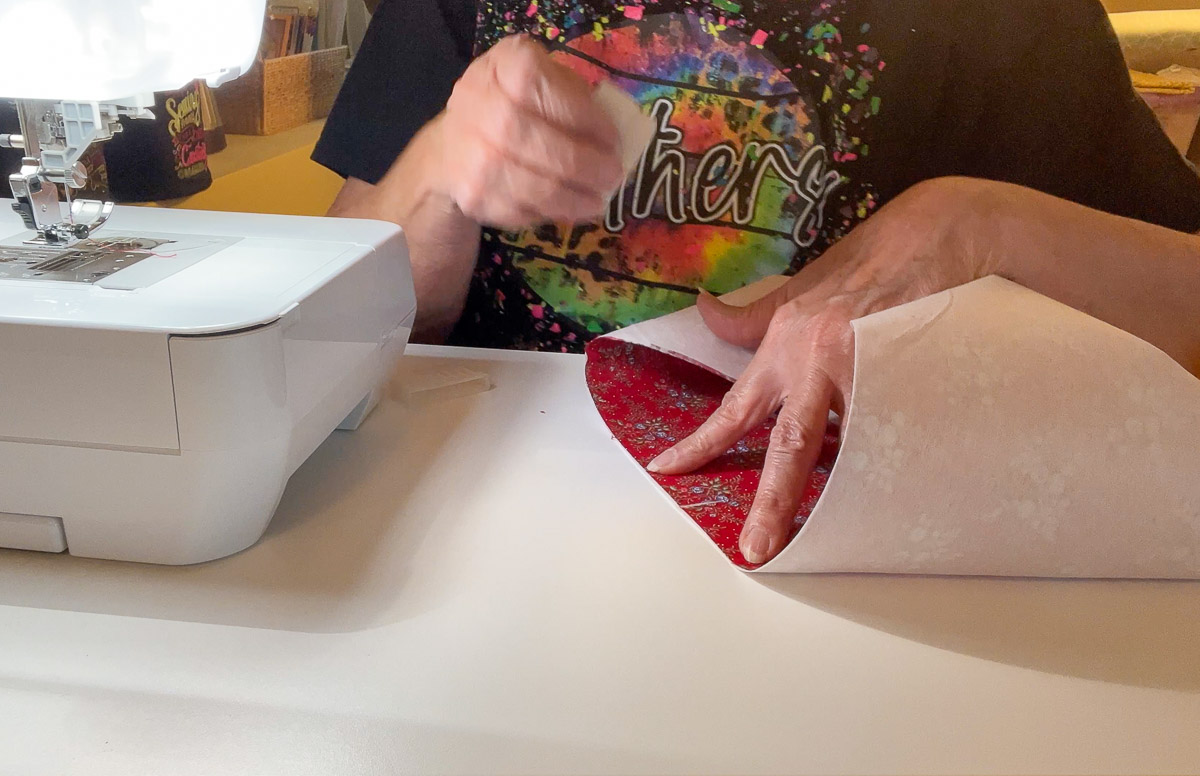
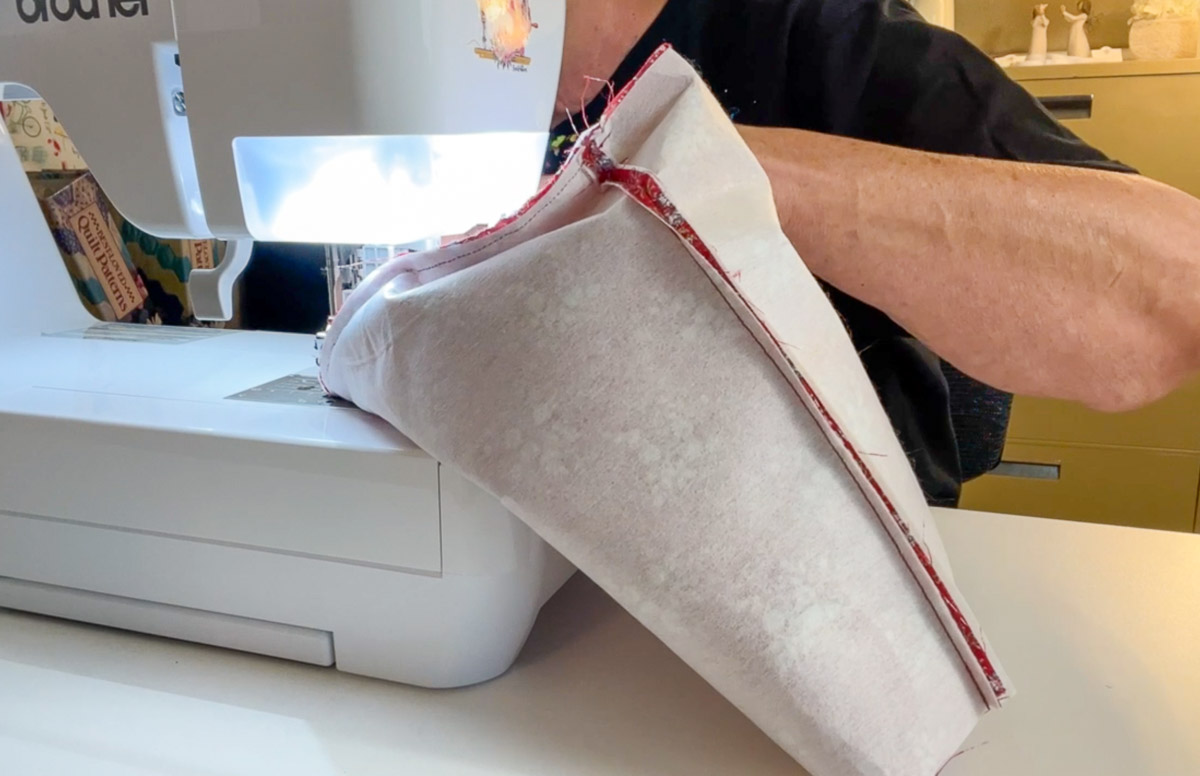
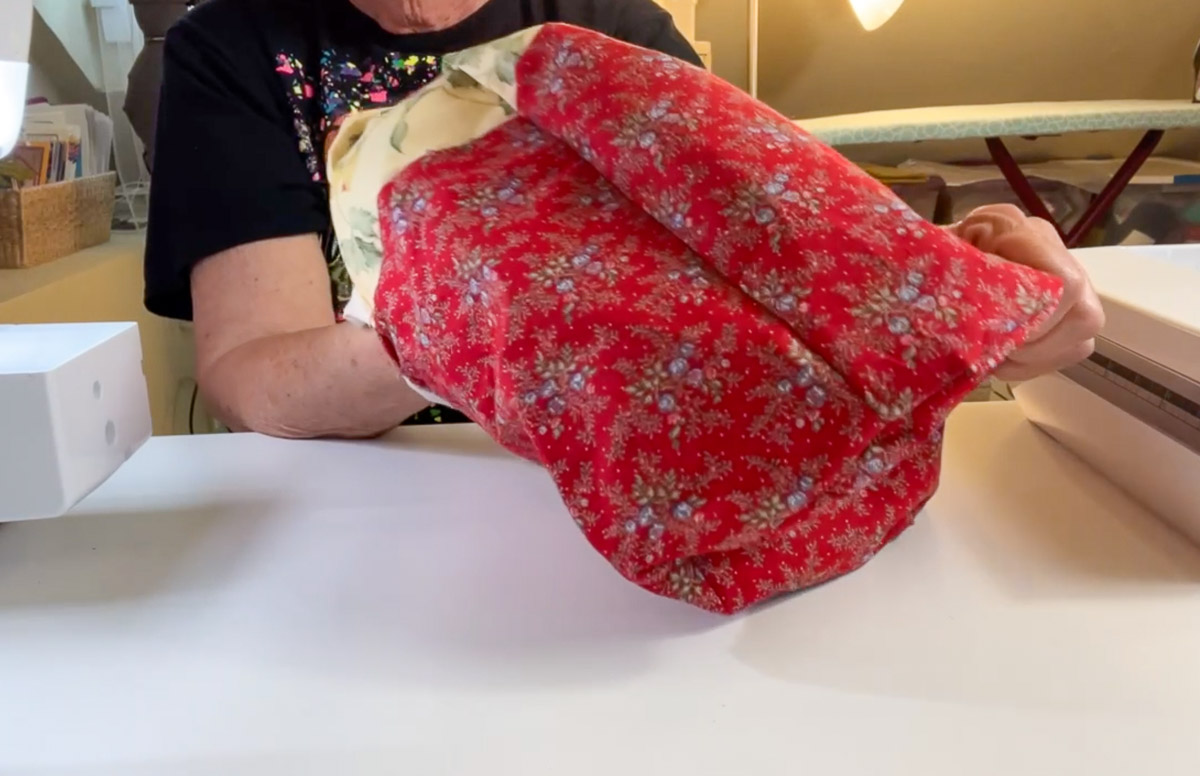
Turn the basket right side out through the opening and press well.
Fold the raw edges of the opening inwards and pin. Press.
Topstitch all the way around the top 1/8″ from the edge to close the opening.

Add another line of topstitching 1/4″ from the top.

Fold the top down 1 1/2″ to create the contrasting fabric 2, creating a cuff.
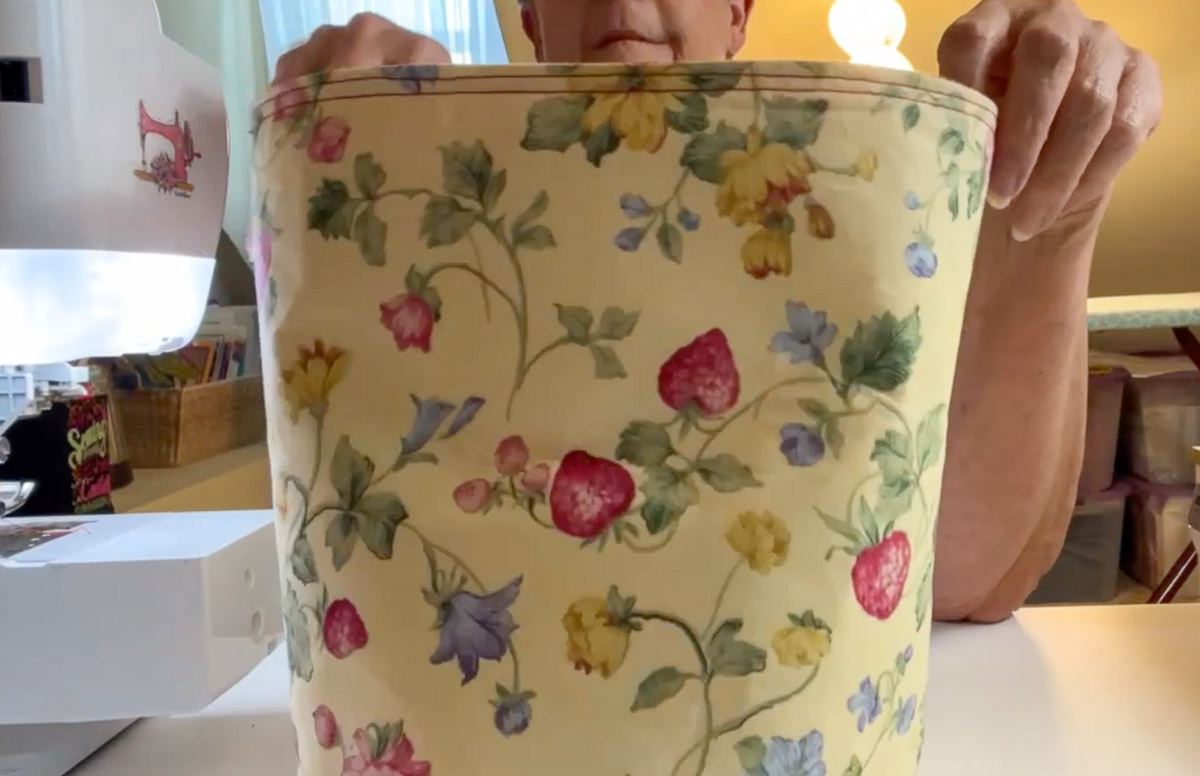

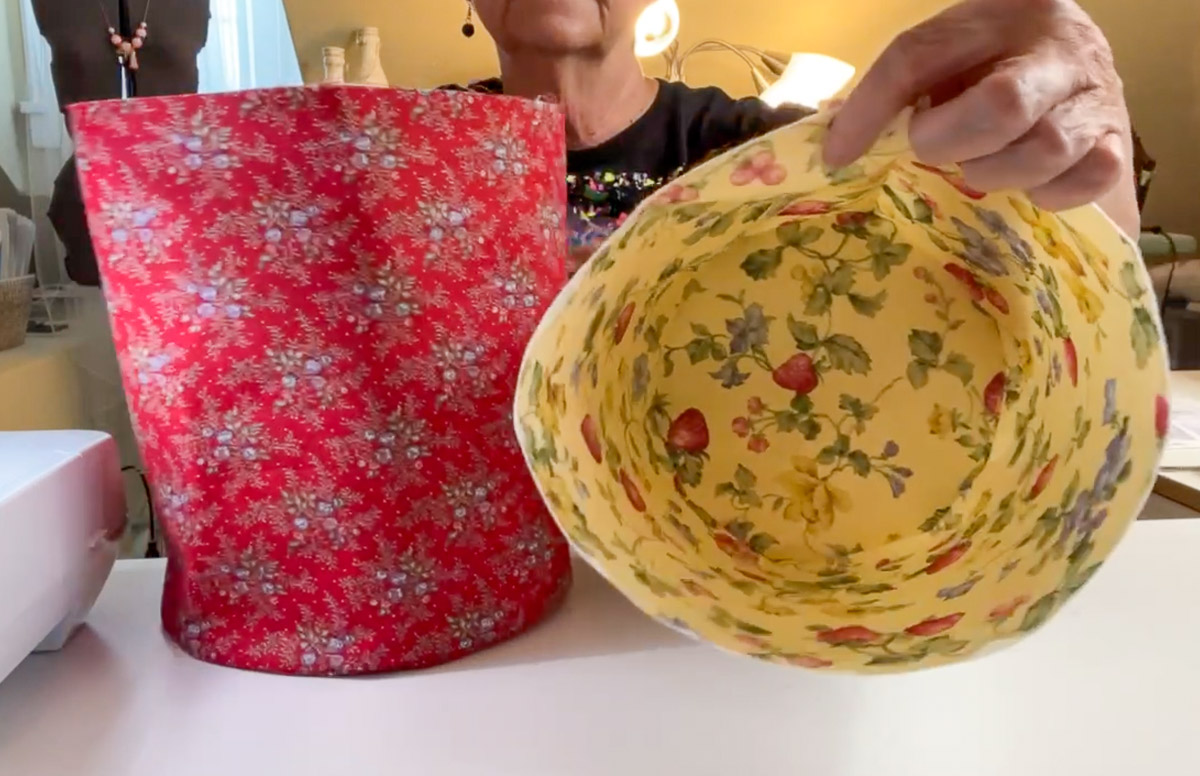
Voila! You are done. Now, are you brave enough to make another one?? You can add anything you want, depending what you are going to use it for.
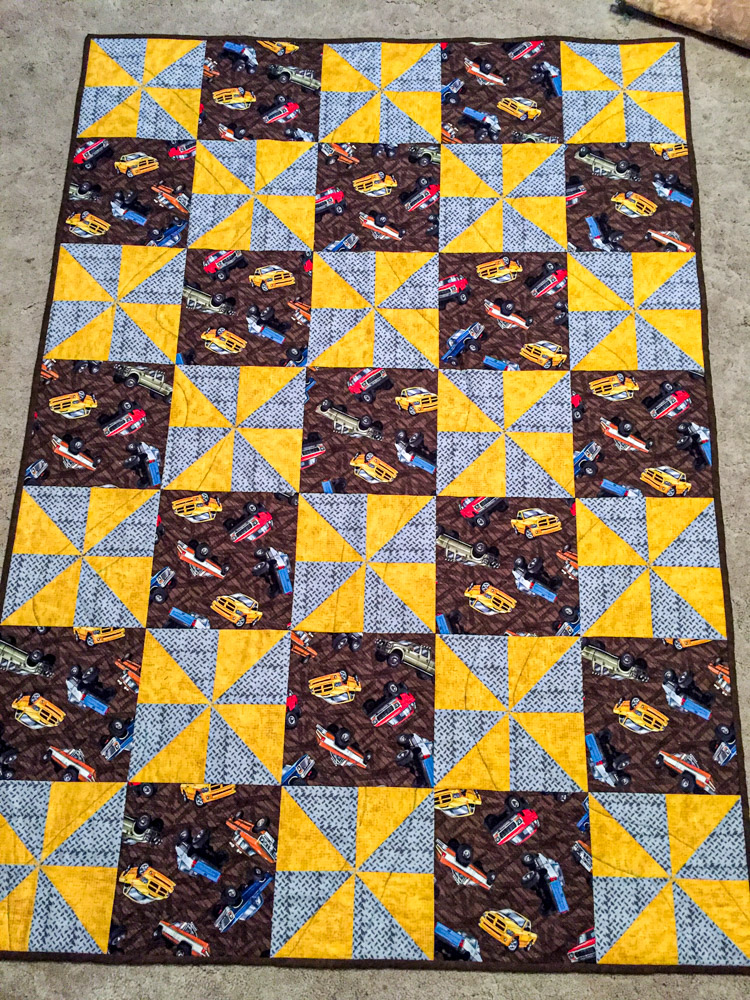
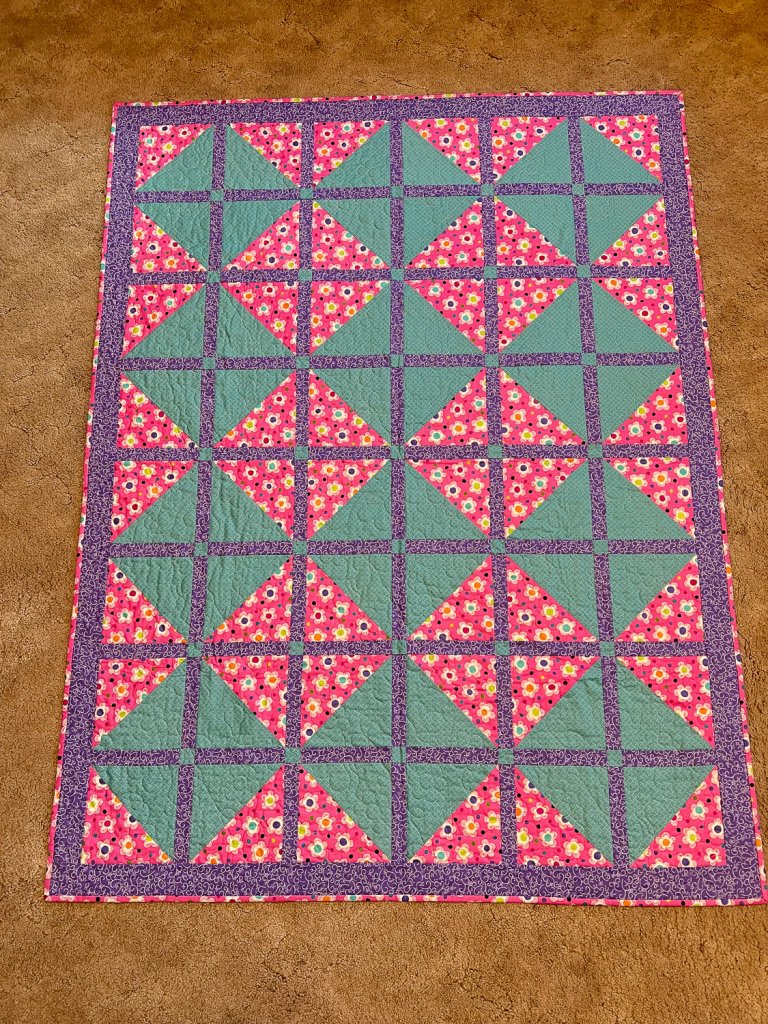
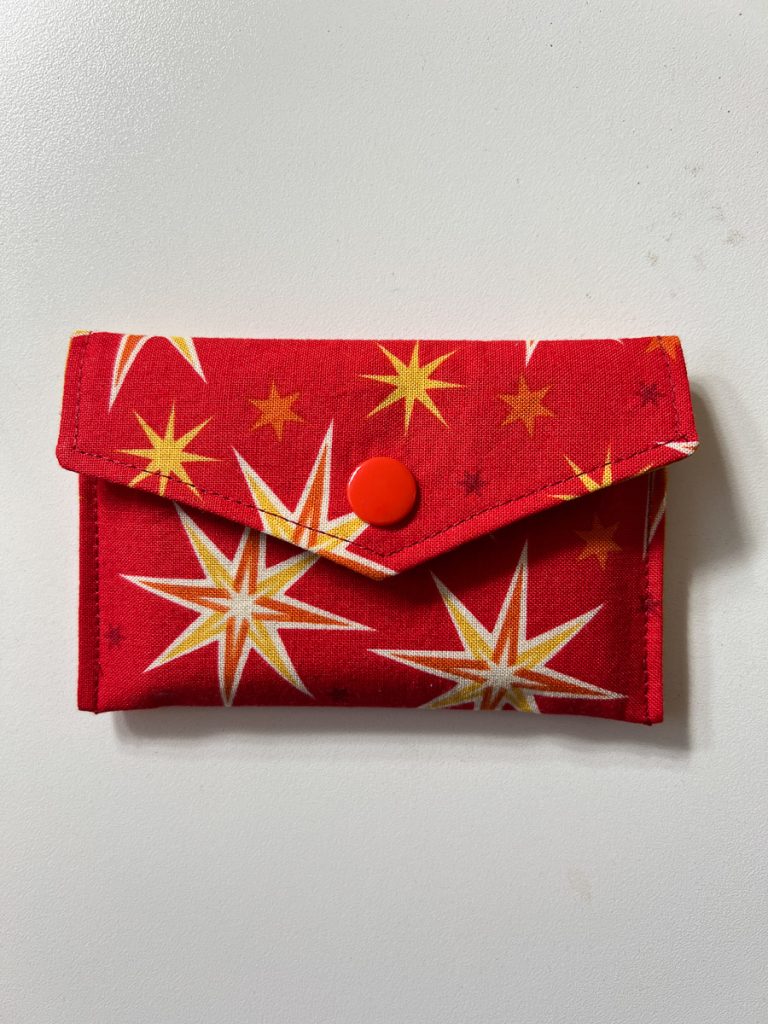
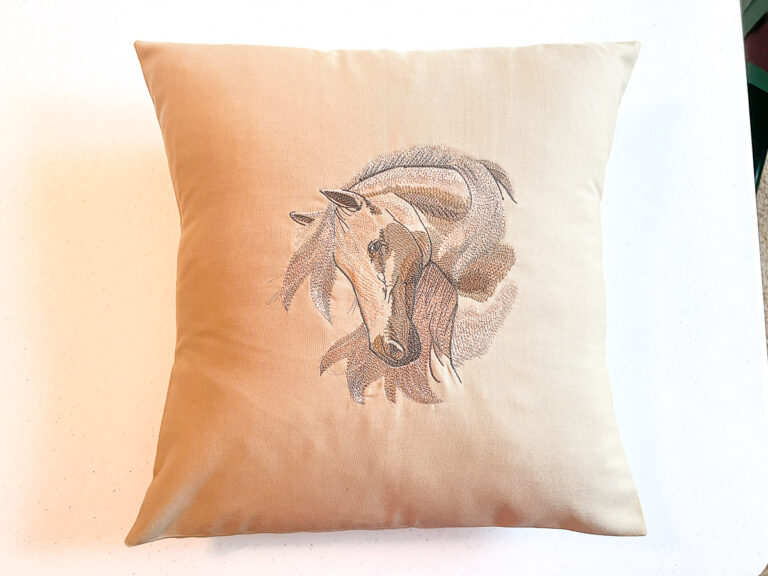
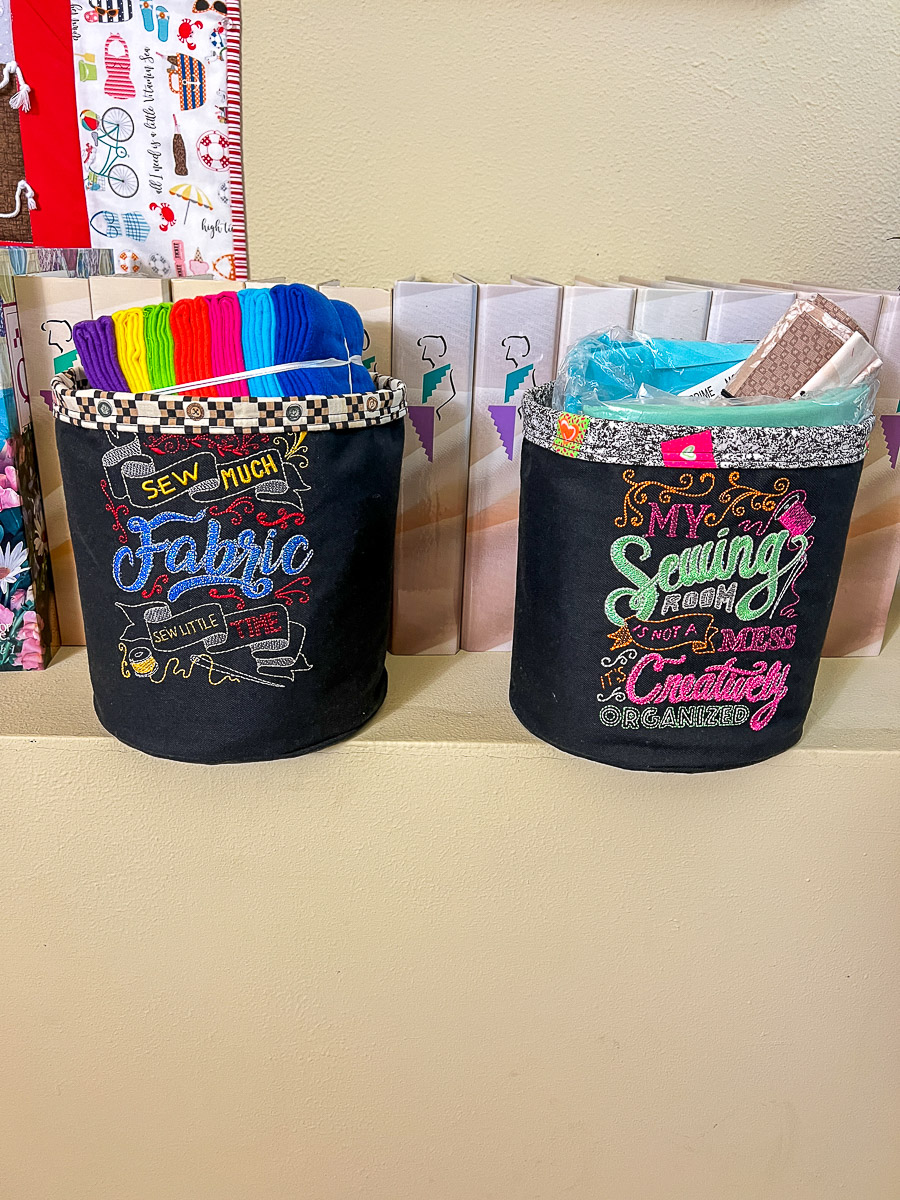
Here’s a few more I made:
Sharing is Caring ???? :