How to Make a Bib with 8 ways to Embellish
How to Make a bib with 8 ways to embellish them:
Have you ever wanted to make your own bibs? You can never have enough bibs. They are such an easy sew. Need a last minute shower gift? Then you are in the right place. You can make them plain jane or really dress ‘em up. I’ll show you how to make a bib with 8 different ways to embellish them and make them adorable.
You will need:
1/3 yard material (I dug in my scrap pile)
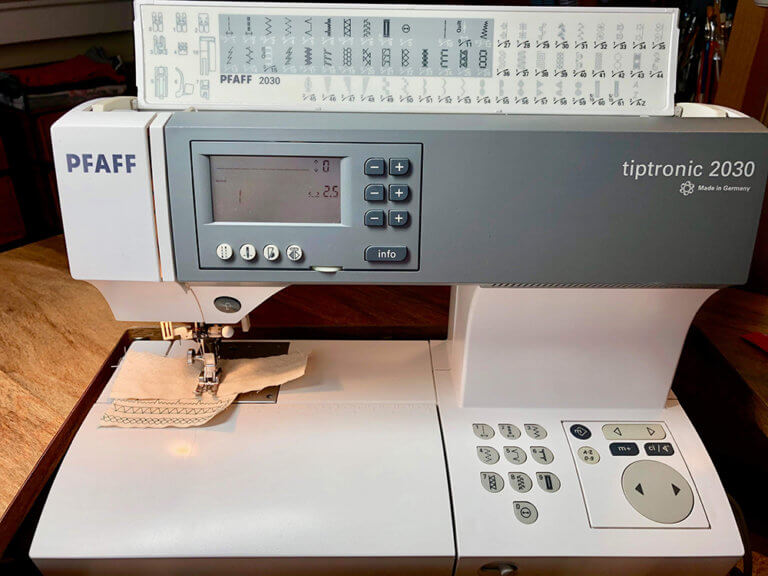
sewing machine and thread
ribbon, trim, lace, embroidery or more scraps of material
velcro (Optional velcro or kam snaps)
Kam Snaps (Optional velcro or kam snaps)
***The above are Amazon Affiliate Links – If you purchase, I may earn a small commission.
PURCHASE PDF PATTERN OF SUPPLY LIST & SEWING INSTRUCTIONS WITH IMAGES
This size of bib works for babies up to age 4 or whenever they learn to hold over the table. Lol. My 5 year old grandson sometimes thinks he needs to wear one I made because his 2 year old little sister gets to wear one, even though he doesn’t need it, well unless we are having spaghetti, then he could use one. ha ha
If you would rather watch this on YouTube:
Cut your fabric
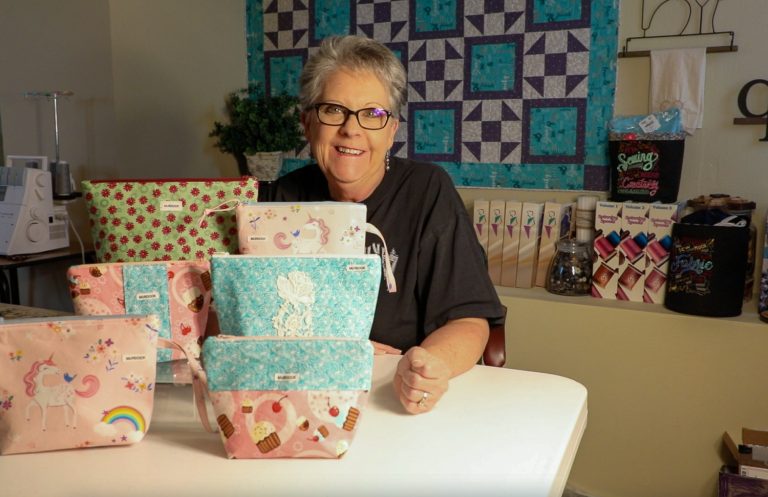
Cut out 2 pieces each 10” wide x 15” long. One piece is for the backing. Now I was digging in my scrap pile trying to use up some material from my stash; therefore I pieced some material together of matching pieces. As a result, it made for an interesting look. My stash is quite large. My daughter calls me an organized hoarder. tee hee. It looks like intentional color blocking on the finished bibs as you will see later in the photos. Sew your blocks together to get the front piece to 15” long. Use 1/2” seams. Press the seams open.
Free Pattern
Click here on bib pattern for a PDF of the FREE pattern. The first page is the top of the bib, therefore, the second page is for the bottom of the bib. Piece the pattern together at the notches and tape them together. Cut both pieces (Front and lining) out at the same time so that they are the same size. You can also cut out a piece of batting if you prefer it to be more absorbent making sure they are all the same size. (Have the right sides together when cutting out)
You are ready to embellish the front piece. So let’s have some fun. You can do this!!! I believe in you. Also, start with a new needle. This will avoid skipped stitches. The details make all the difference!
How to make a bib with 8 ways to embellish them. See these examples:
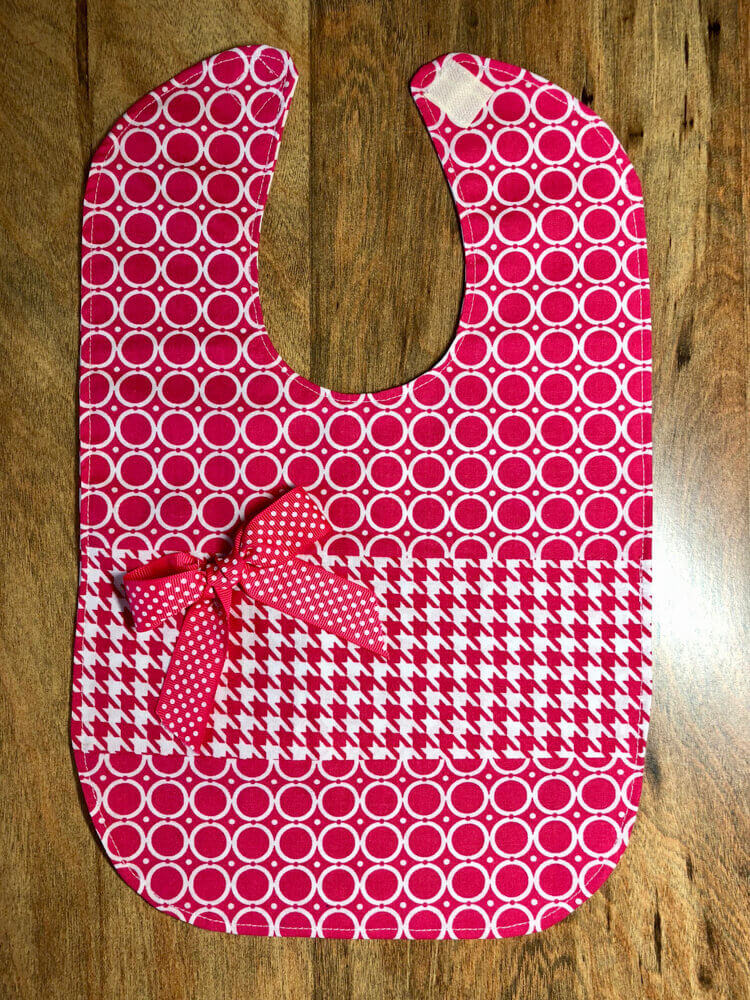
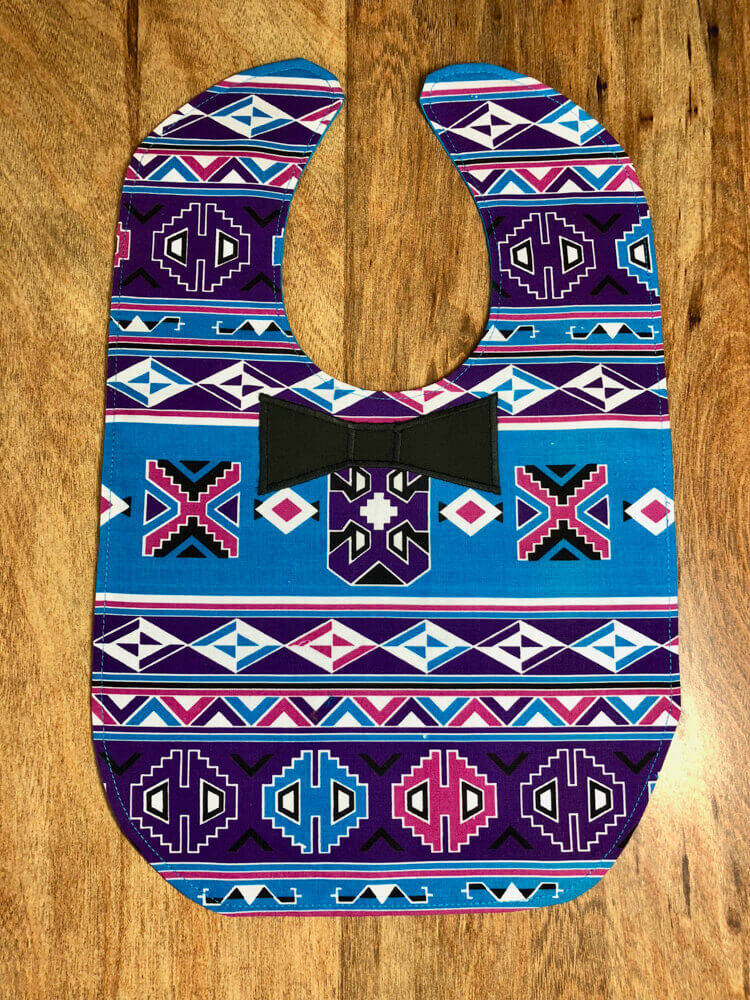
1) Add a bow. I used a matching ribbon. Tack it down good so it doesn’t come untied.
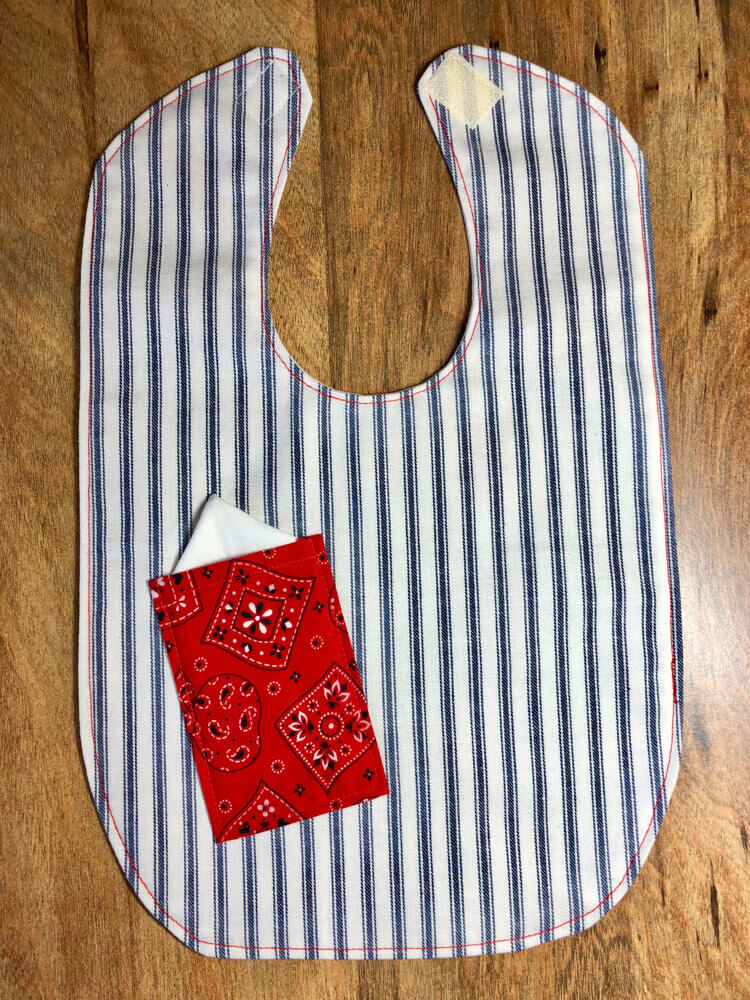
2) For a boy, add a cute pocket. And of course it needs a pocket square.


3) Sew lace down the seam and top off with a bow. On the other hand, if it is for a boy you will not want to add lace.
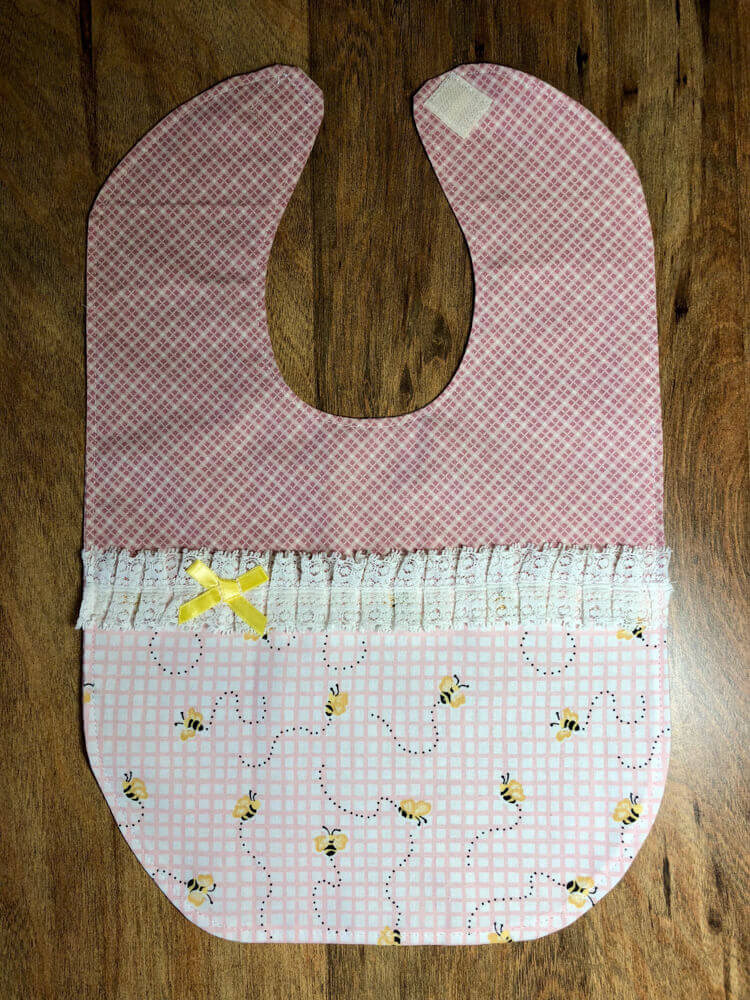

4) Add any trim down the seam. Rick Rack is cute too, for instance.

See the next 4 ways on how to make a bib and 8 ways to embellish them.
5) Appliqué any design. Click here for more appliqué instruction.
You can add eyes and teeth and even create a cute monster for a fun twist on things.
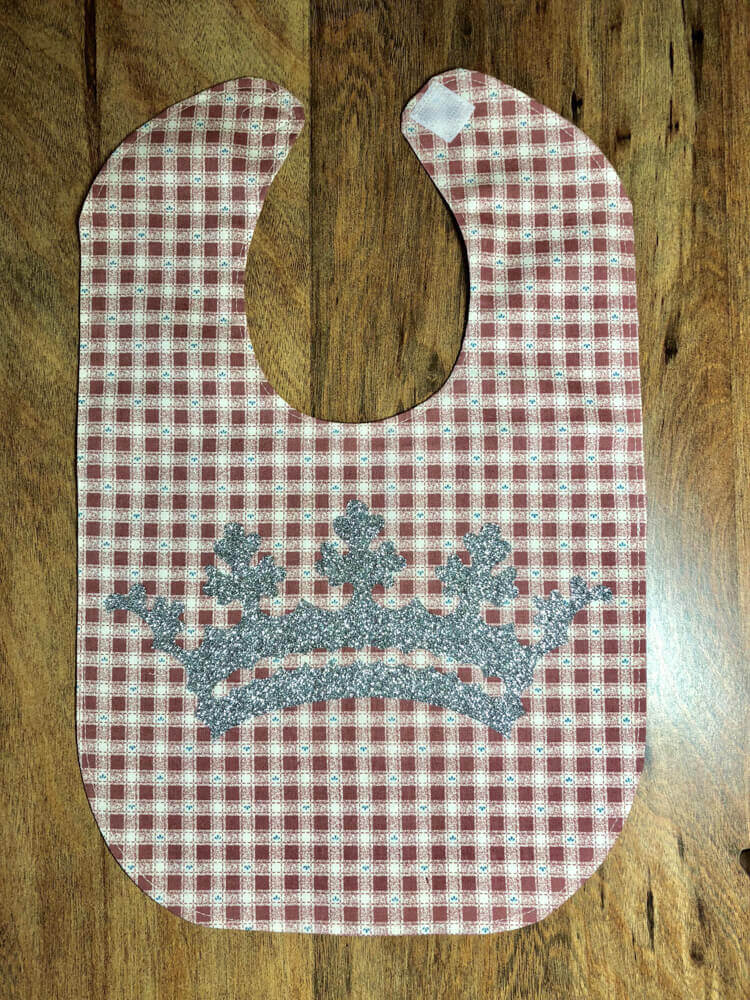
6) Use some iron on vinyl cut out on a cricut, silhouette, or a scan and cut machine.
Let’s get fancy –
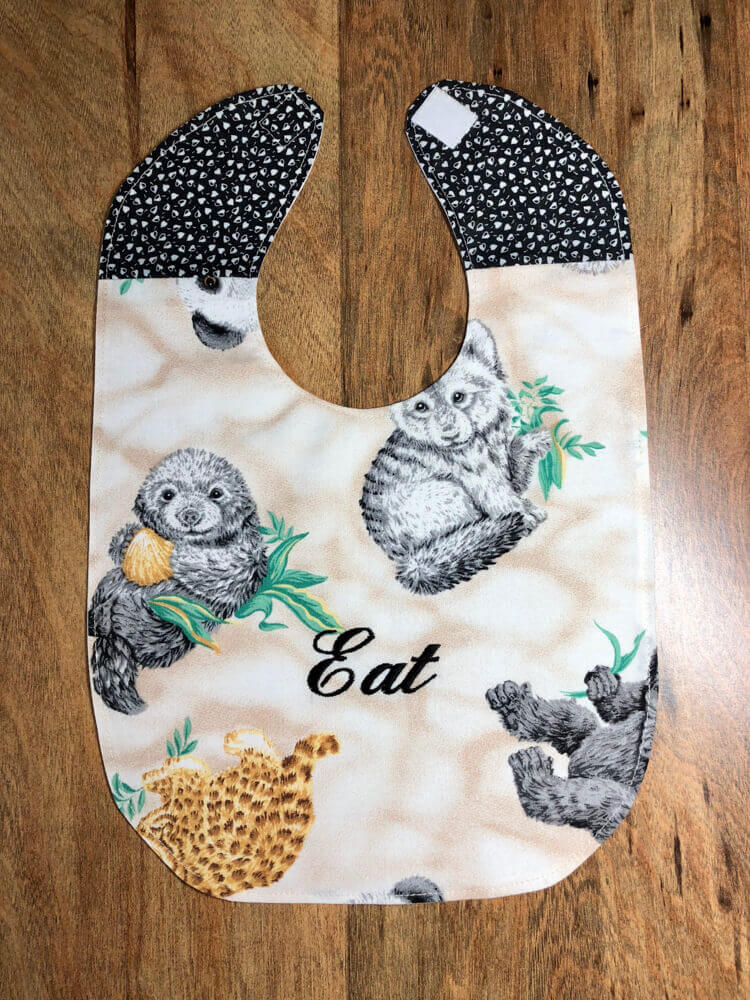
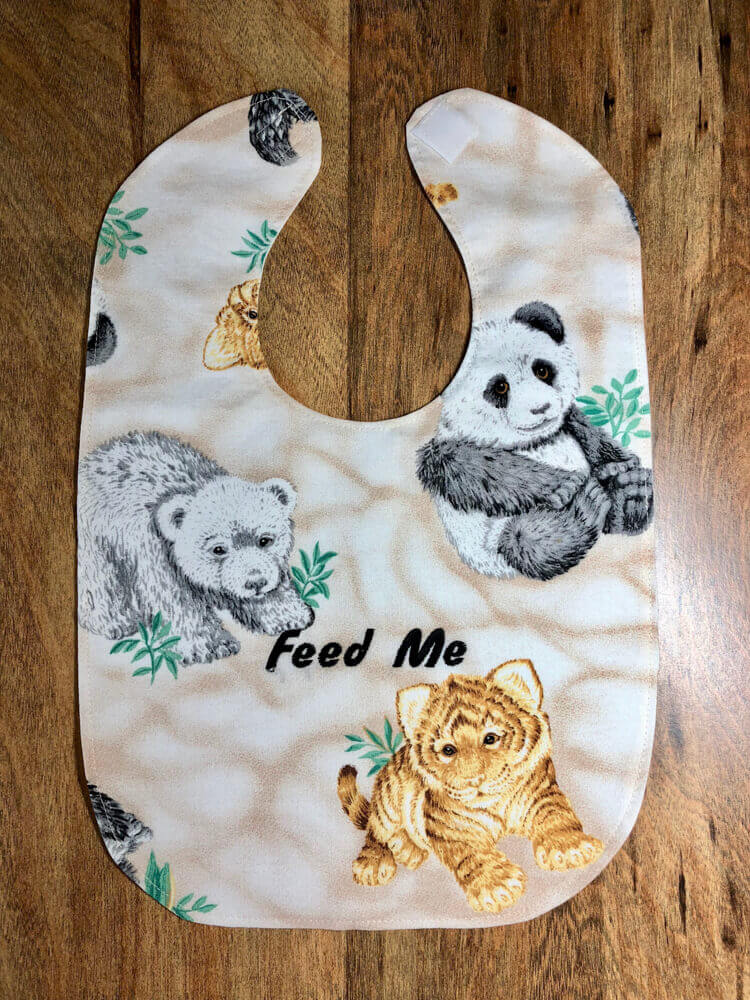
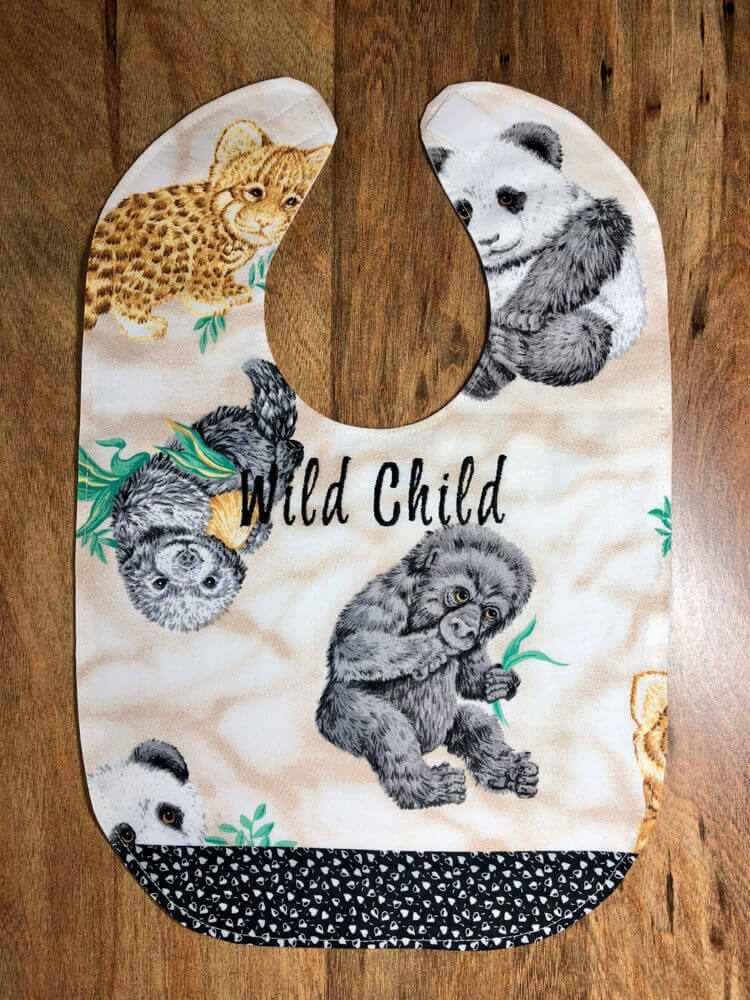
7) If you have an embroidery machine, you can add any design or words that you want. If you plan on selling your bibs, be sure you don’t put a design on them that has a copyright on them. That will get you in trouble.
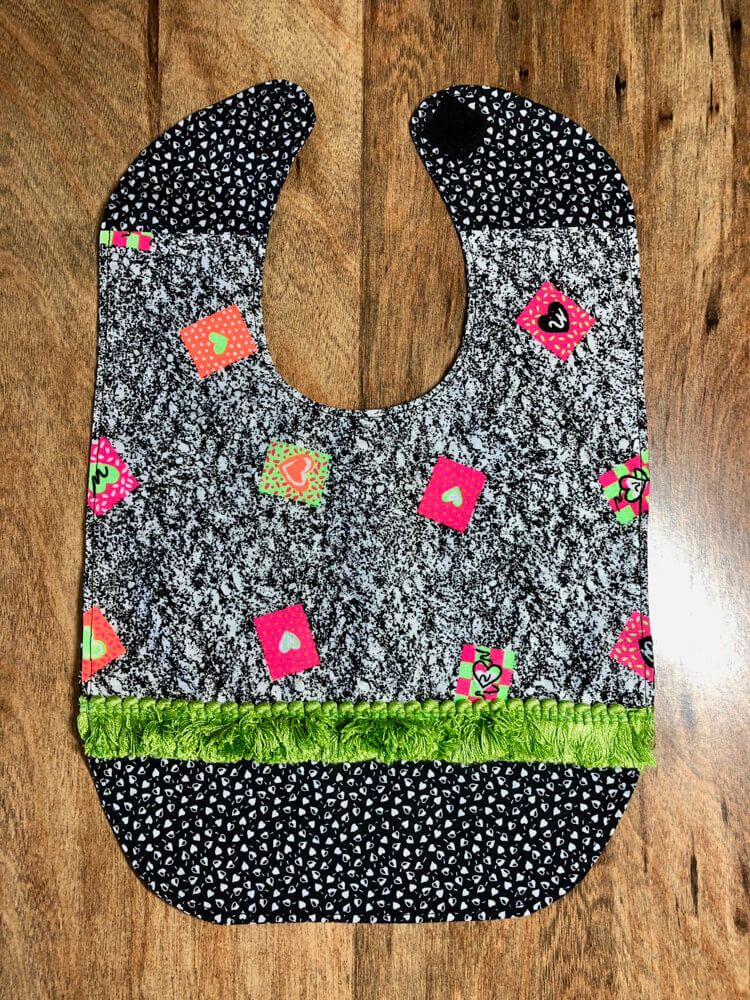
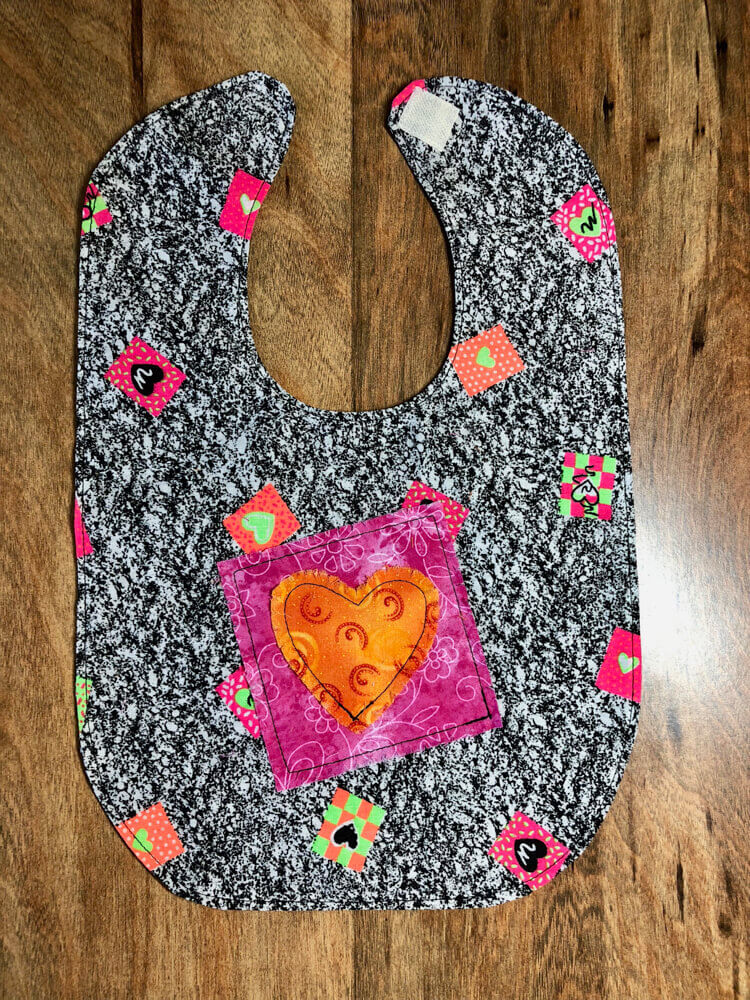
8) Cut out any design. I used a square and a heart. Sew around the edges, and clip to the seams and it will rag out when washed.
Time to Sew
You are ready to sew your pieces together. I don’t pin this together, but if you aren’t comfortable with that, definitely pin the front and back together. Some material will require you to pin because it shifts around. With right sides together, start about 2” up from the bottom. Sew around the bottom, the rest of the way around and stop 3” from where you started. I used 3/8” seams, because I used the edge of the pressure foot as my guide. When you are sewing around the curves on the top, it is helpful to sew a few stitches, raise your pressure foot, turn the material, and repeat that process. Be sure and use the needle down position when doing this.

Almost finished!
Next, clip your curves being careful not to clip into the seams. Turn right side out through the opening that you left. Be sure the seams are not folded in. I wet my fingers, yes I lick them like I’m turning the page of a magazine to make sure the seams are all the way out. Press it really, really good.

You do not have to sew the opening closed. The topstitching will take care of this.
Topstitch 1/8” around entire bib. Again, I use a mark on my pressure foot to help guide me. This really is an important step.
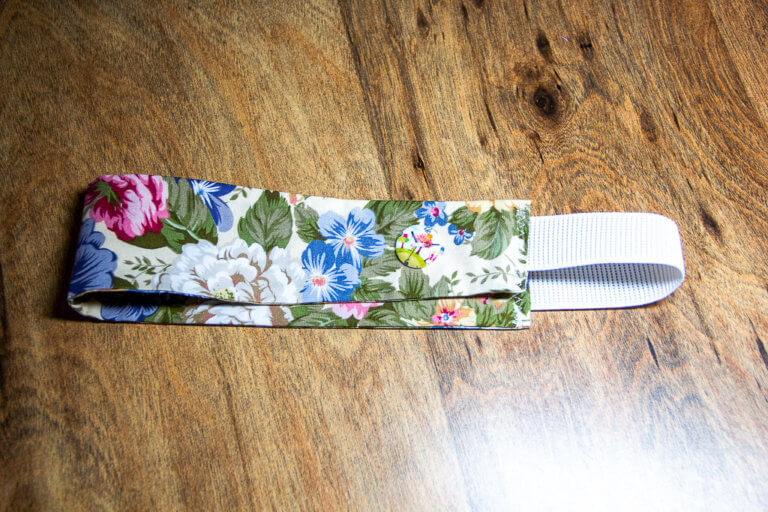
To finish it off, Add velcro to top pieces. I put the rough side on top right, and the loopy side on top left back. Use a 3/4” x 3/4” strip. Do not use the sticky back velcro. It will gum up your needle. Can you tell I speak from experience.
Optionally, instead of velcro, use the new Kam Snaps. This is quite possibly my new favorite tool. They come in soooo many beautiful colors.
In Conclusion –
In conclusion, the possibilities are endless. You can use any material – scraps, newly purchased or to match an outfit. You can use an embellishment to suit your taste or to suit your little one. How special it is to receive a bib made especially by YOU! I truly hope you enjoy this simple pattern.
Train up a child in the way he should go,
And when he is old he will not depart from it.
Proverbs 22:6

You can also make an adult bib by using a towel. Fold down 1/3 of the towel and cut a hole in the center for your head to go through. Use rib knit and serge to the hole and you are done!! Here is a link to that blog post!


Thanks for reading! Always be Awesome..
Sharing is Caring