Jar Opener DIY
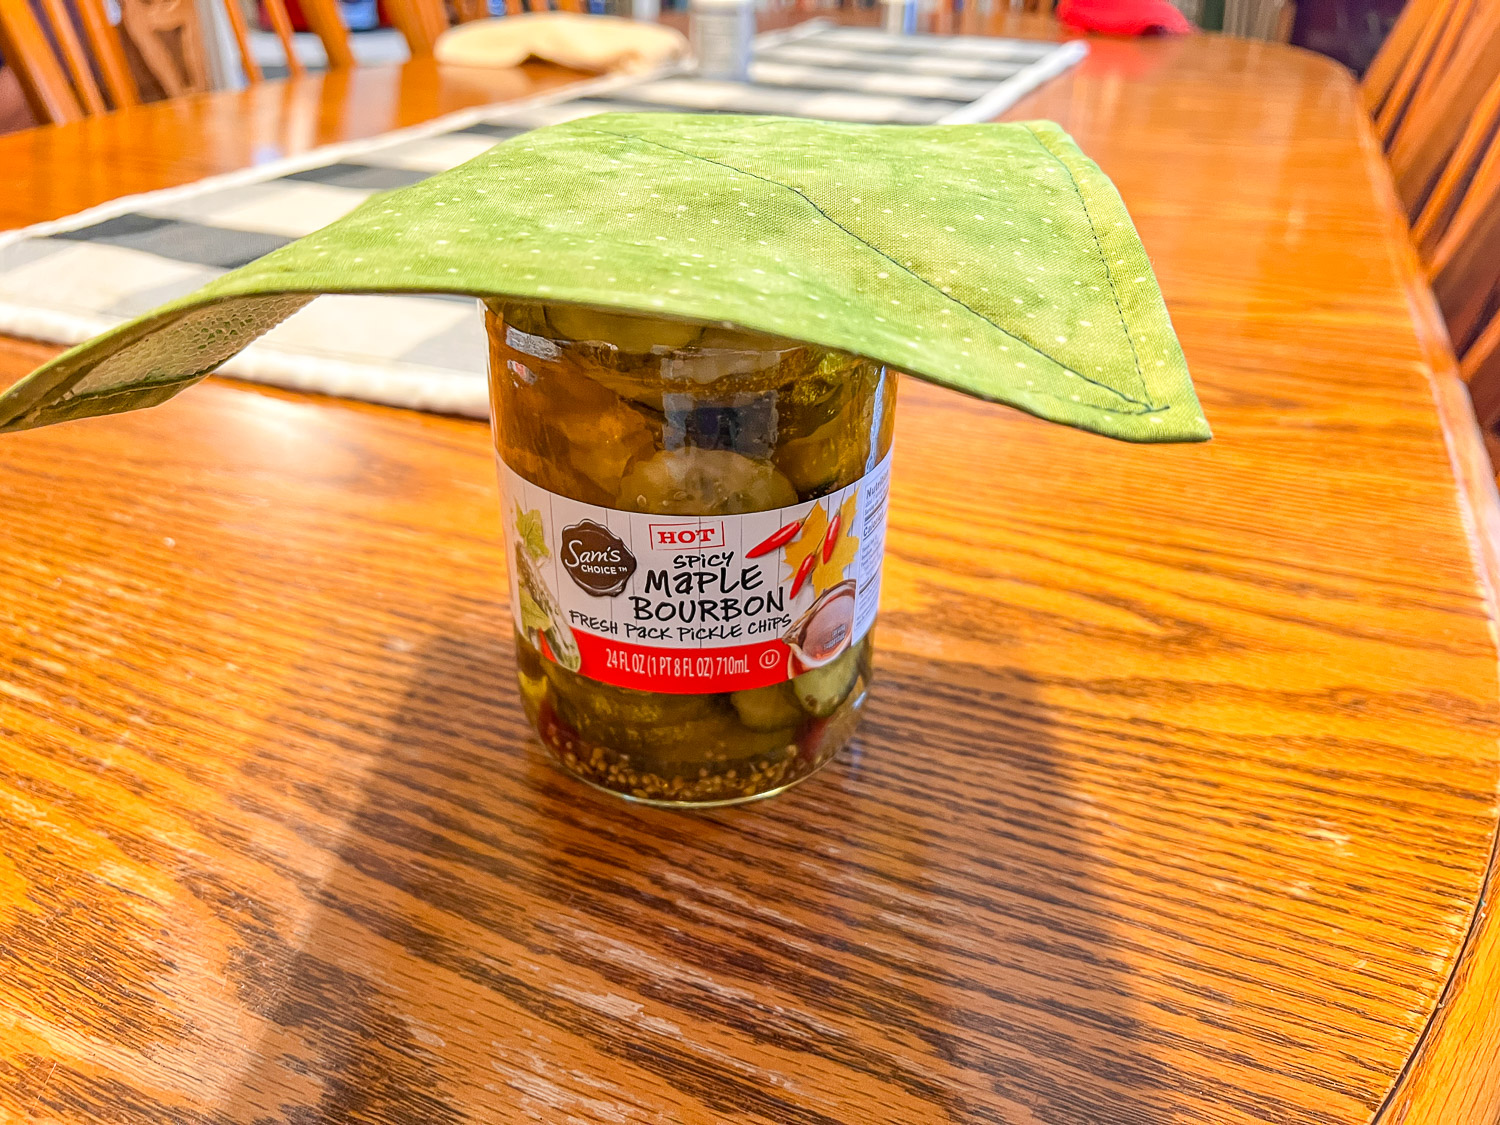
The older I get, the tighter they make the jar lids, lol. I got tired of asking my husband to open all the new jars so I decided to make a little helper. I was able to open this new jar of pickles all by myself. Yay!
To be honest, I made three of them, to decide which way I wanted to tell you was the easiest and most effective way to make them.
First, I put bias binding around the edge, but it was hard to get my stitch even. So scratch this idea.
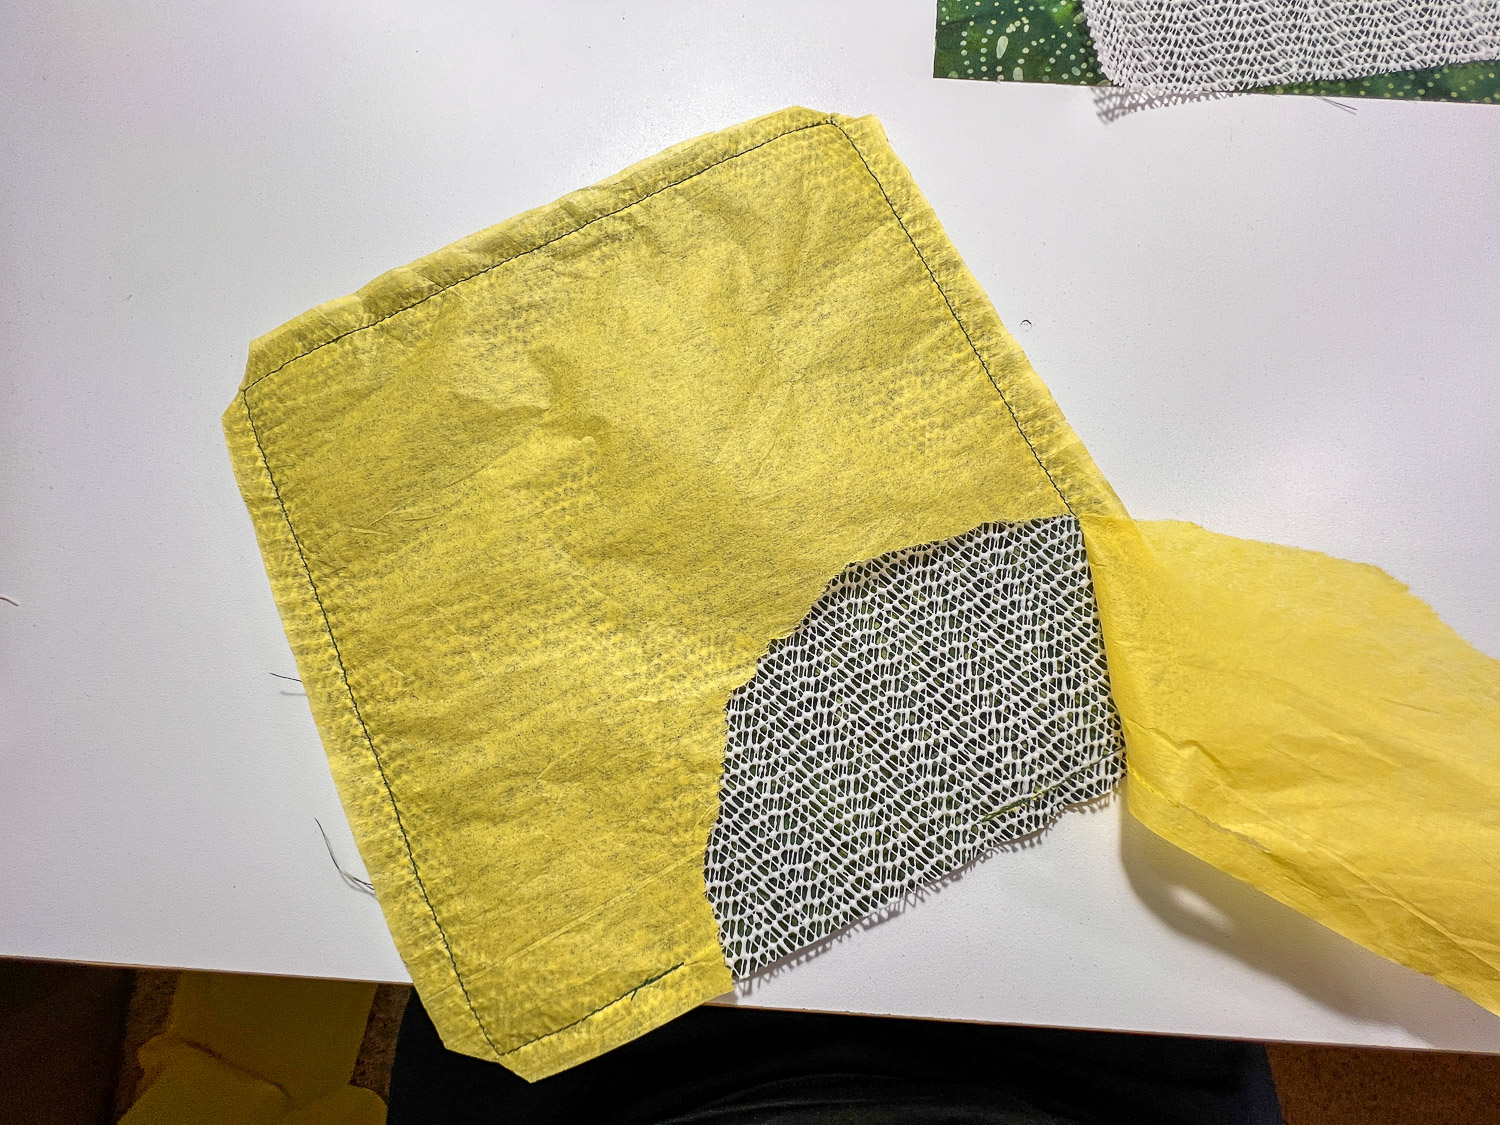
Second, I cut them the same size, (8″), sewed right sides together, leaving an opening. Trimmed the corners. Turned it right side out, then stitched around the edge. However; I didn’t have a teflon foot, so I had to use tissue paper so it wouldn’t get stuck on the plate of my machine. This worked out okay. You just have to tear off the tissue paper. Here is what that looked like:

Third time’s a charm! I liked this way the very best ->>>>.
Supplies:
Tissue Paper
*These are Amazon affiliates. You can also purchase the shelf liner at a local Dollar Store.
Cut:
Fabric – 10″ square
Shelf Liner – 8″ square
Sew:
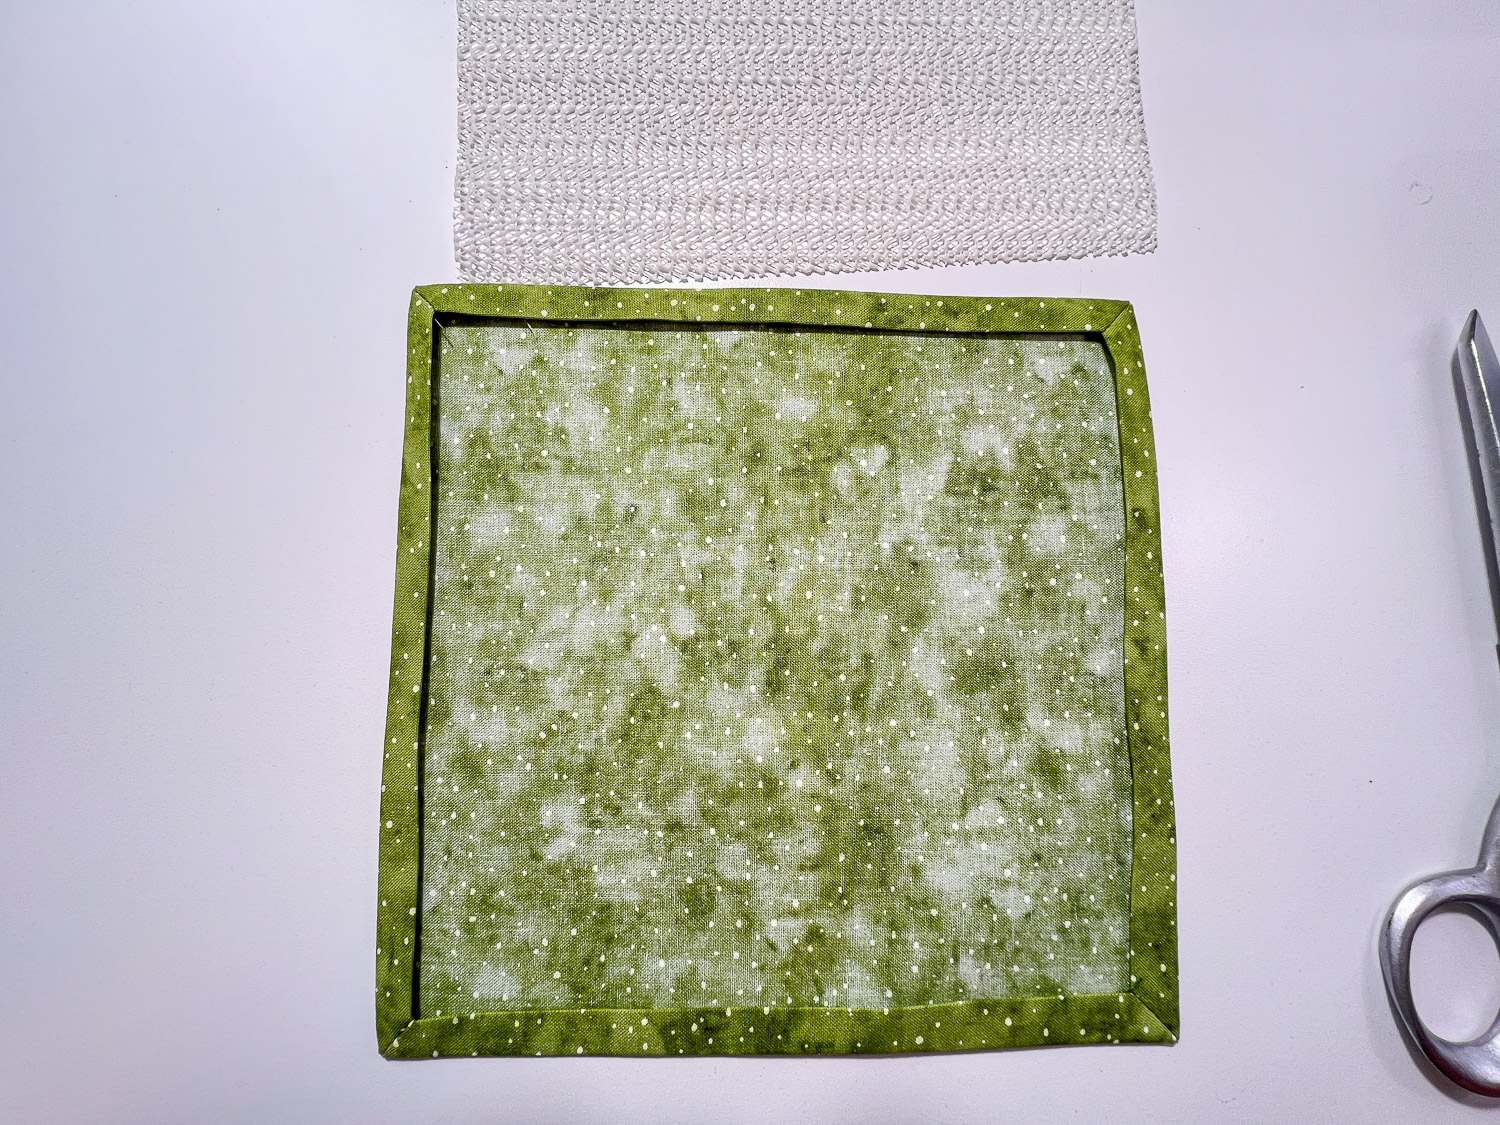
Before you start sewing, press 1/2″ to wrong side of fabric

In each corner, fold right sides together and pull pressed edge out.
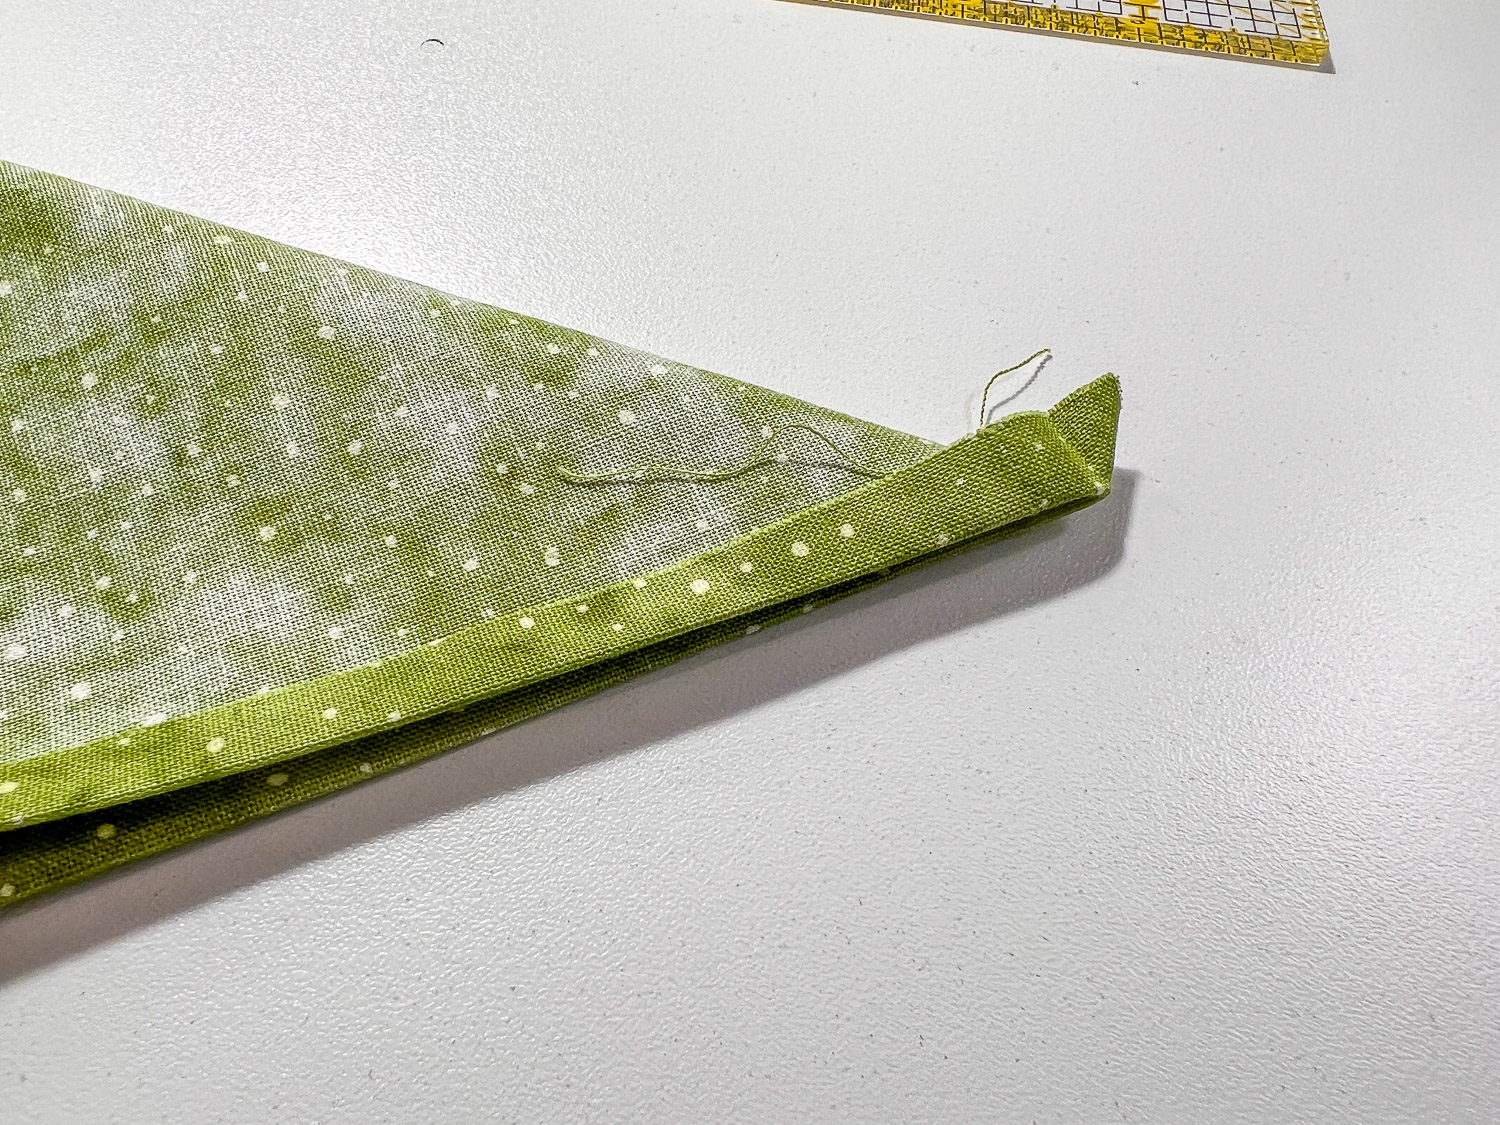
Next, from the folded edge, make a mark 90 degrees from the folded edge, over the pressed under edge. You are making a mitered corner.

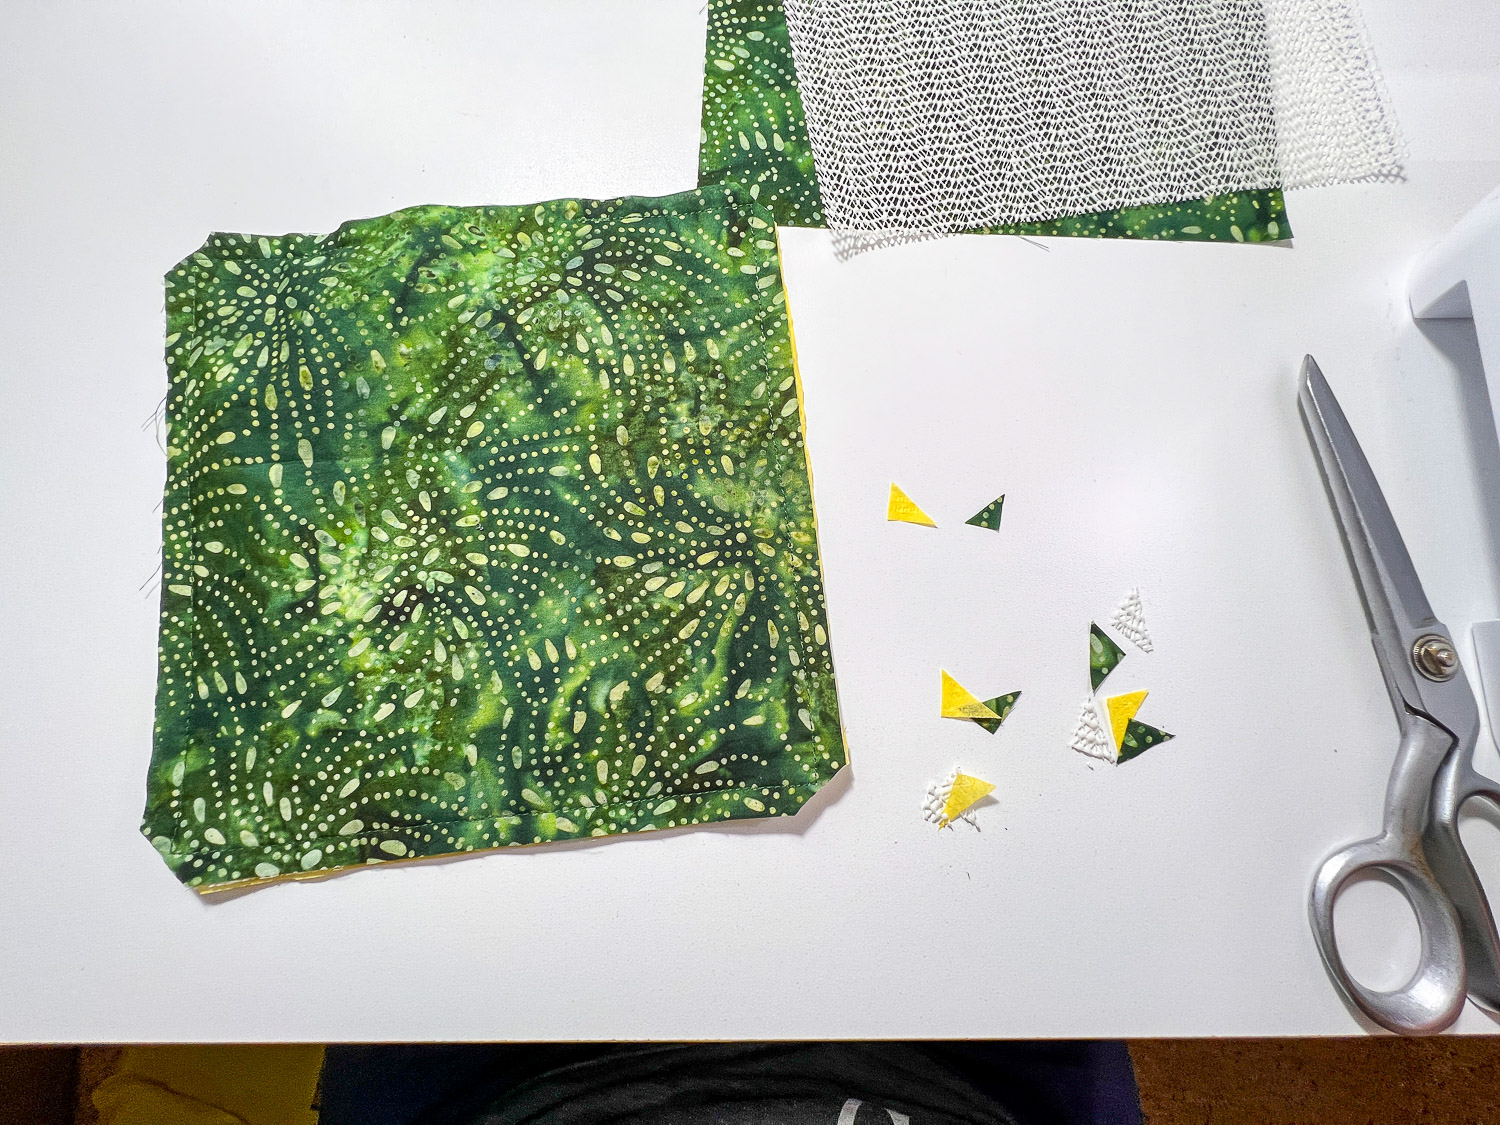
Sew on your mark. Trim the corner at an angle.
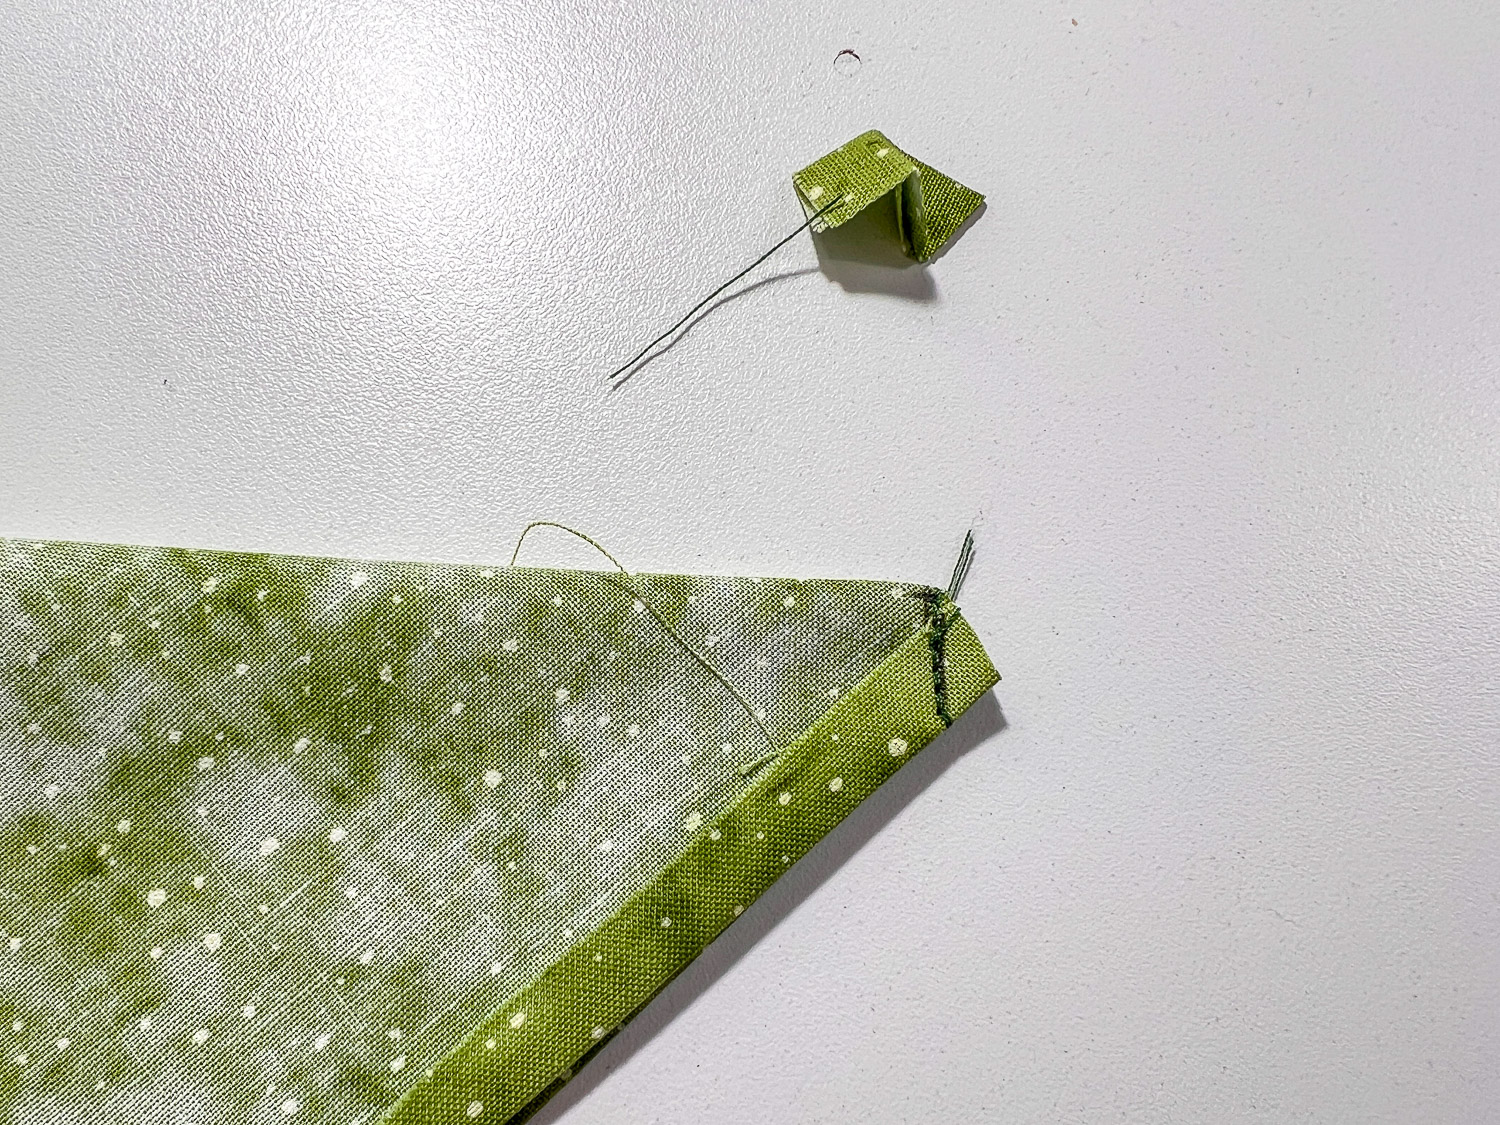
Repeat on all 4 corners. Next, open the seam and flip it right side out. Press another 1/2″ seam under. This will form your mitered corners.
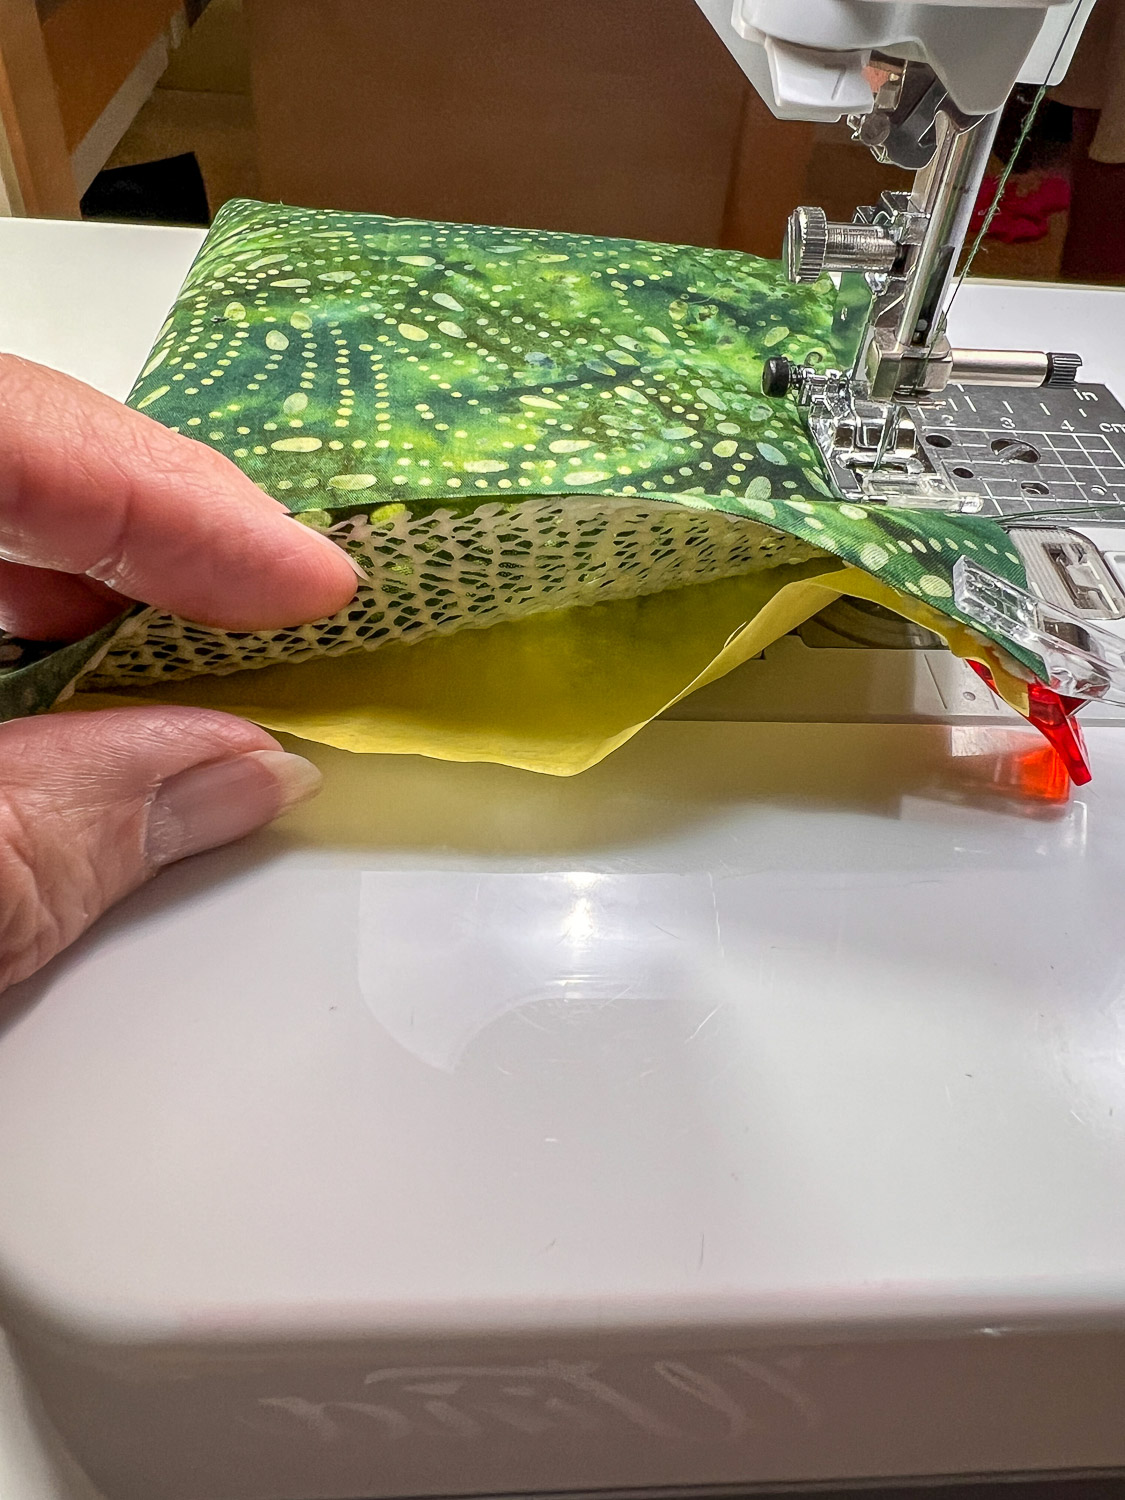
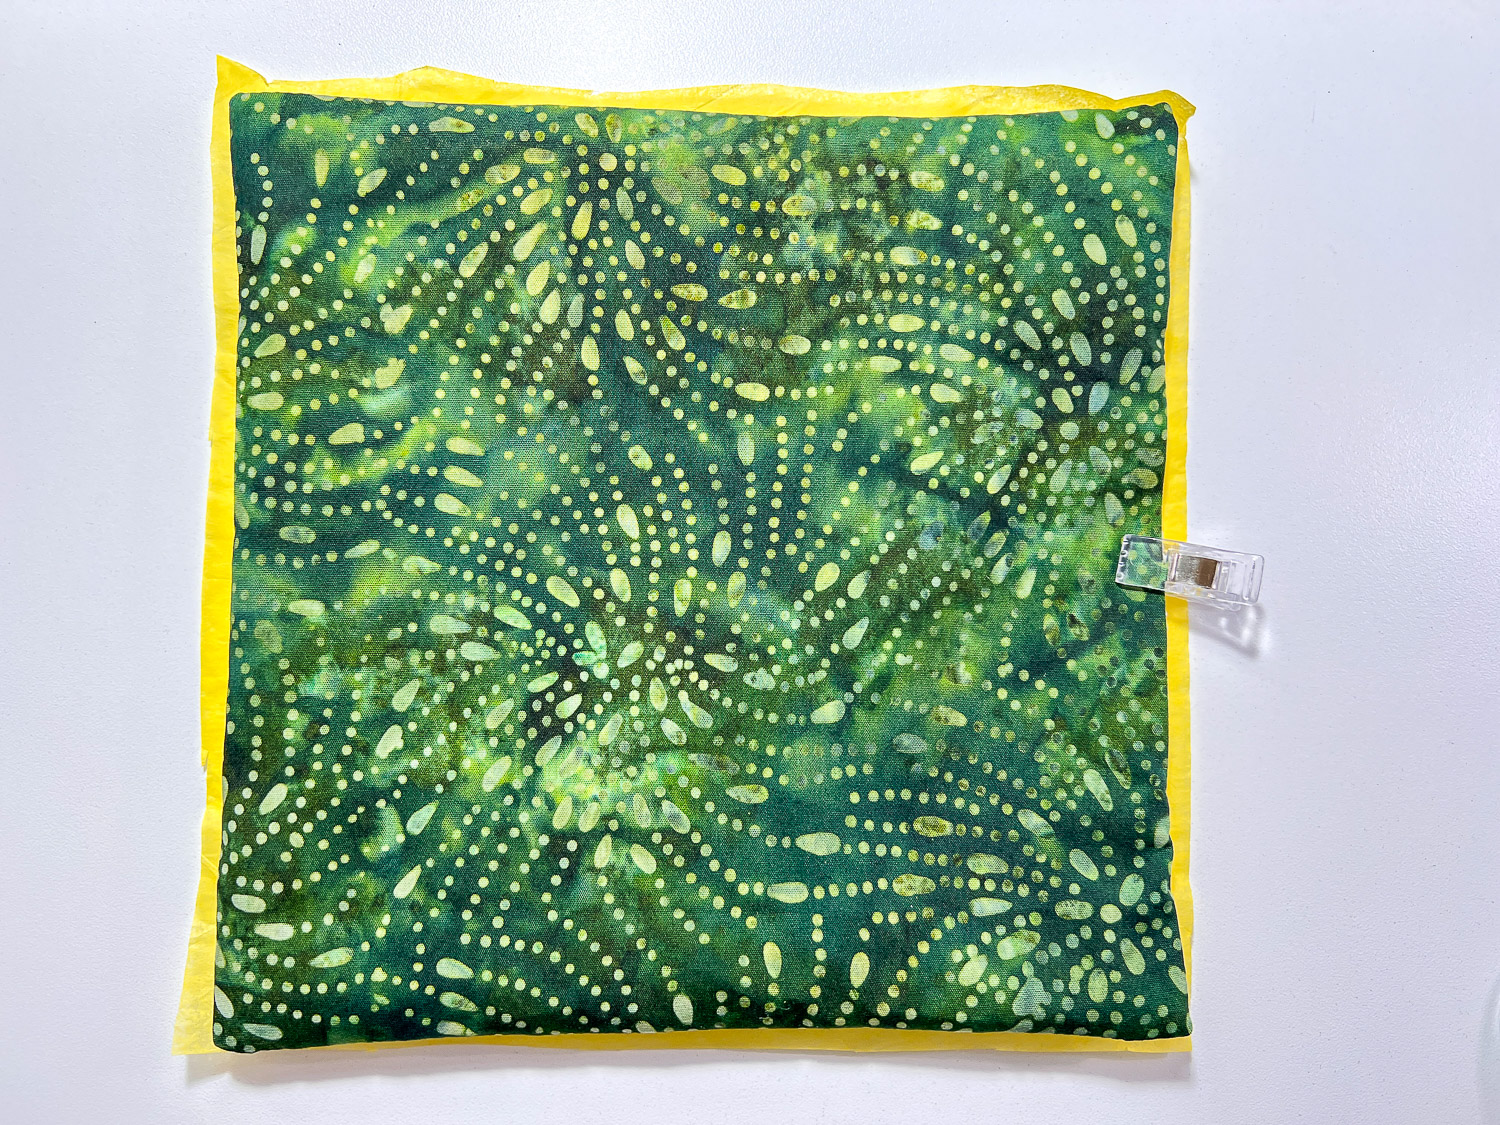
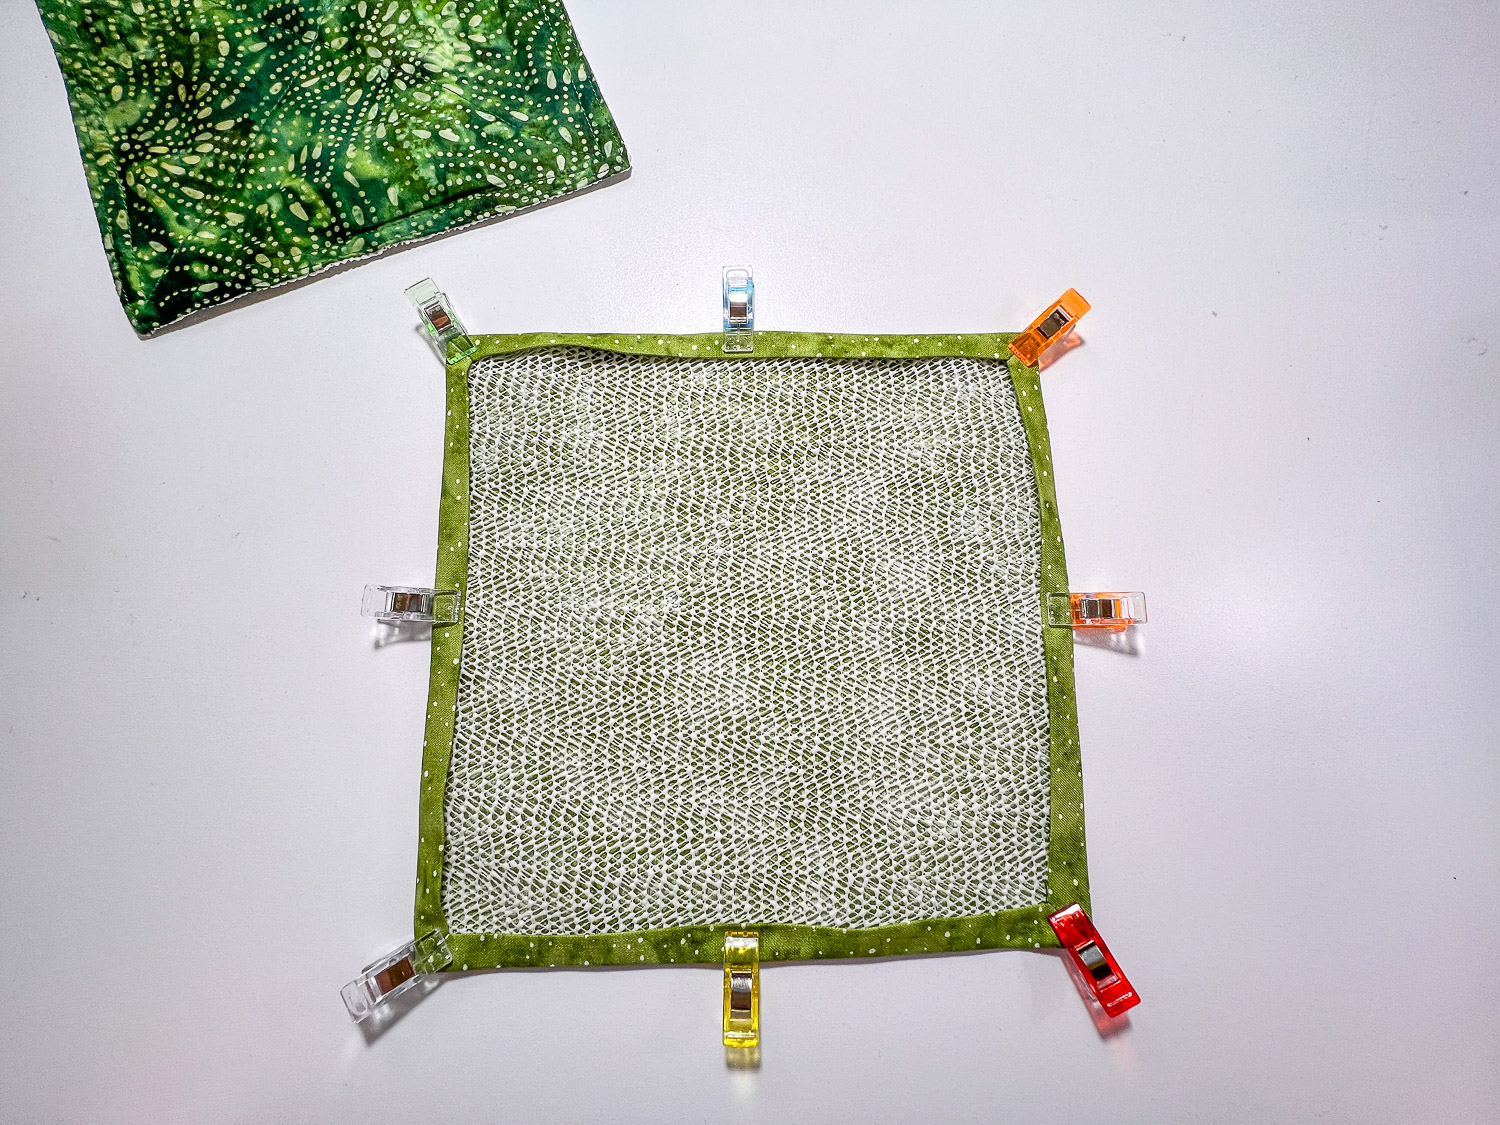
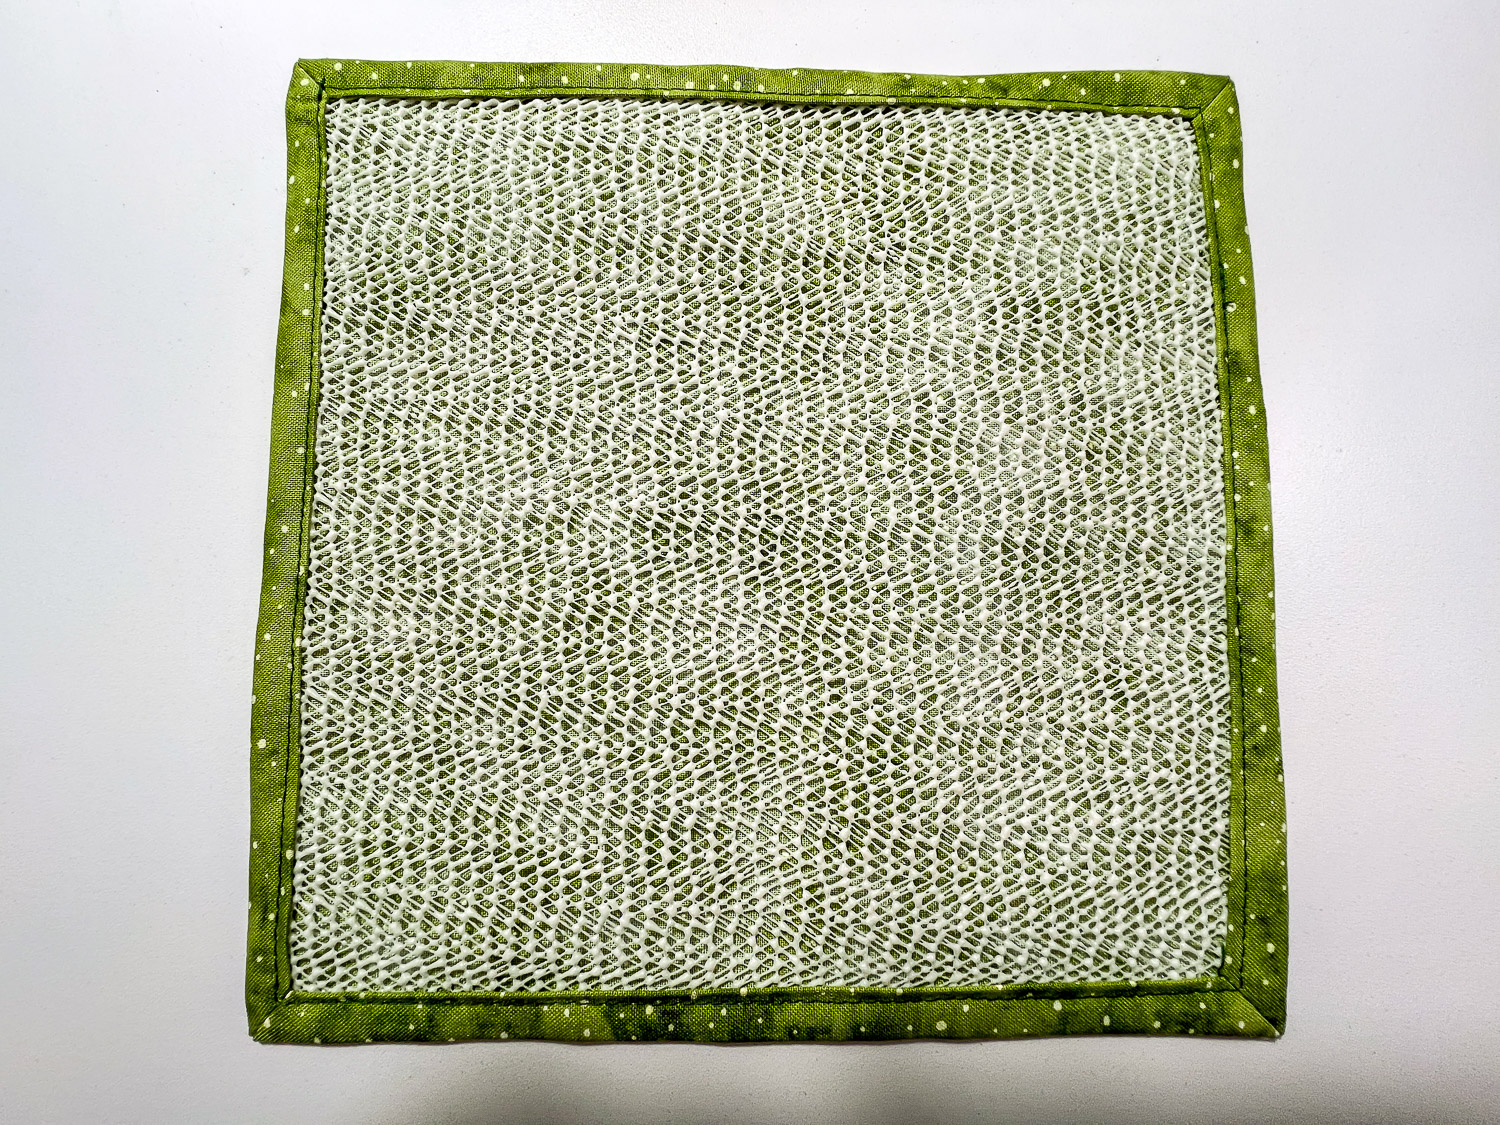
Insert the grip shelf liner inside the pressed over edges and pin or clip.
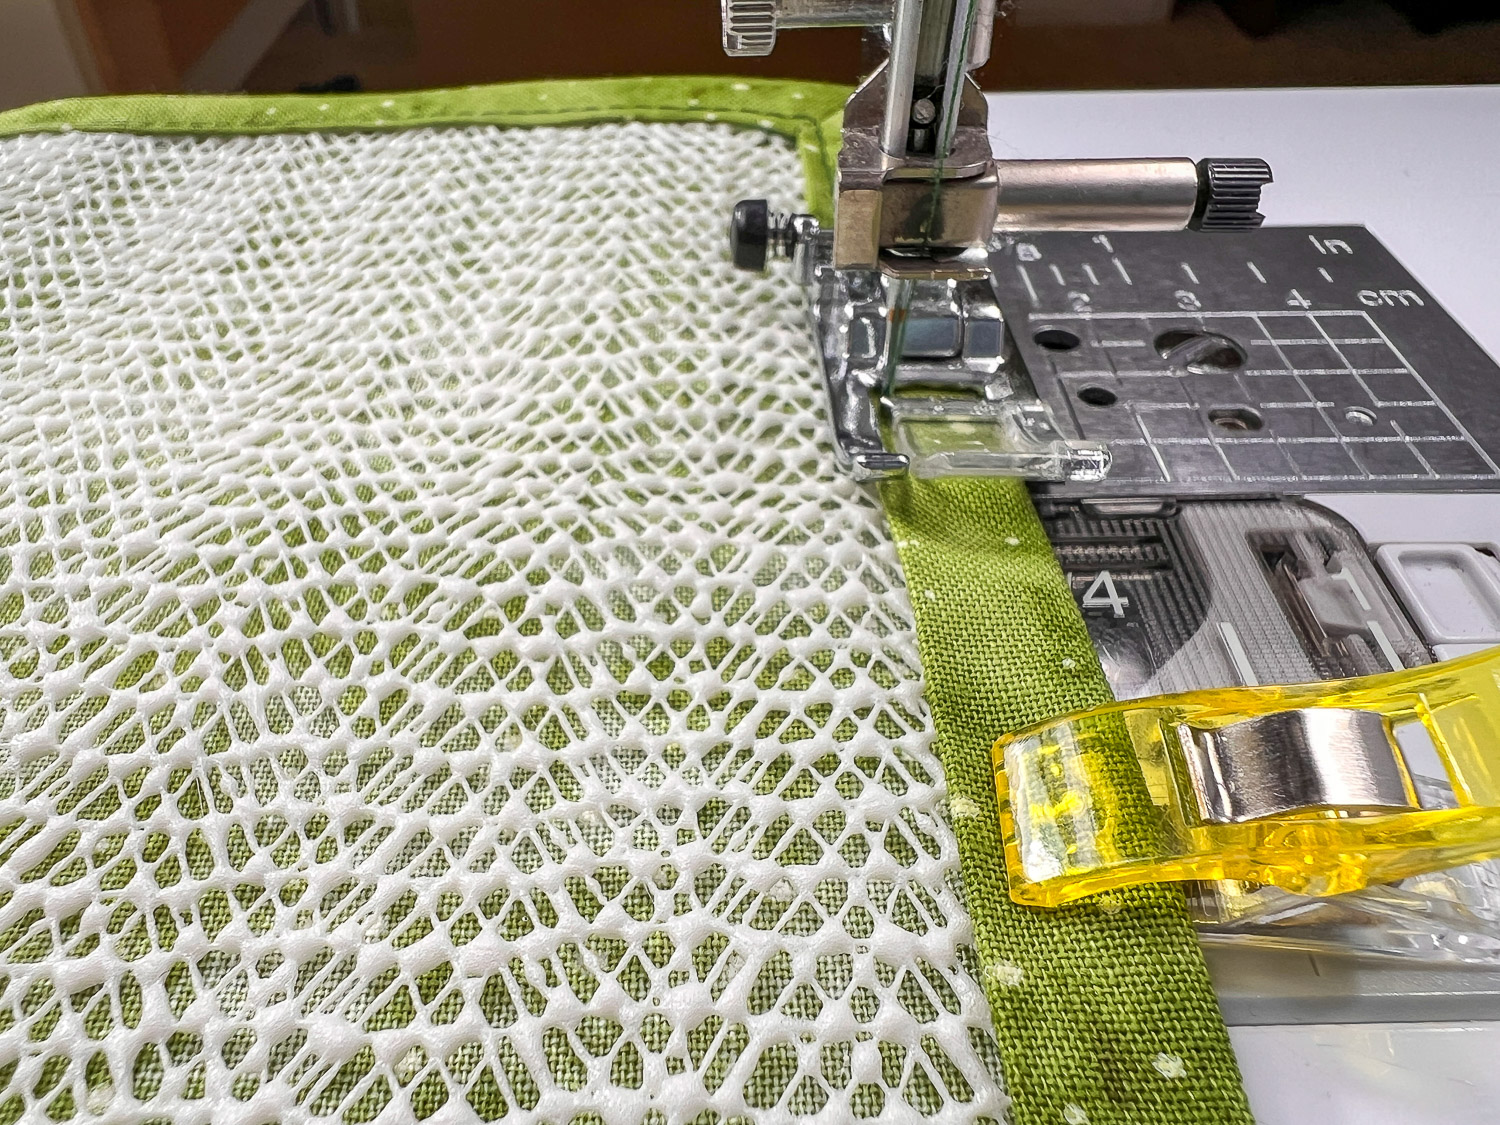
Furthermore, sew on seam to enclose the liner. Your machine flows through easily because it is gliding through on the fabric. Notice that I moved my needle position as far to left as it would go so that the presser foot was more on the fabric and not the grippy liner.
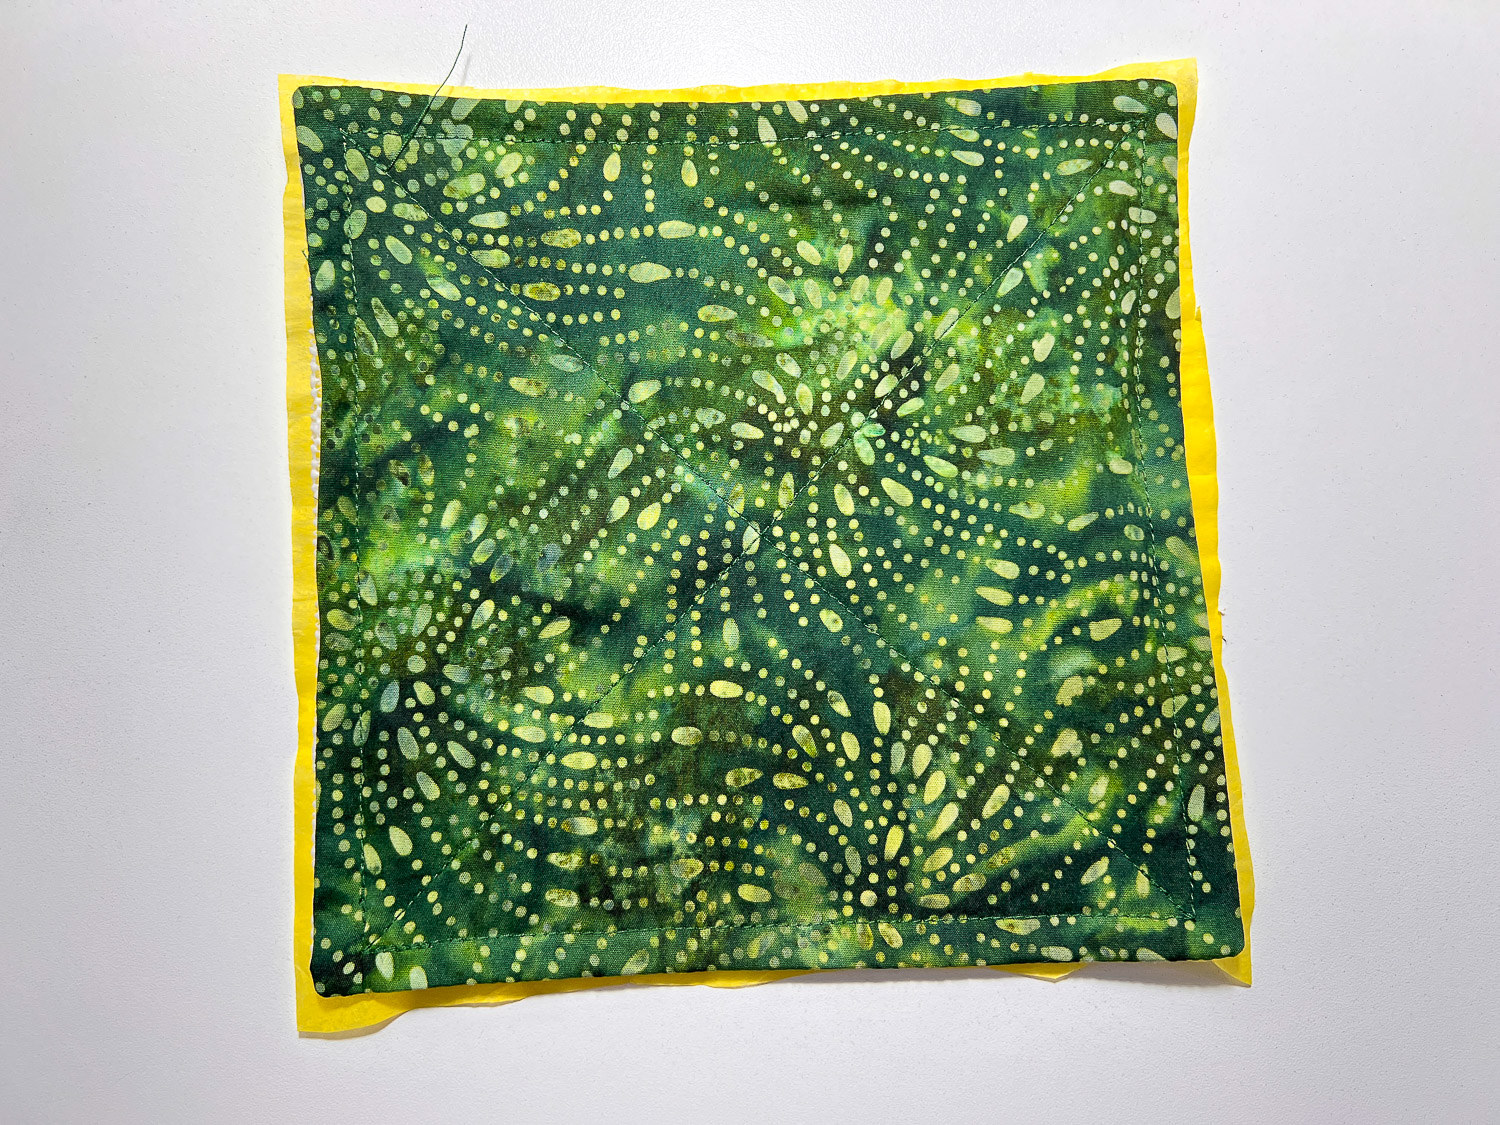
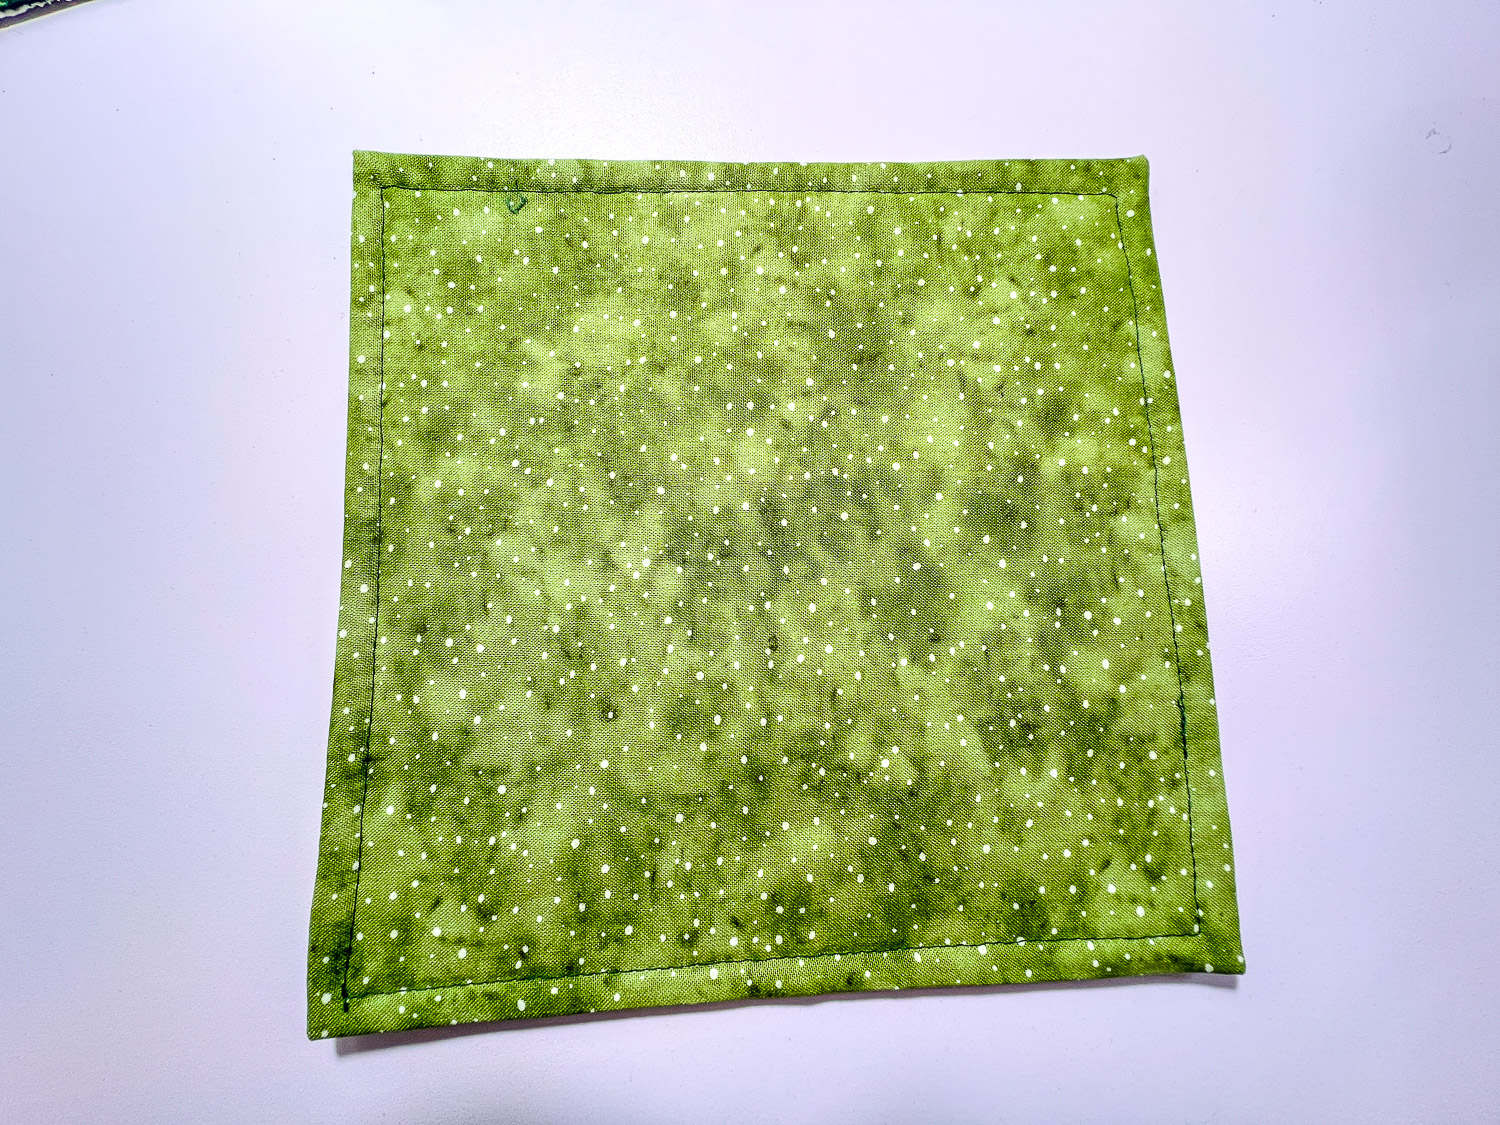
Here is the outside:
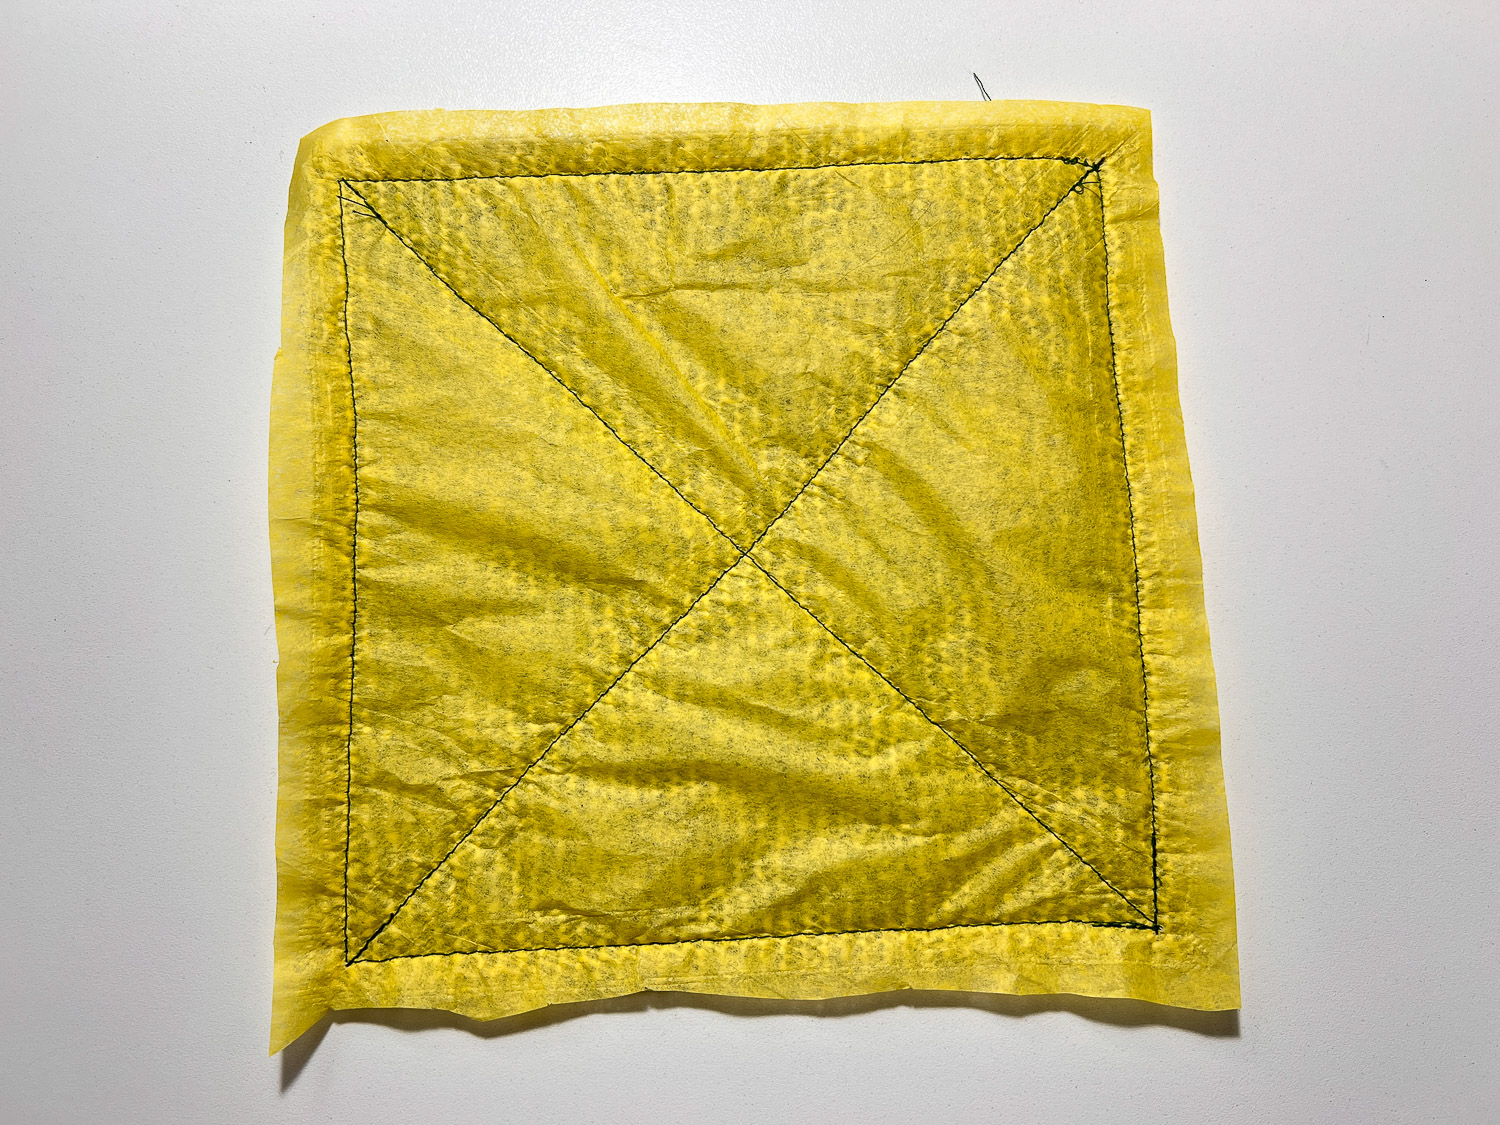
This is the inside:
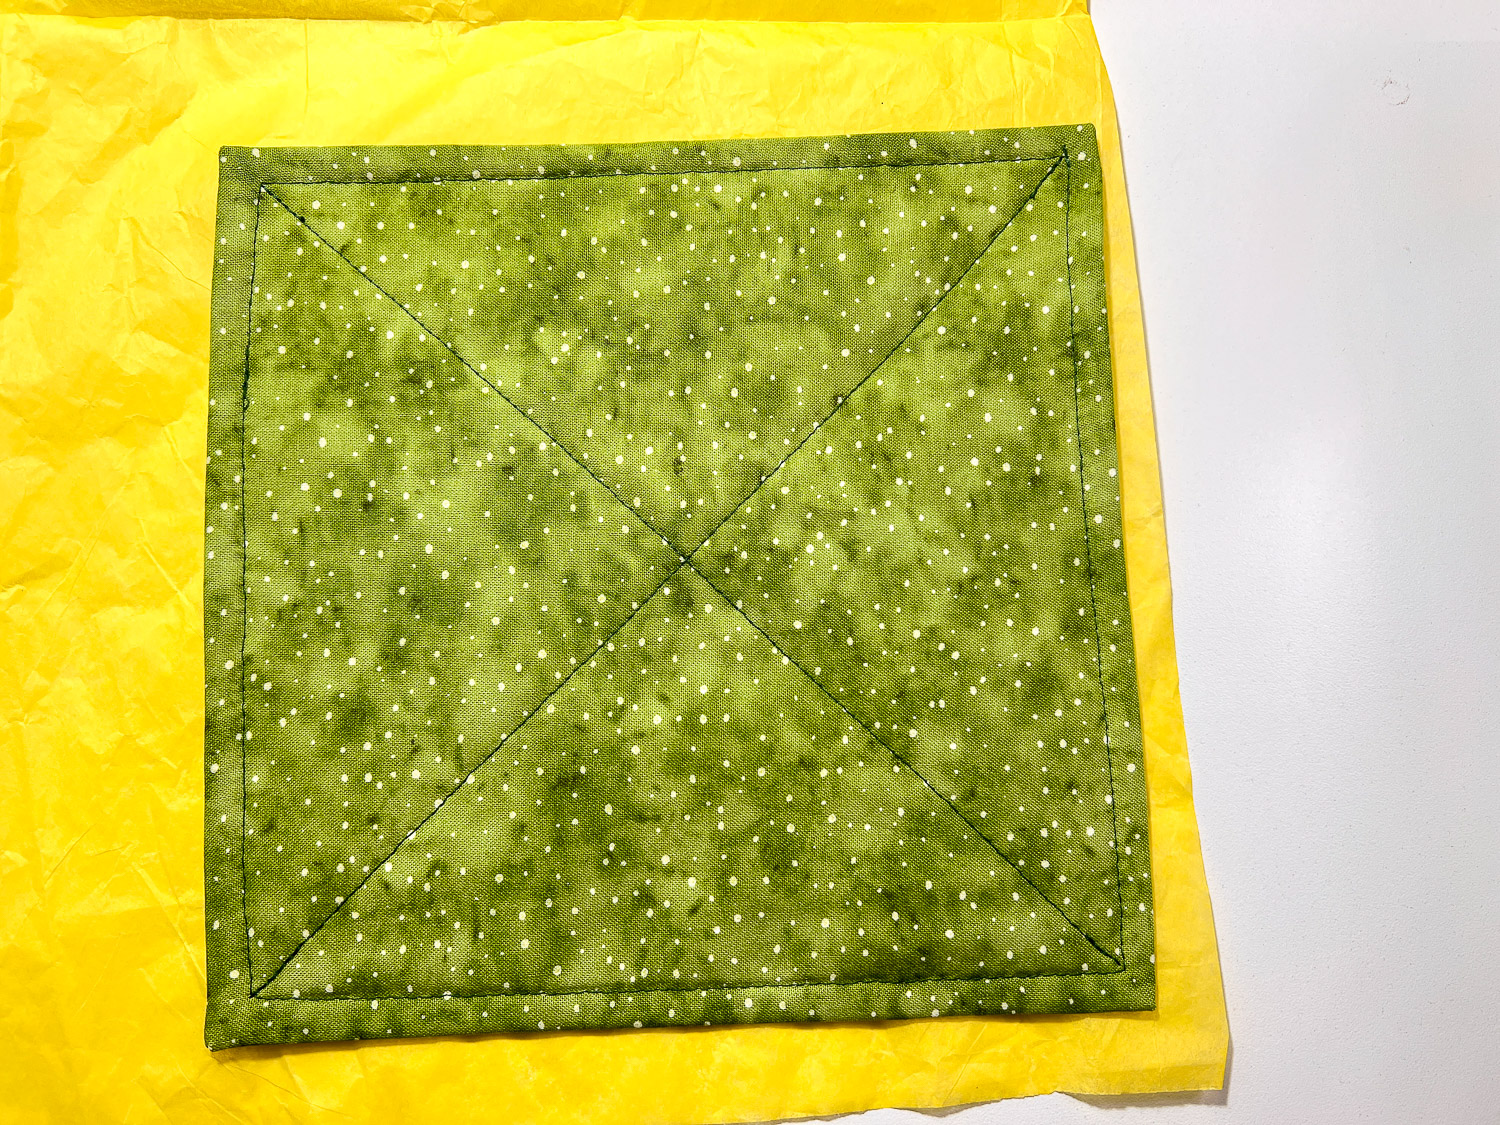
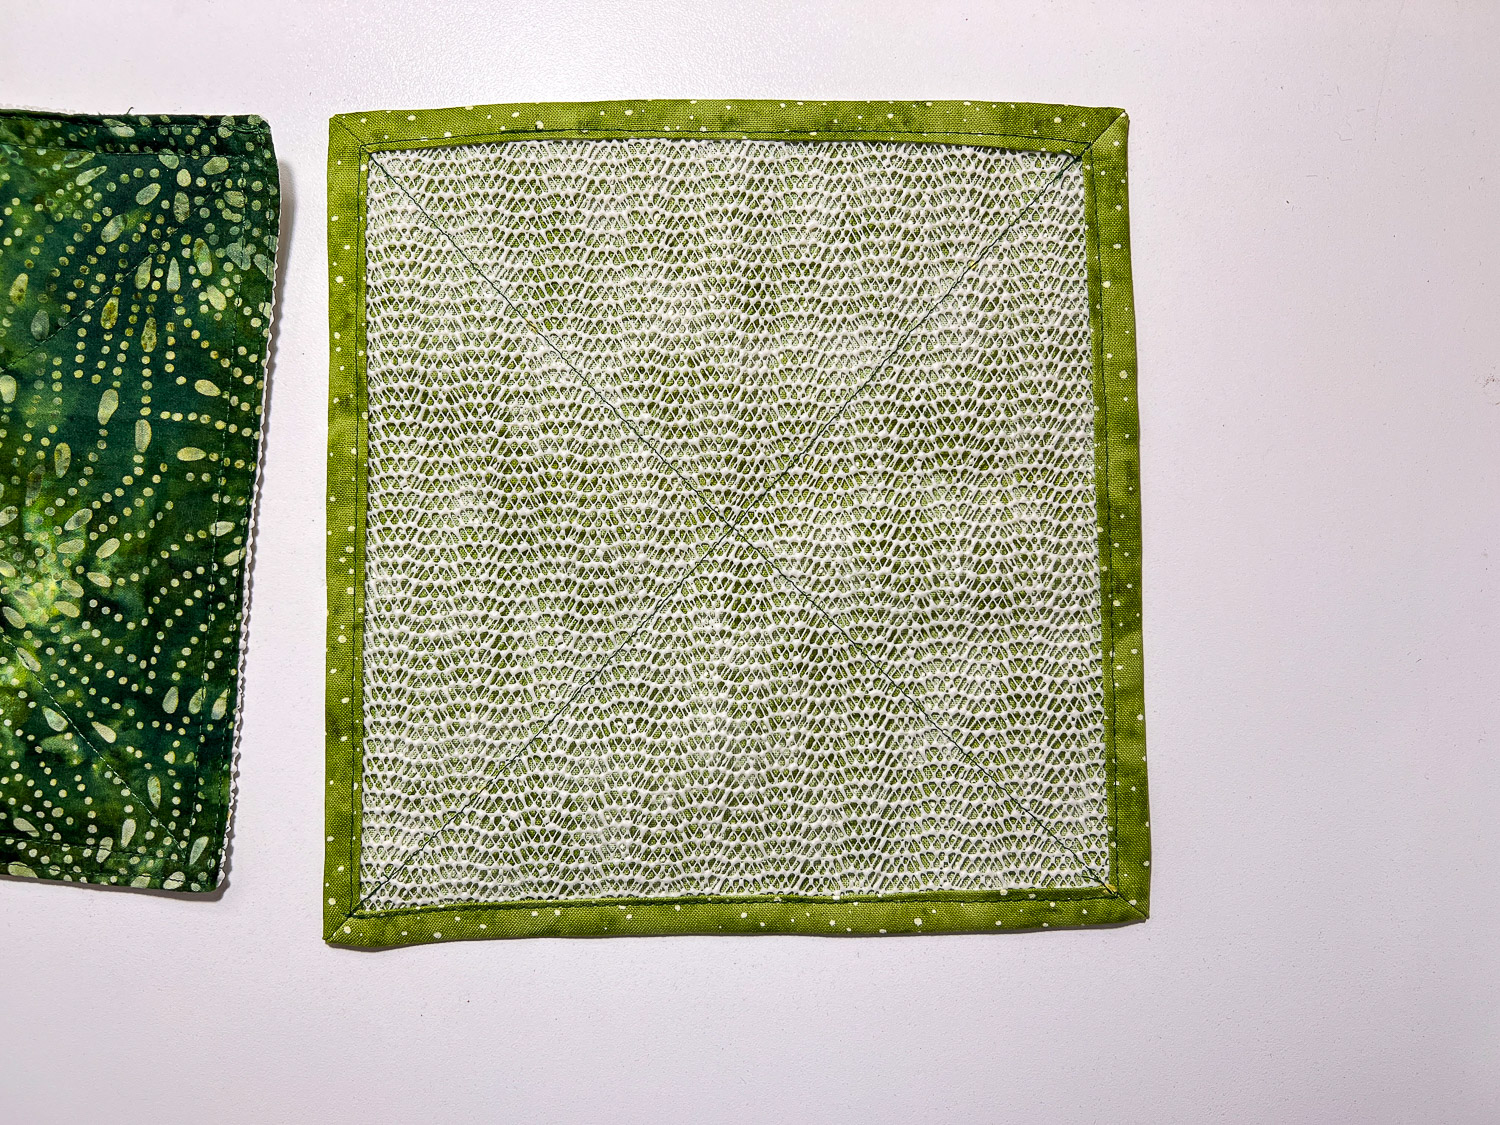
To keep the fabric from sliding away from the grip. I did sew an X through the middle. Sew from corner to corner. I did have to put tissue paper on the underneath side so it would glide through smoothly. Sew on the fabric side.
Tear away the tissue paper.
Now to open that stubborn lid from my favorite jar of pickles. Seriously, they are great!
Lastly, make some more. It helps to have one to hold the jar and one to open the lid. And of course two more for your bestie.
Sharing is Caring: