How to make a patchwork baby quilt
How to make a Patchwork Baby Quilt
Supplies:
- Fabric of your choice
- Sewing Machine
- Thread
- Batting 90″ x 108″ or
- Batting 45″ x 60″
- Temporary fabric adhesive
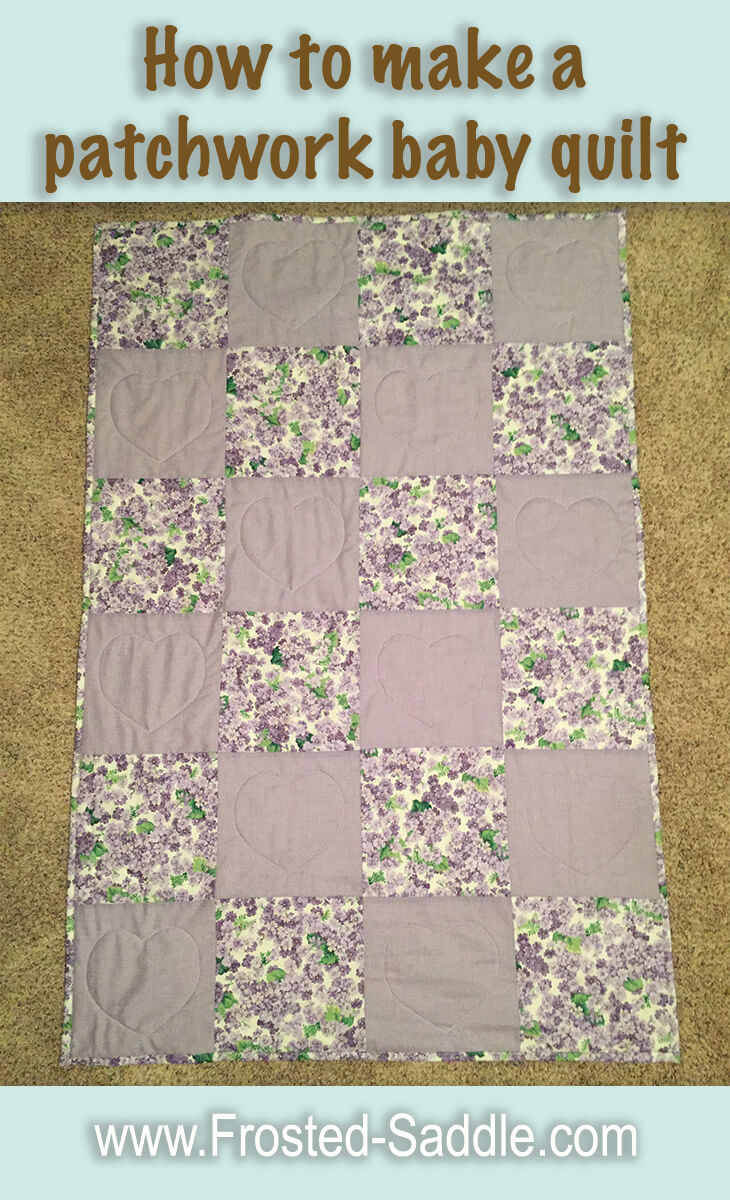
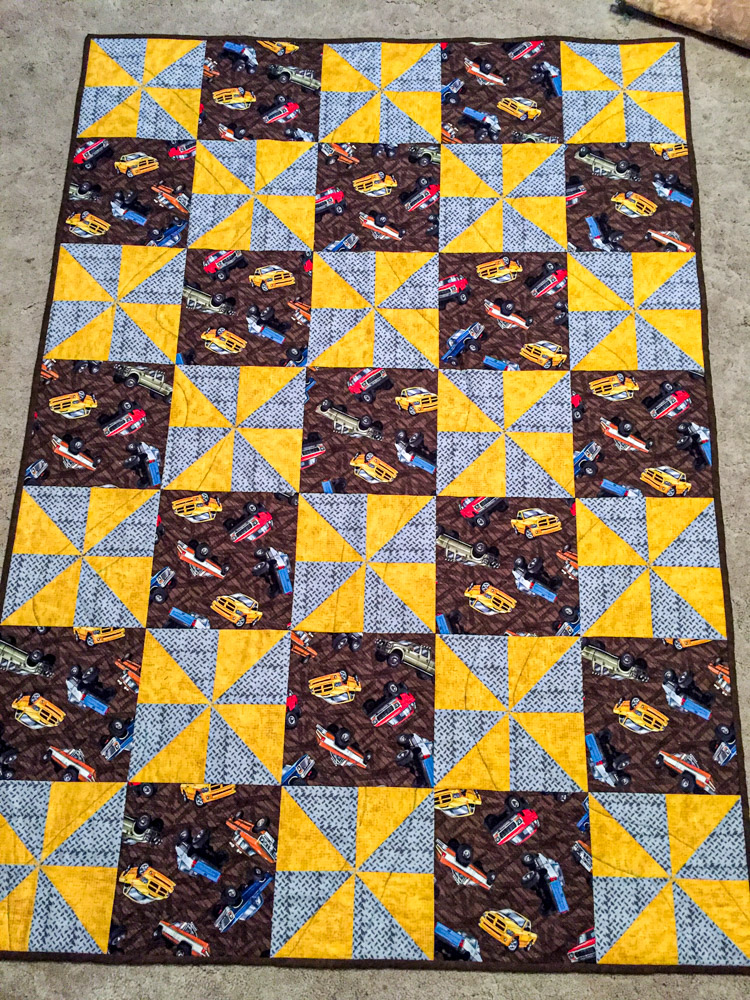
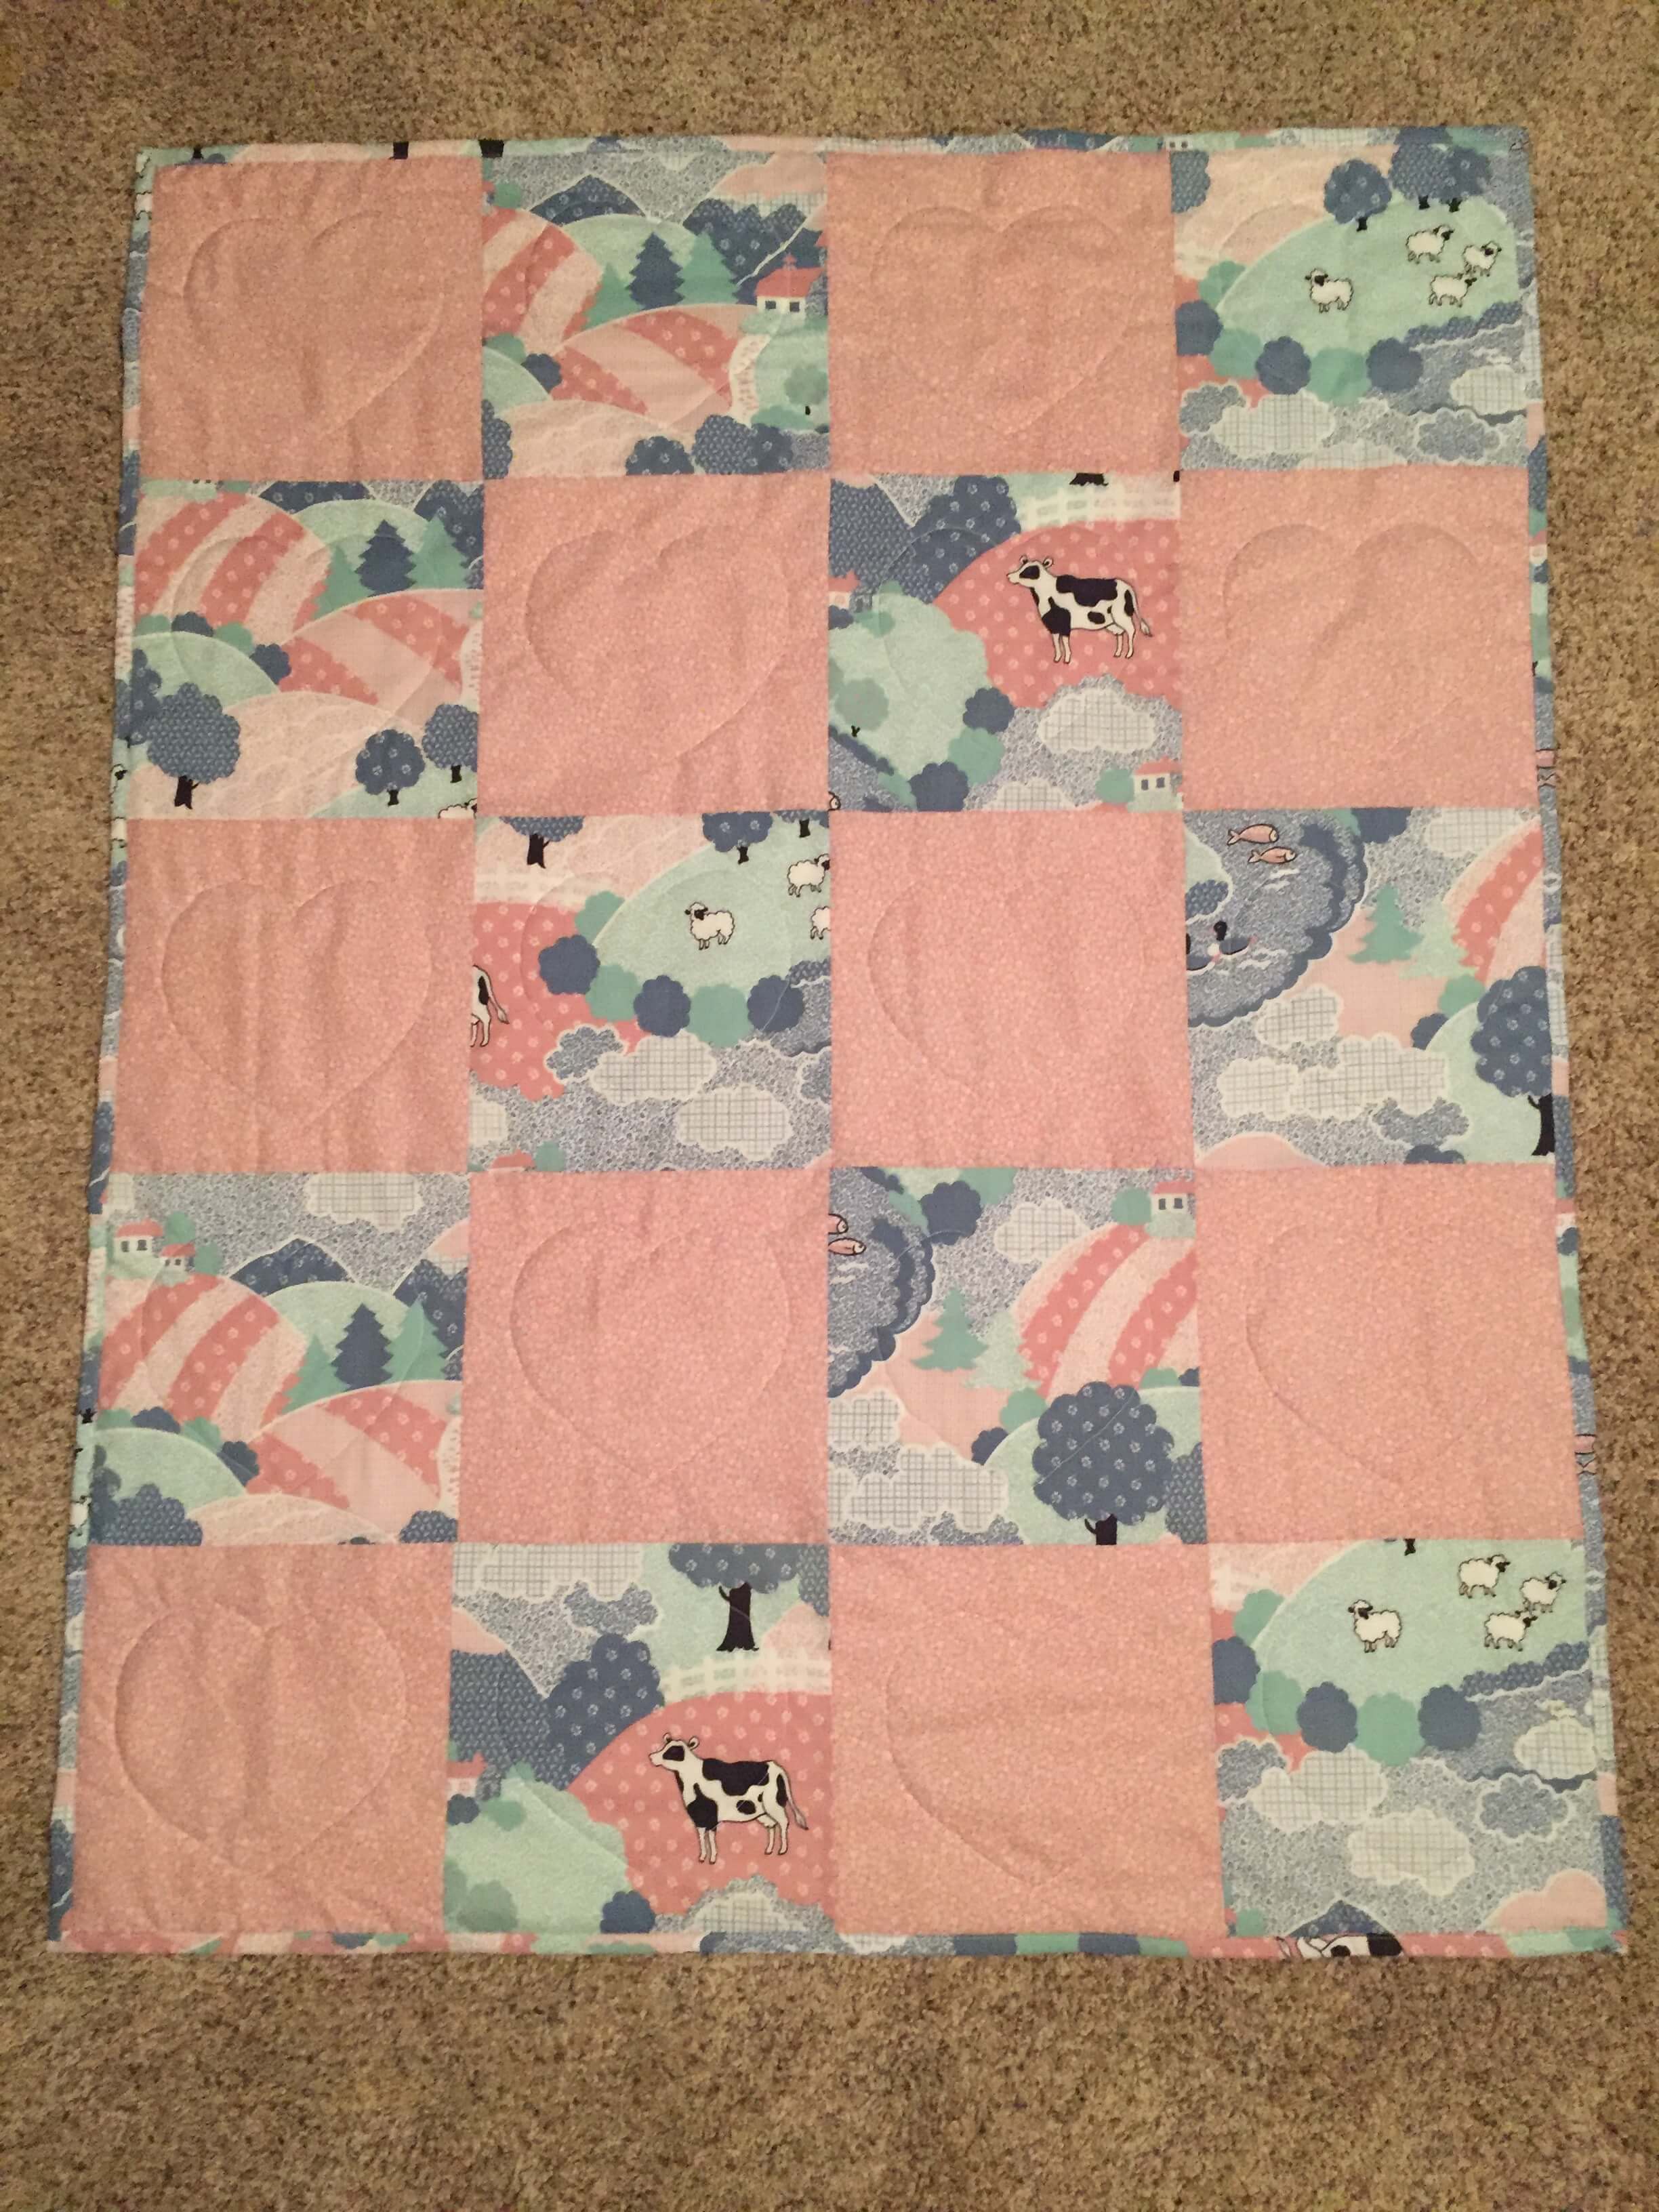
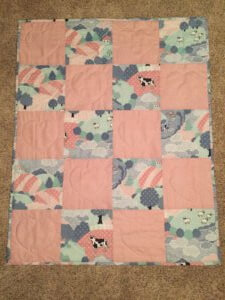
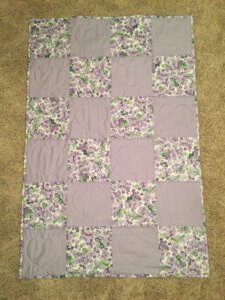
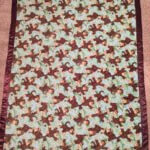
Could you use some step by step instructions on how to make a patchwork baby quilt. Pick out and purchase some cute fabric. Or do what I did and prowl around in your fabric stash. I made this one for a new Mom that is also married to a farmer. Perfect right?
Cutting Up
If you are making a 20 patch quilt, then cut 10 – 9 1/2″ squares of your main fabric.
also cut 10 – 9 1/2″ squares of your contrasting fabric.
If you are making a 24 patch quilt, then cut 12 – 9 1/2″ squares of your main fabric.
also cut 12 – 9 1/2″ squares of your contrasting fabric.
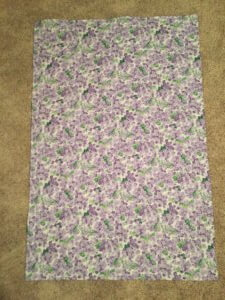
Save enough of your main fabric for the backing and the binding.
Putting it all together
Take 1/4″ seam allowances. Sew the squares together by row, putting right sides together. Then continue sewing each row together. Sew rows 1 and 2. Then sew rows 3 and 4. Add row 5 to 3 and 4. Then combine the first section to the second section. (It’s a little easier to manage when you assemble it with about the same amount on the top and the bottom). For the 4 square x 6 square quilt, combine 1 and 2, 3 and 4, 5 and 6. Then combine each section. Now your quilt top is complete.
The 20 patch should be 36 1/2″ by 45 1/2″.
For the 20 square patchwork baby quilt, you need to cut your backing 44″ x 53″. Cut your batting 40″ x 49″. (I like warm and natural for these baby quilts.)
The 24 patch should end up at 36 1/2″ by 54 1/2″.
For the 24 square patchwork baby quilt, cut the backing fabric 44″ x 62″. (It’s nice because the 44″ is the width of most fabrics.) Cut the batting 40″ x 58″.
Time for a sandwich:
Yes, it’s time for a sandwich. A quilt sandwich that is!! I have hardwood floors in my house. I lay out the material on the floor. Start with the backing fabric, put it right side DOWN on the floor. I spray the fabric with a spray adhesive. Next, layer the batting on the backing. Spray the batting with the spray adhesive. Layer the top, right side up. Now, you have your sandwich. You can just safety pin it together if you don’t want to use the spray adhesive.
Time to quilt:
- I put a heart in each square. I traced a heart around a cutout and dropped the feed dogs and machine embroidered around each one in each square.
- You could machine embroider a stipple design.
- You might want to use an embroidery machine and put a design in every other square.
- Another choice would be to use 6 strands of embroidery floss and tie a knot at each intersection.
- Mark a dot around a cutout heart and make a small zig zag stitch, tying off at the beginning and at the end of each set.
Trim the batting the same size as the top layer. You can at this point make a binding with the backing by trimming the backing one inch away from top layer. Fold under 1/2″ and then fold over again 1/2″ to top. You can top stitch 1/8″ away from fold to make your binding.
To add your own binding – you can purchase binding or make your own. First, trim the batting and backing even with the top layer. Cut 2 1/2″ bias strips of the fabric you want to use. Sew the lengths together. Fold it in half lengthwise and press. On the top piece – sew on your binding to the edge 3/8″ from the edge. Make the miter in each corner. Fold to the back and slip stitch down.
Learn how to make a receiving blanket!
A swaddle blanket would make a great newborn gift!
Instructions on how to make a fleece blanket with satin binding!
Thank you for reading!!! Comment with any questions. I would appreciate a pin or a share.