DIY Memory Pillow
DIY Memory Pillow
One of my customers wanted a pillow made with her Dad’s clothes. She wanted to honor his memory with something that would be on her couch every day to look at. What better than to use some of his everyday wear. This is a fun and easy pattern for a beginner. Continue to find your directions on how to make a DIY memory pillow.
If you are just starting out, this post on how to wind a bobbin and how to thread your machine will help you out. It’s five steps to learn how to sew.
Supplies:
Front fabric – cut 1 piece 18” x 18” (Use front of a plaid shirt & overalls)
Back fabrics – cut 2 pieces 12” x 18” (Use the back of the shirt)
Thread
Scissors
Instructions:
Cut – DIY memory pillow:
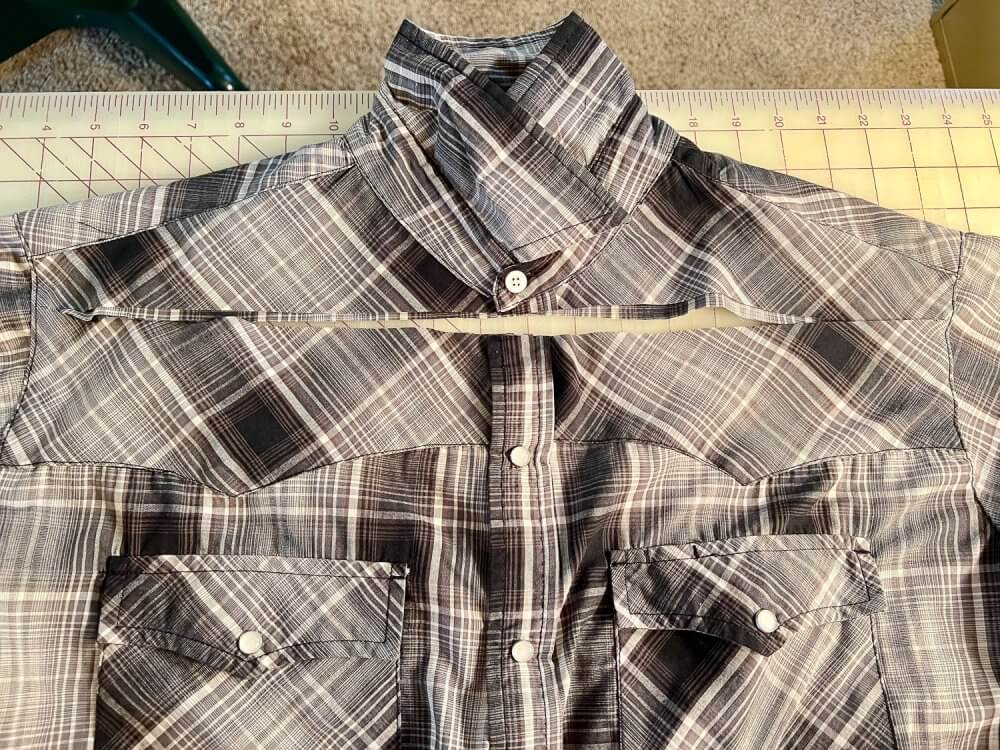
Start by cutting up each side seam. You want to open the back from the front because the sizes will be cut different.
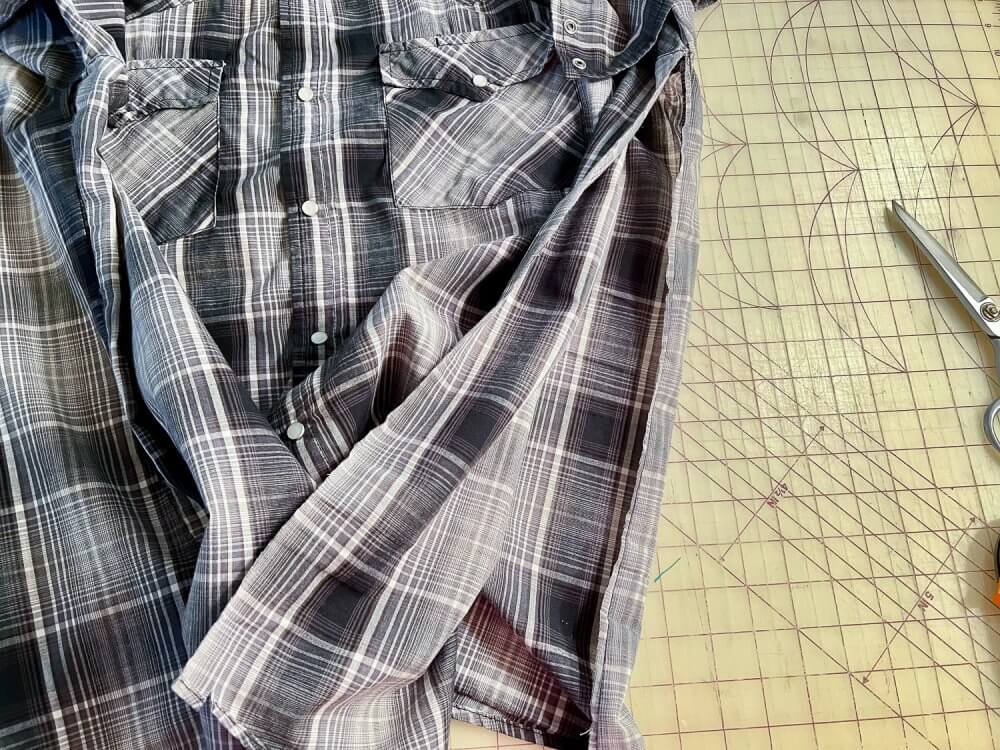
Cut a straight line horizontally right under the collar and top button.
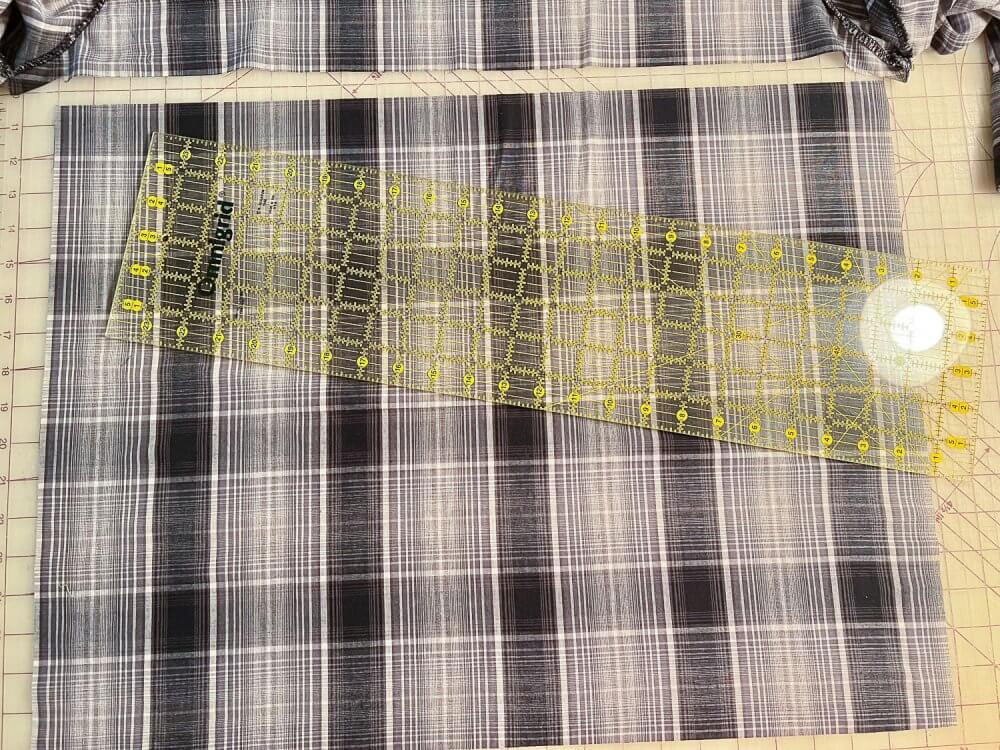
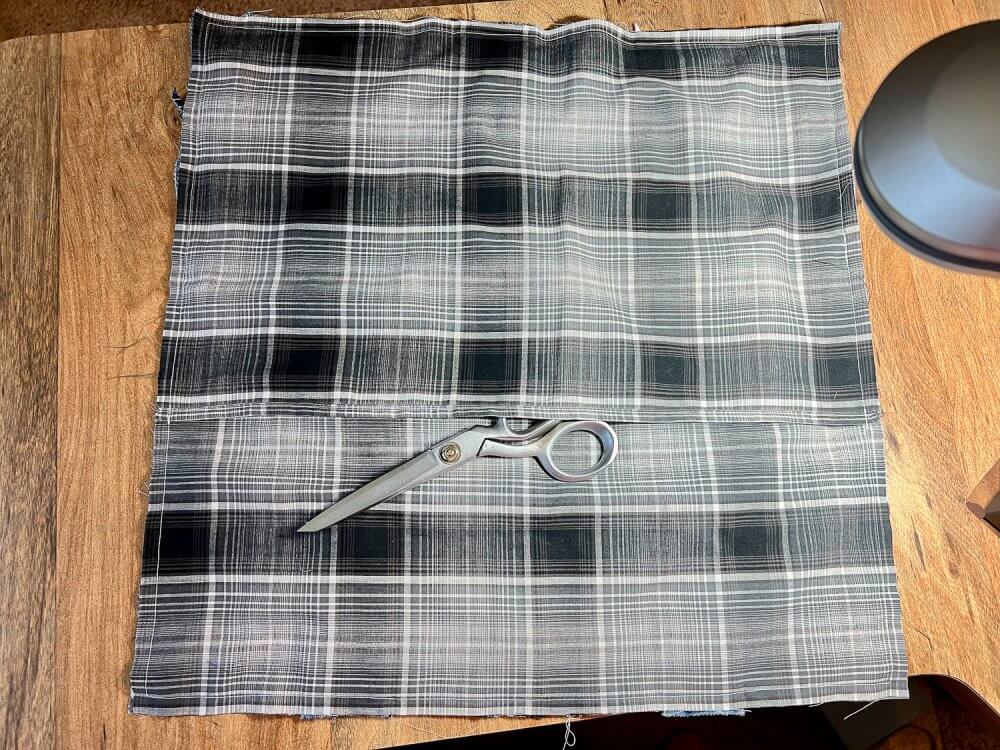
On the back of the shirt cut out 18″ x 24″.
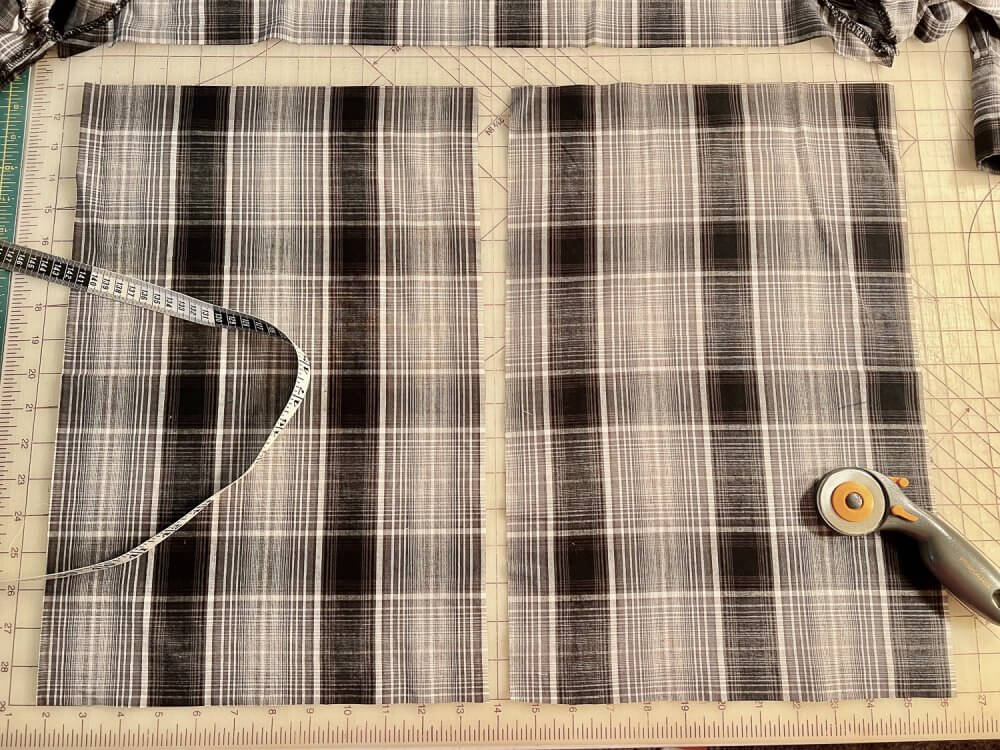
Cut those two pieces in half. You should end up with two 18″ x 12″ pieces.
On the front of the shirt, cut the sleeves off to get a flat piece for front of pillow.
Cut both sides to end up with an 18″ measurement across.
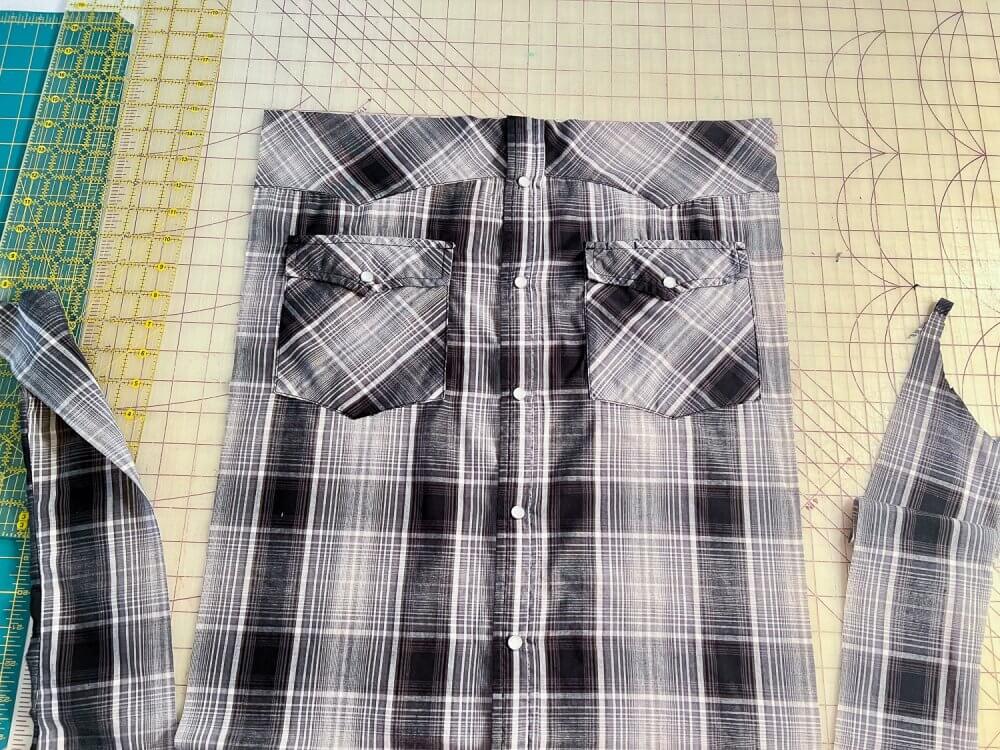
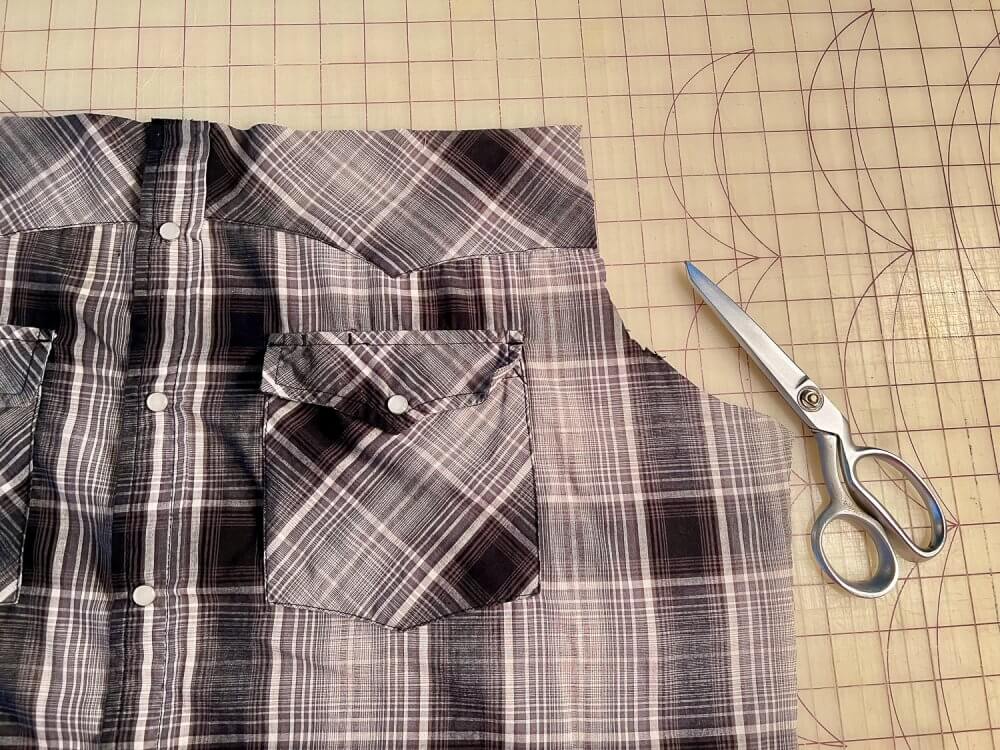
Cut it 18″ vertically. Be mindful, not to end up with a pearl snap button where the seam will need to be sewn. You might have to cut a little more off the top to space it out evenly. If it’s a regular button you can always remove the bottom button, as it will be hidden under the overalls.
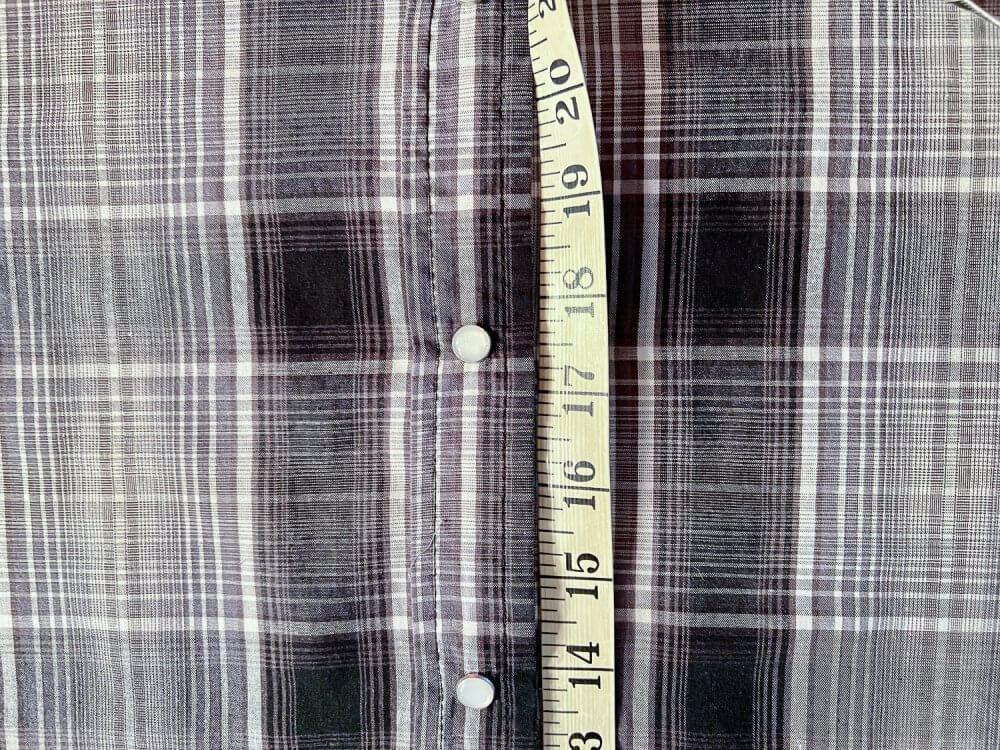
You now have an 18″ x 18″ square.

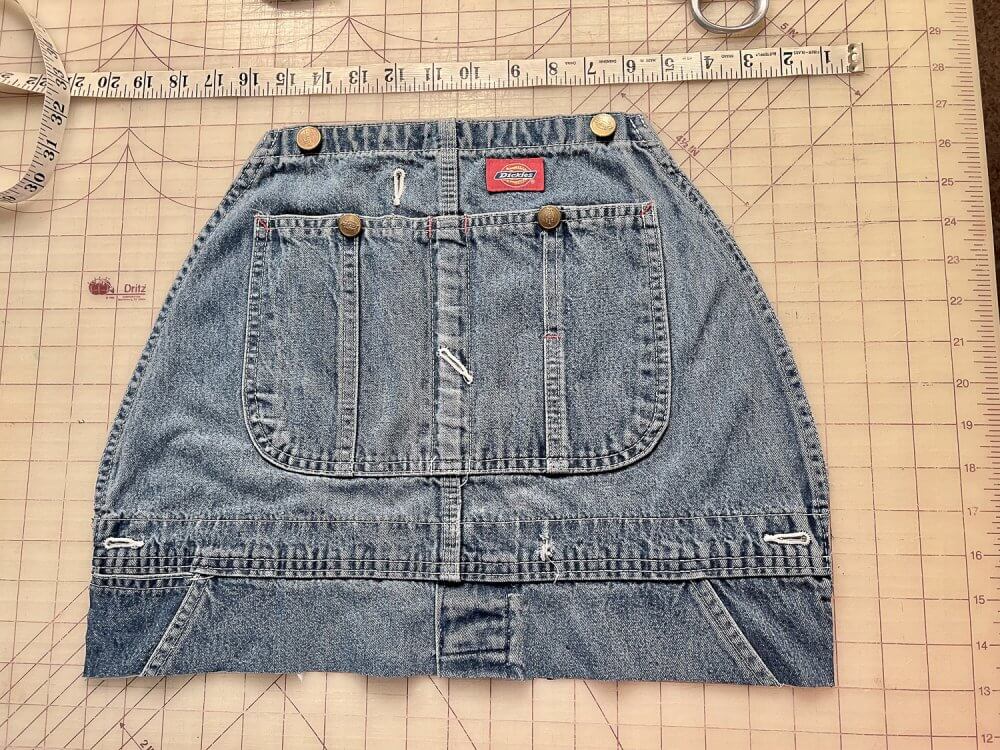
Cut out your overalls – for your DIY Memory pillow
Be sure to cut the bottom above the button and heavy seams, to make it easy to sew a seam at the bottom by not sewing through the thick bulky seam already there.
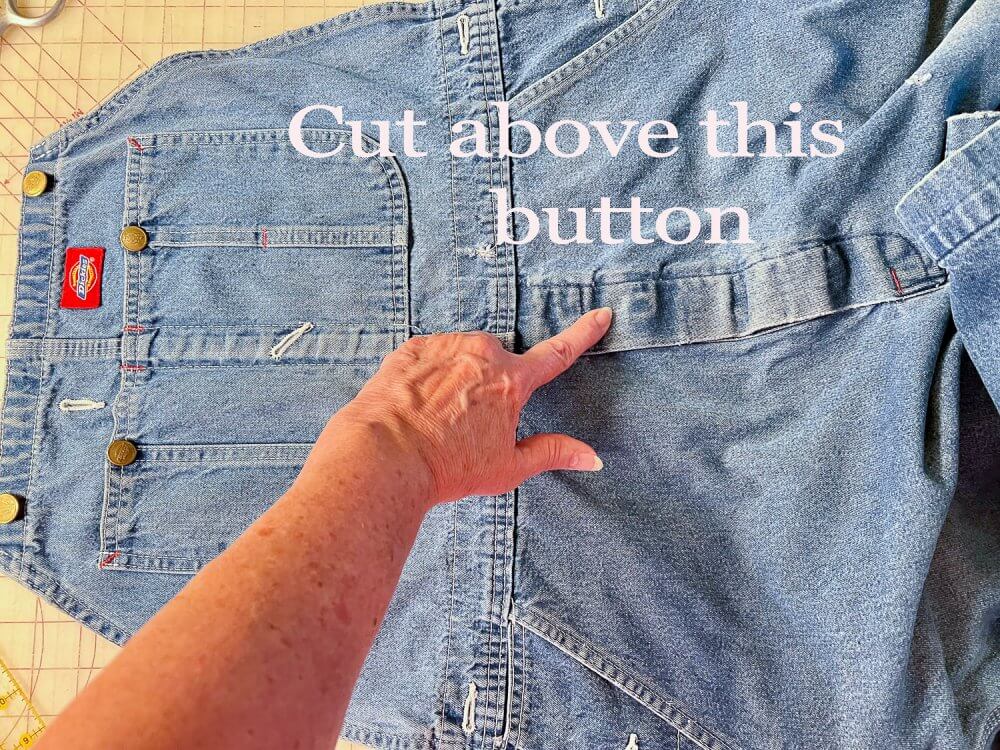
Cut a straight line across.
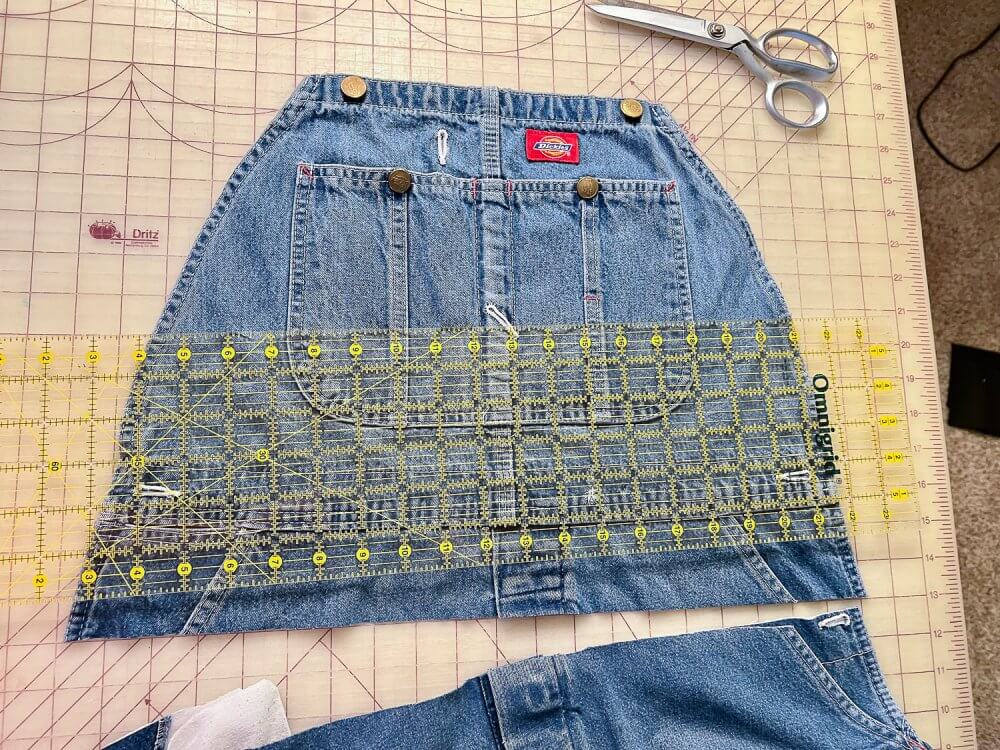
Cut the buckles off, and press the straps.
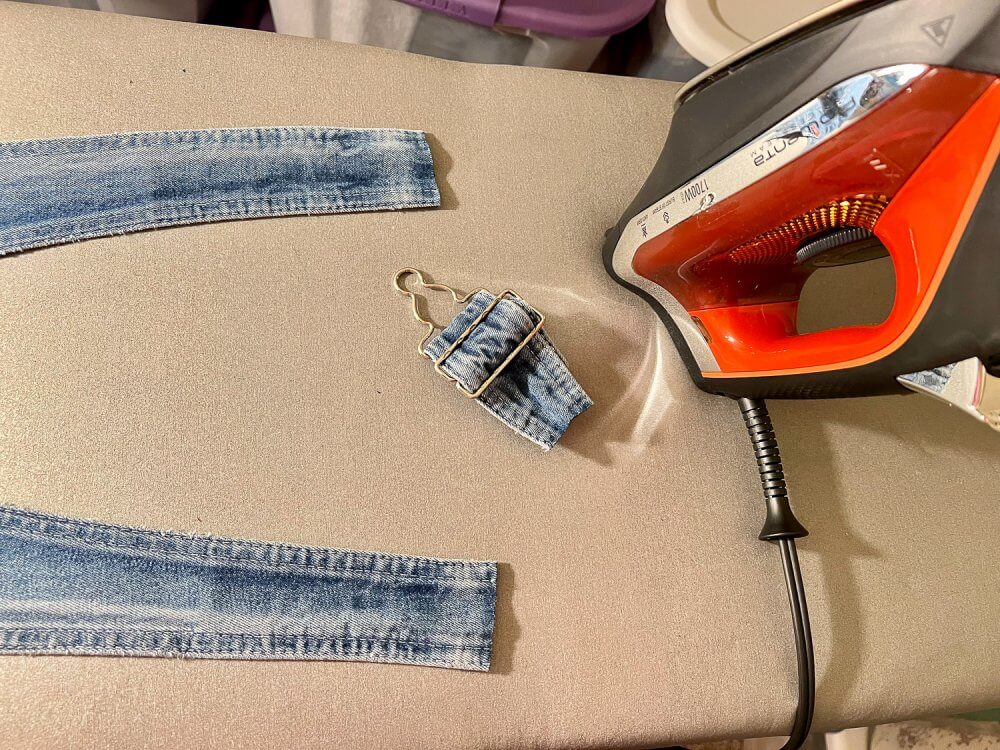
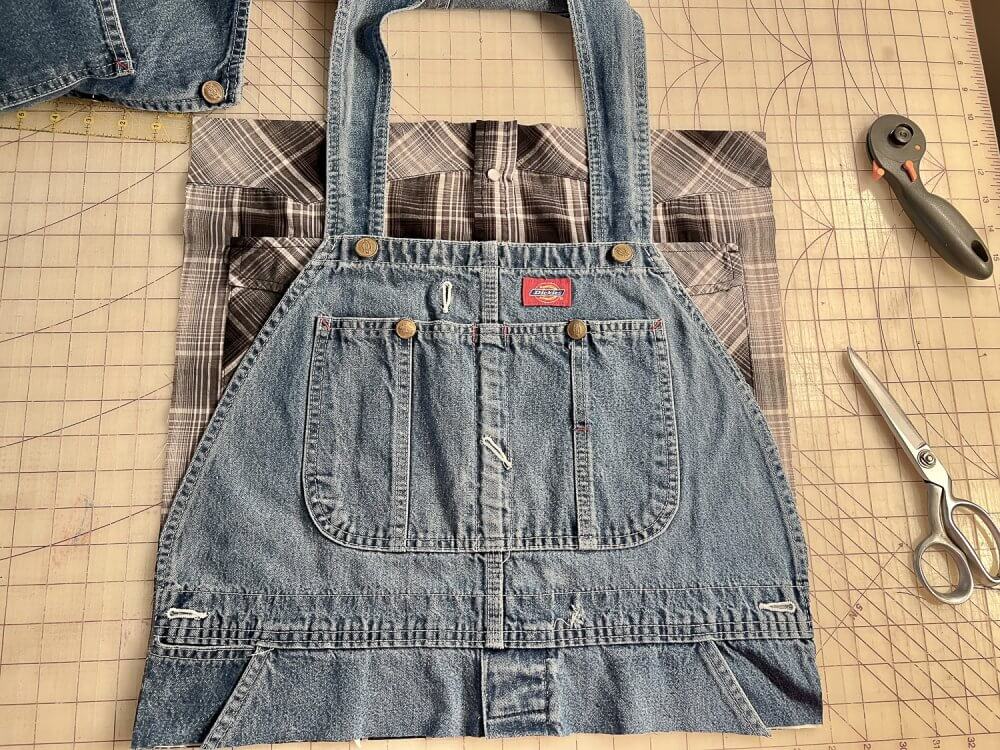
Position the straps where you want them.
Trim the straps off even with the top.
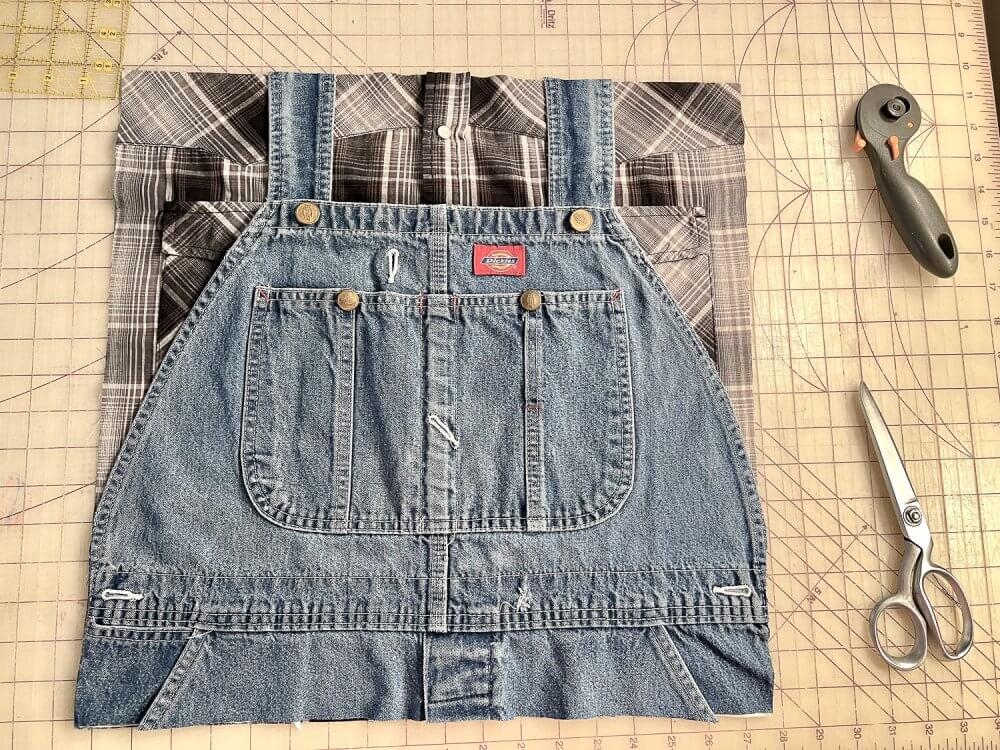
Pin in place.
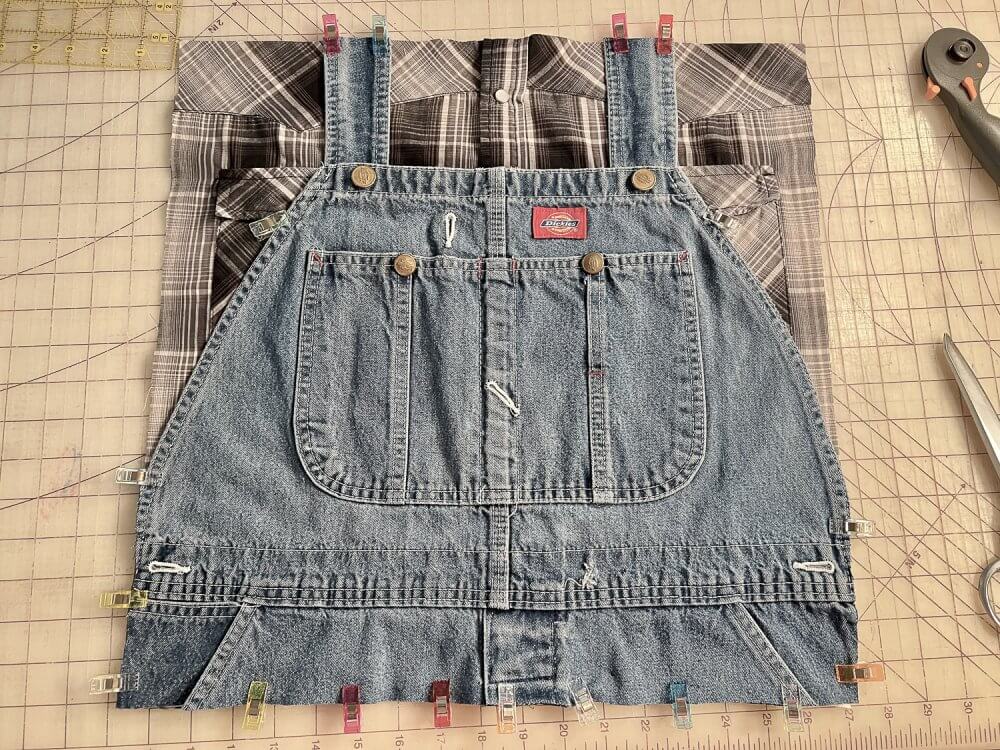
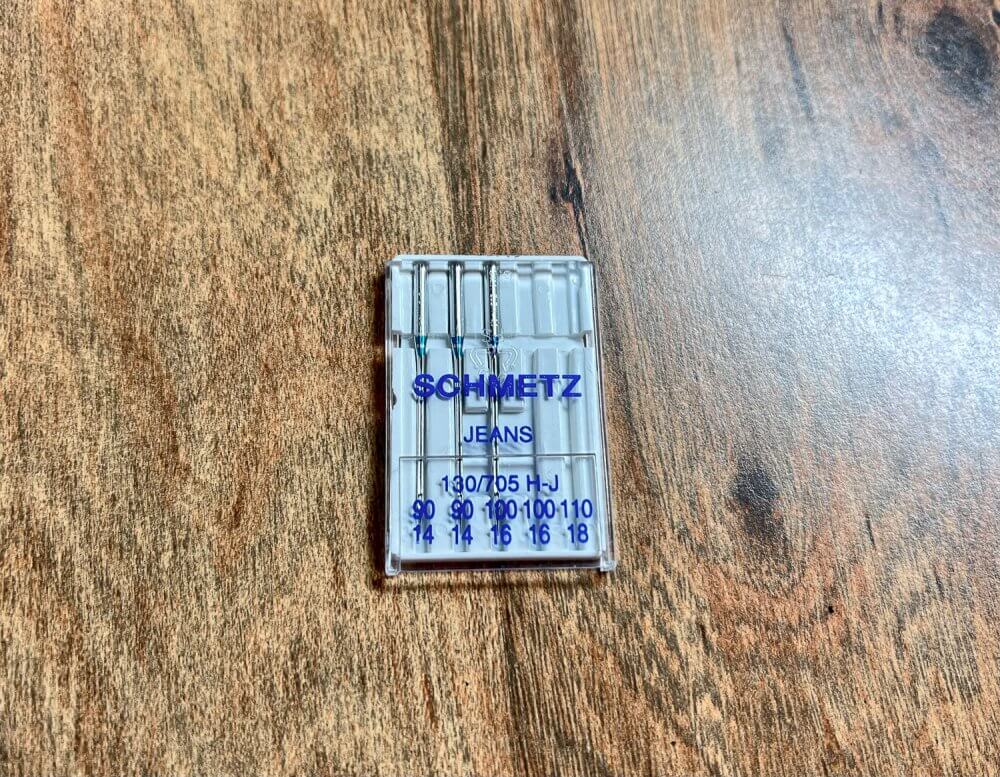
Load a denim needle in your sewing machine.
Sew:
Use the color of thread on the overalls. Mine was white. Sew around the overalls, sewing it to the plaid shirt. Sew on the seam that is there. (1/8″ seam) Sew all the way around. I had to use a zipper foot to sew above the button where the strap was.
Next,
On the back pieces, hem each one. On the 18” long edge, turn under 1/4”, then another 1/4” forming a hem. Stitch 1/8” from edge. Repeat with the other back piece. These will overlap each other, so make sure you hem the bottom of one and the top of the other especially in the case you have a one way design. Press seams flat.
With right sides together, place one back piece at the top of pillow with hem toward the center of the pillow. The top raw edges are even. Pin in place.
To continue, place the other back piece at the bottom of pillow, right sides together with hem towards the center. Pin in place.
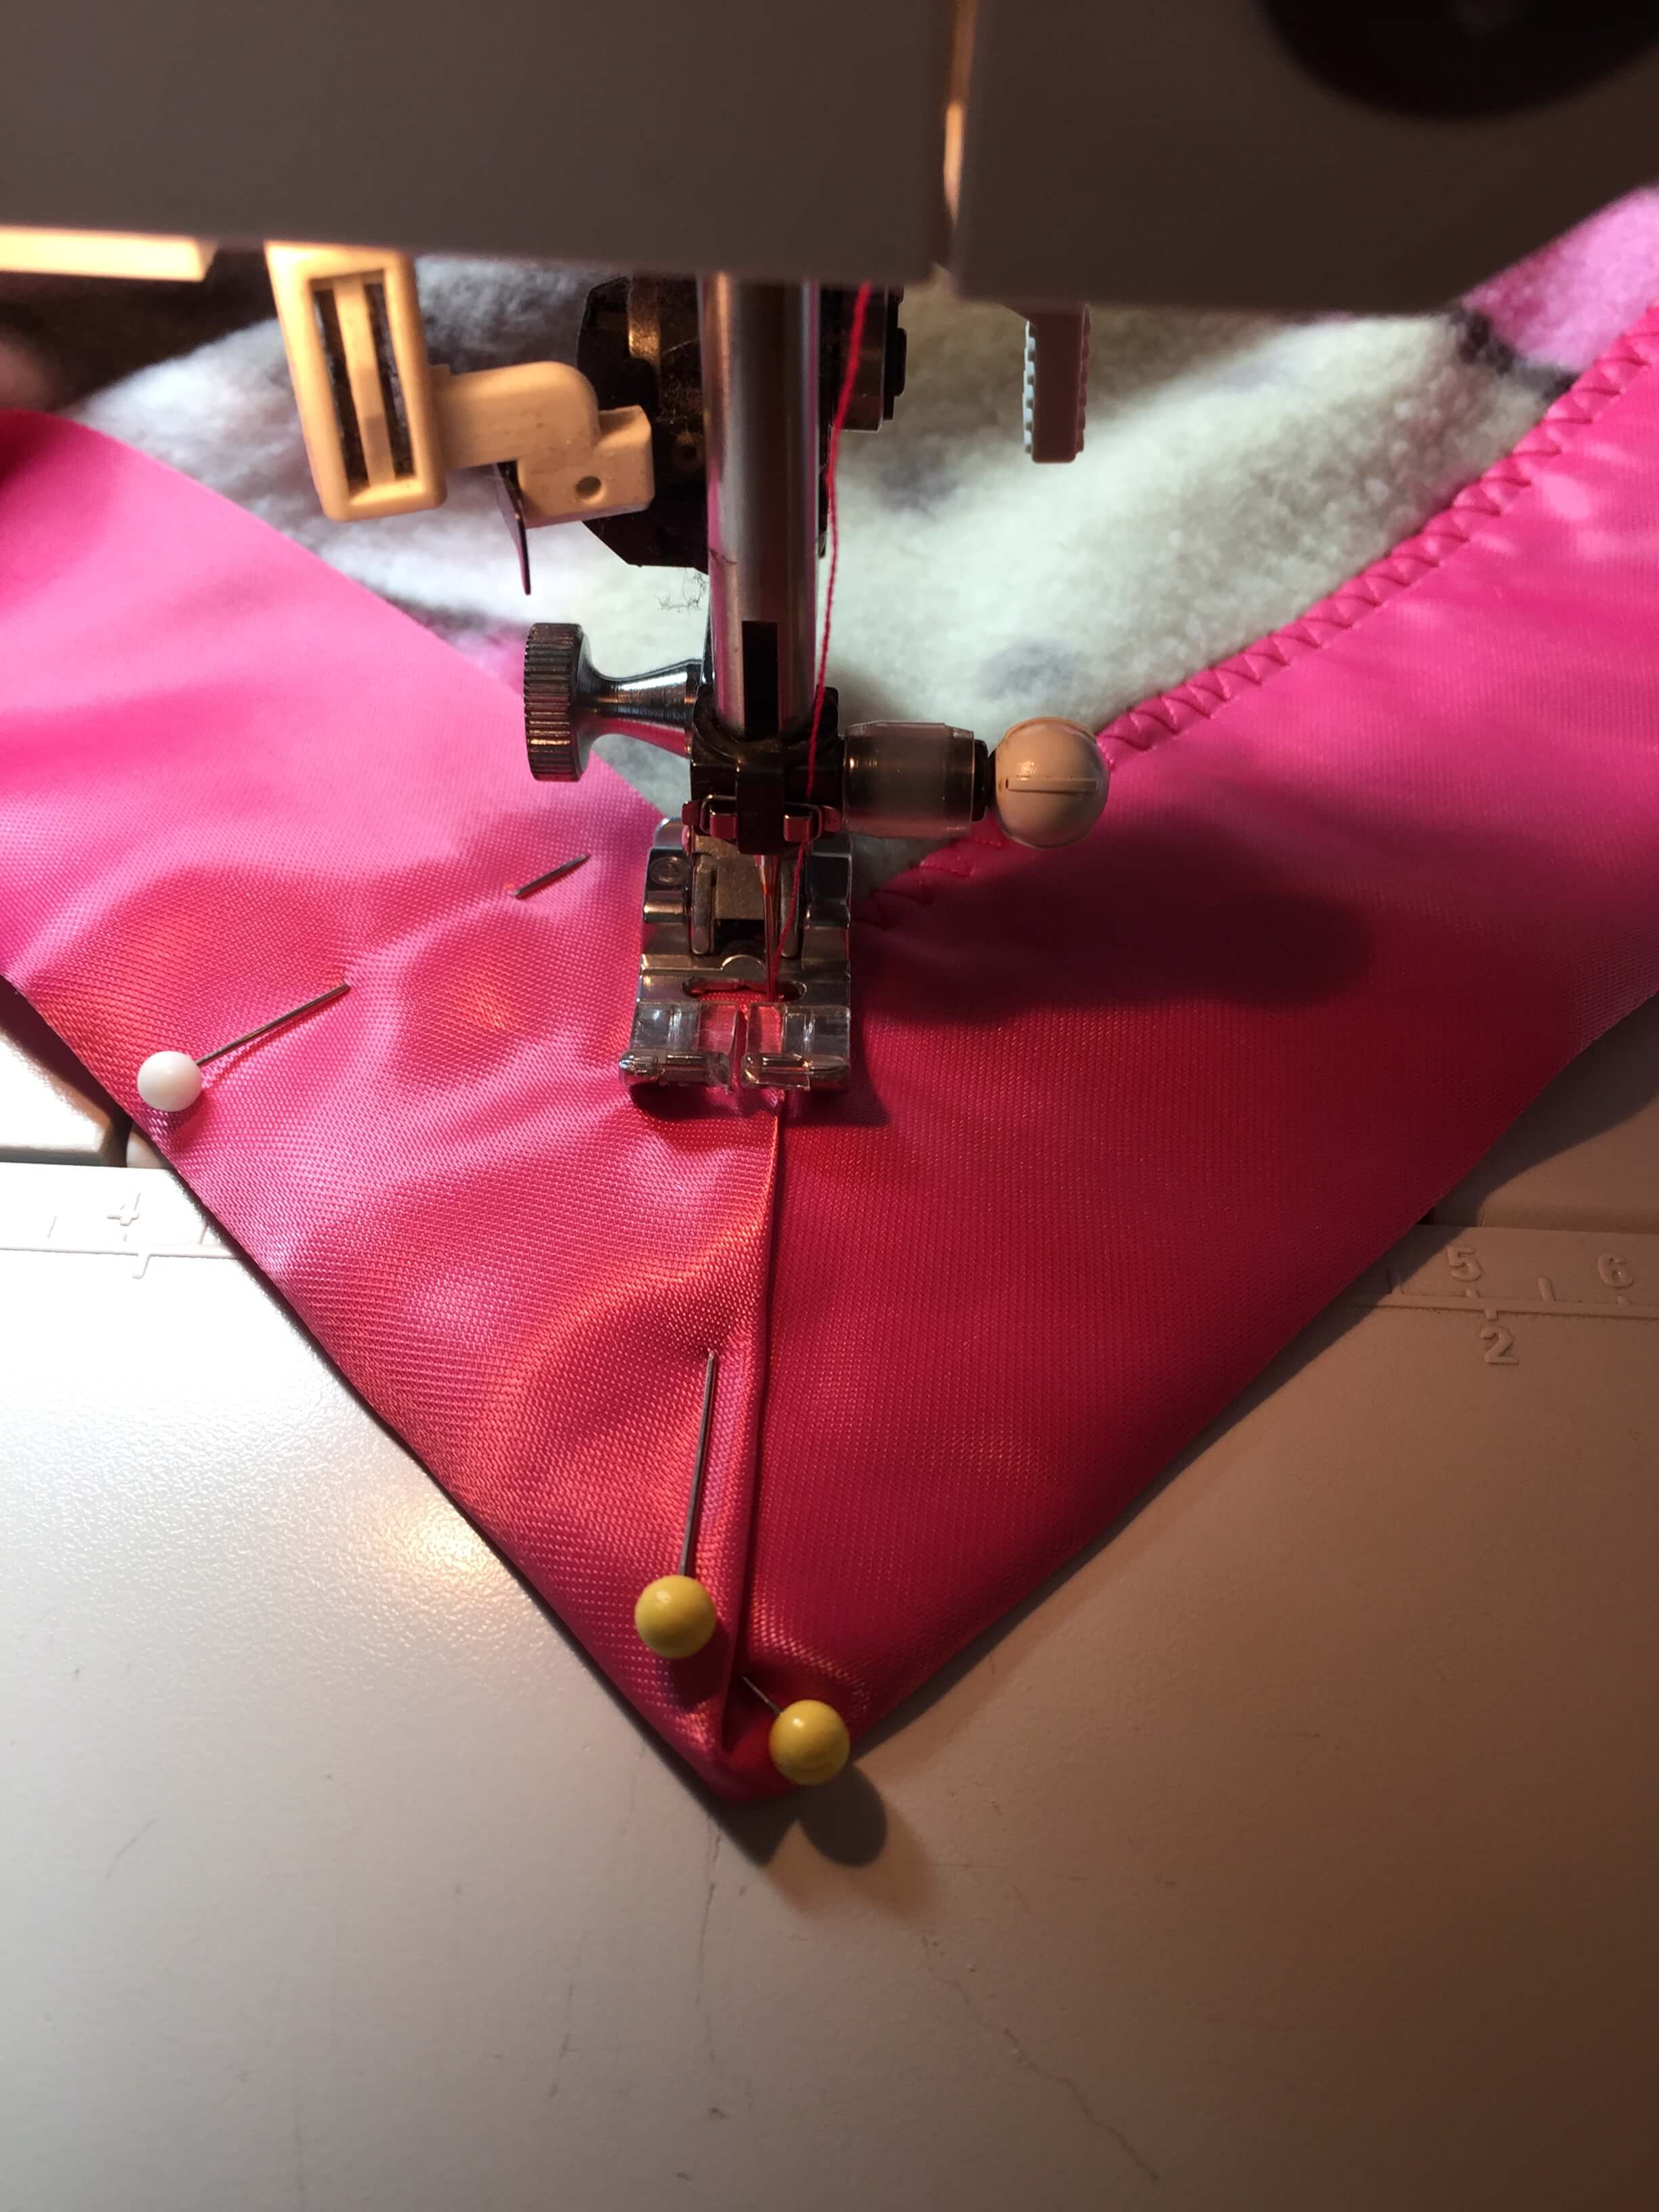
The two back pieces will overlap to resemble an envelope. Stitch around the entire pillow using 3/8” seam allowance. Back-stitch where the back pieces overlap to secure the seams and to prevent the seams popping open when inserting the pillow form.
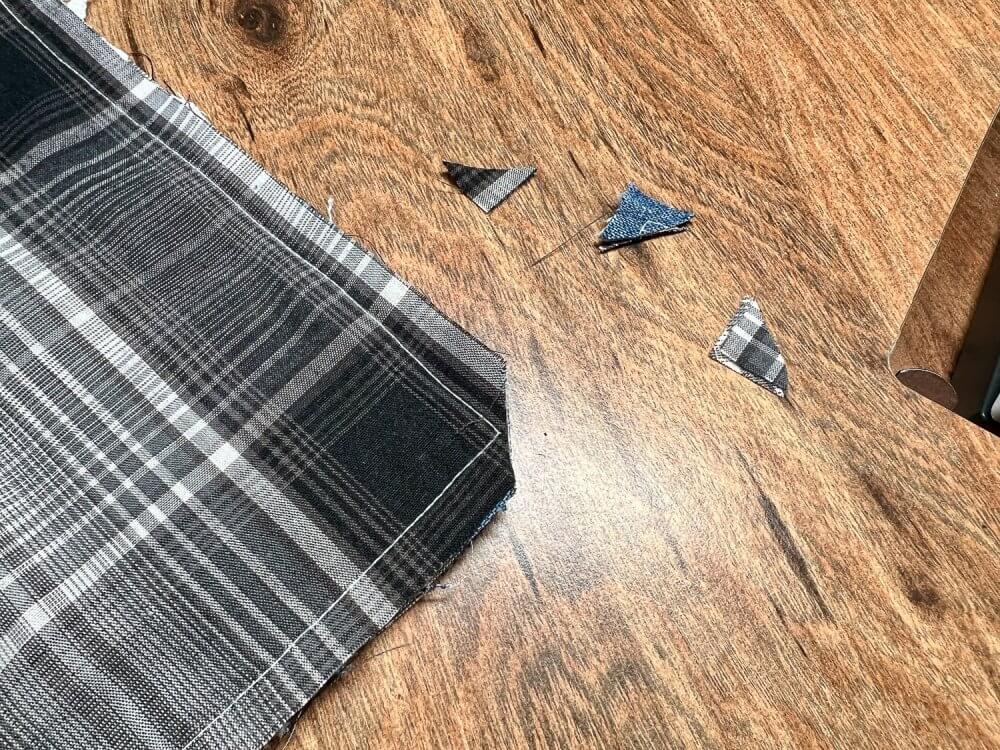
Trim the corners being careful not to cut through the stitching and turn the pillow right side out through the back opening. Poke the corners out for a professional look. Press the edges of the pillow.
You are all done. YAY
In conclusion, wasn’t that fun and easy! You should make two while you are at it.
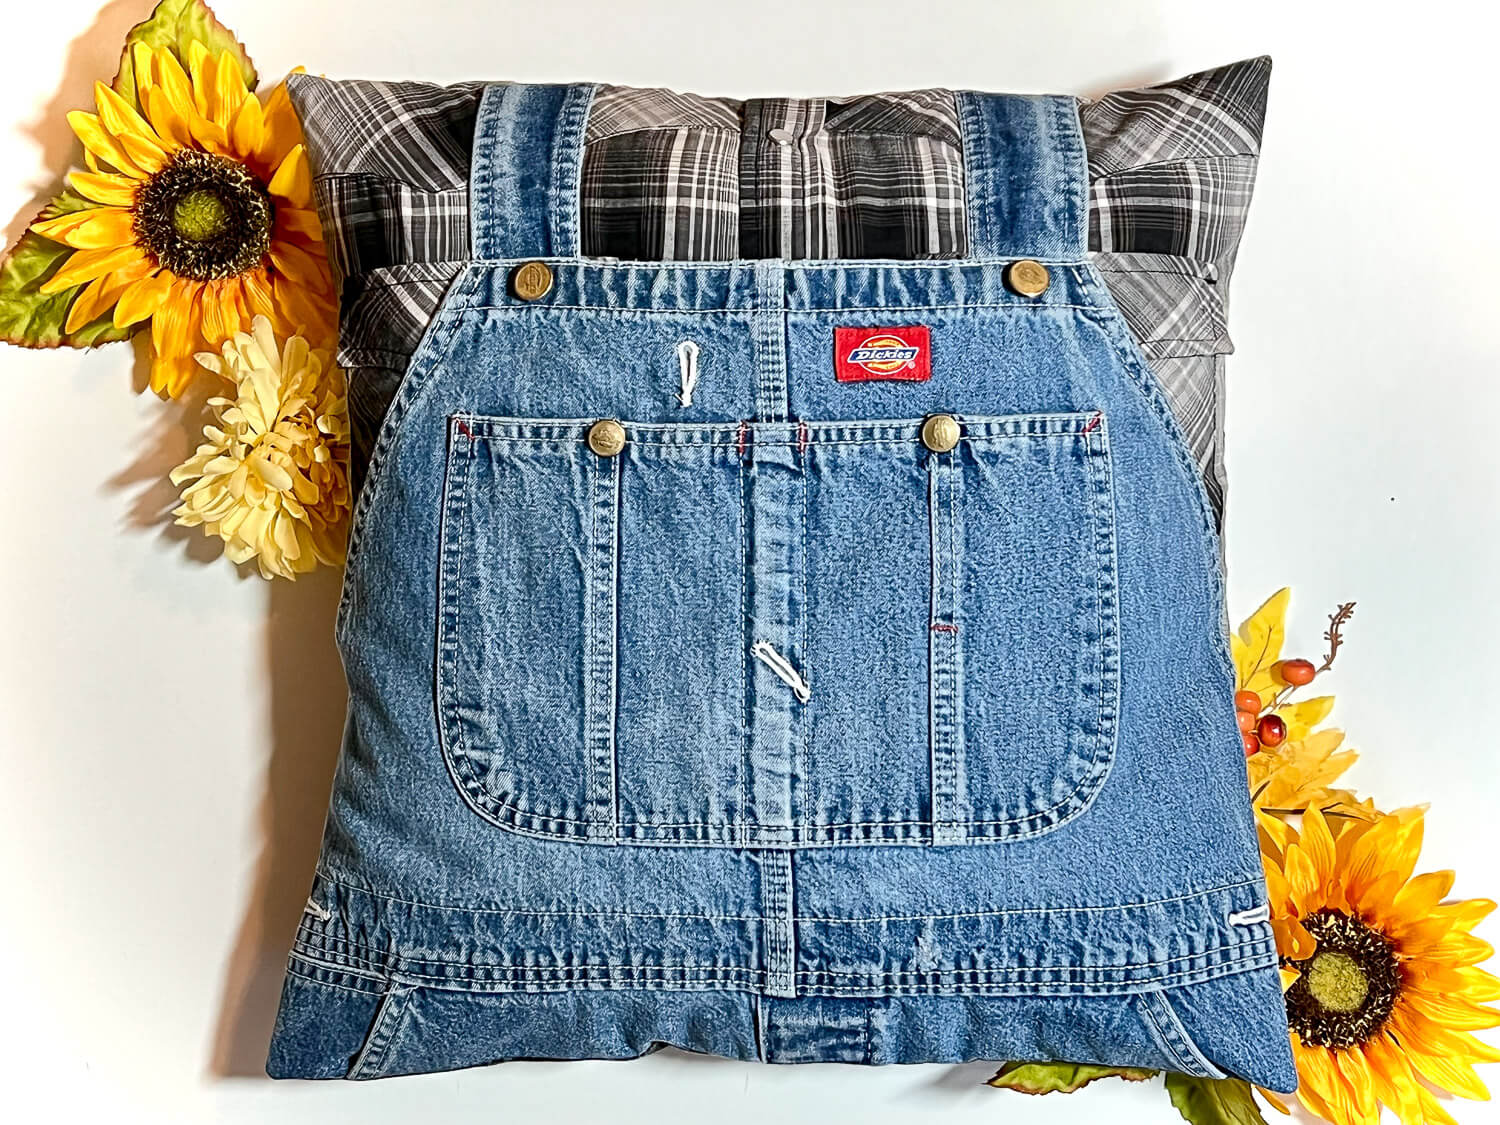
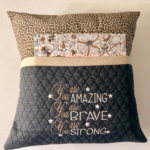
Here’s the finished product:

Insert an 18” x 18” pillow form. These are a good choice!
WAY TO GO!!! I’m so proud of you. Now go throw that throw pillow on the couch or on a bed. The nice thing about an envelope pillow cover is that you can switch them out when you change your decor or bedding. Just remove the cover to clean or launder.
Pin for later:
Here is a post on how to make a designer envelope pillow.
See this post on how to modify and make it a reading pillow. (There is a video for a mini-course if you want to see it in action. There is a link on that post)
 </a
</a