Fabric Pumpkin DIY
Fabric Pumpkin DIY
Get ready for fall with a Fabric Pumpkin DIY.
I was getting ready for some Fall Mini-Photo Sessions and needed a few more pumpkins to decorate my photo backdrop. So off to the craft room I went!
Supplies Needed:
Fabric or Burlap
Rocks
Fiber fill
Rubber Band
Jute
Decorative Ribbon
Leaves or Berries
Hot Glue Gun
Put Your Pumpkin Together:
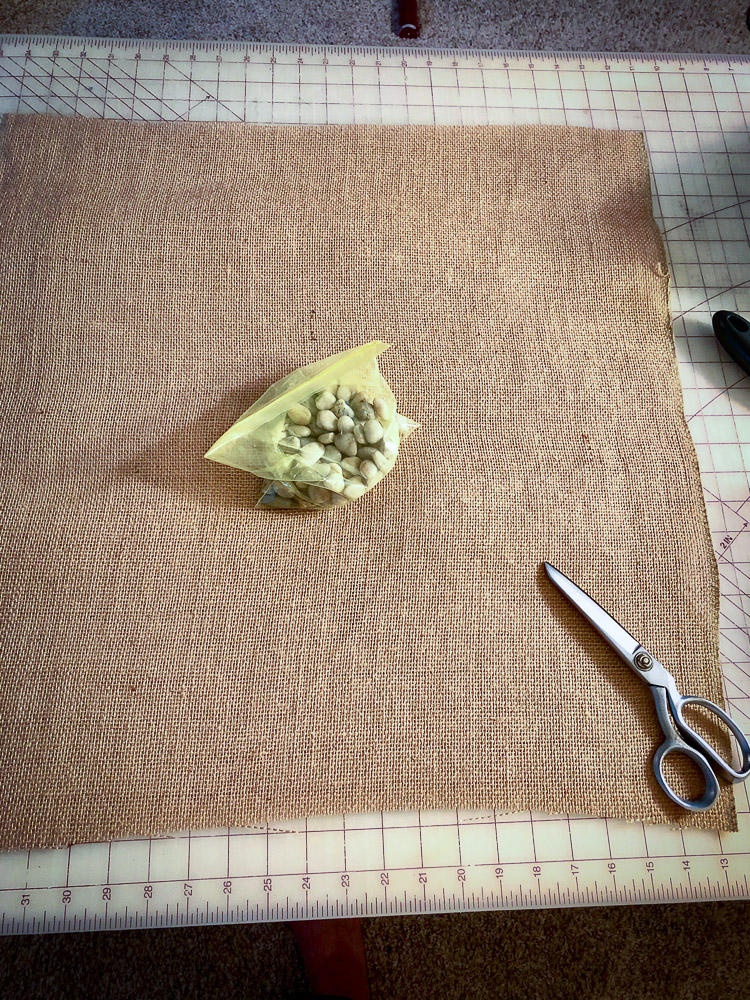
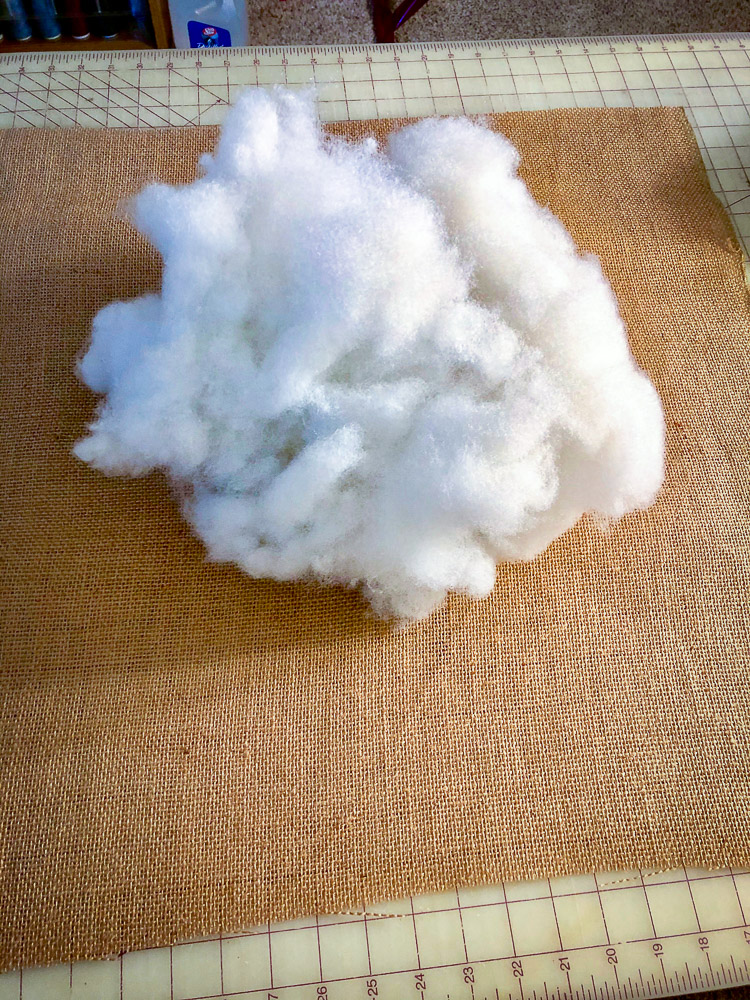
Cut a piece of burlap or fabric. The size you cut it will depend on the size you want your pumpkin. I started with a square 24″ x 24″.
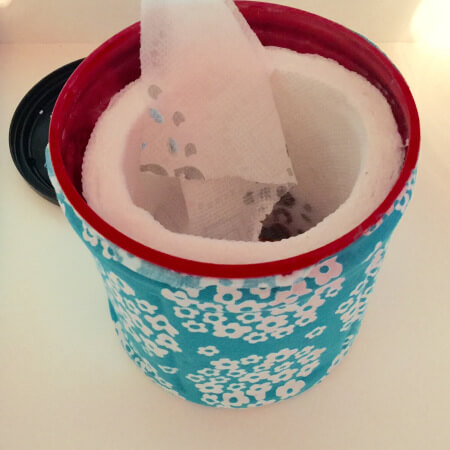
I already had some rocks I purchased for weighing something down. Put some in a small ziplock bag. This will give your pumpkin some weight.
Next, add some fiberfill to the center.
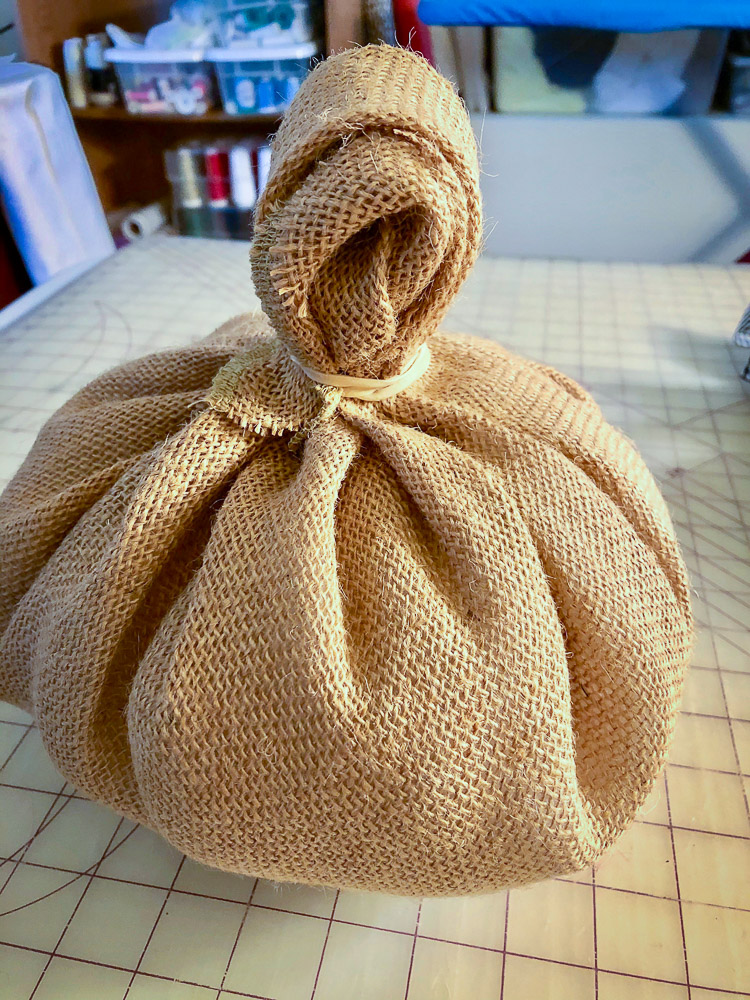
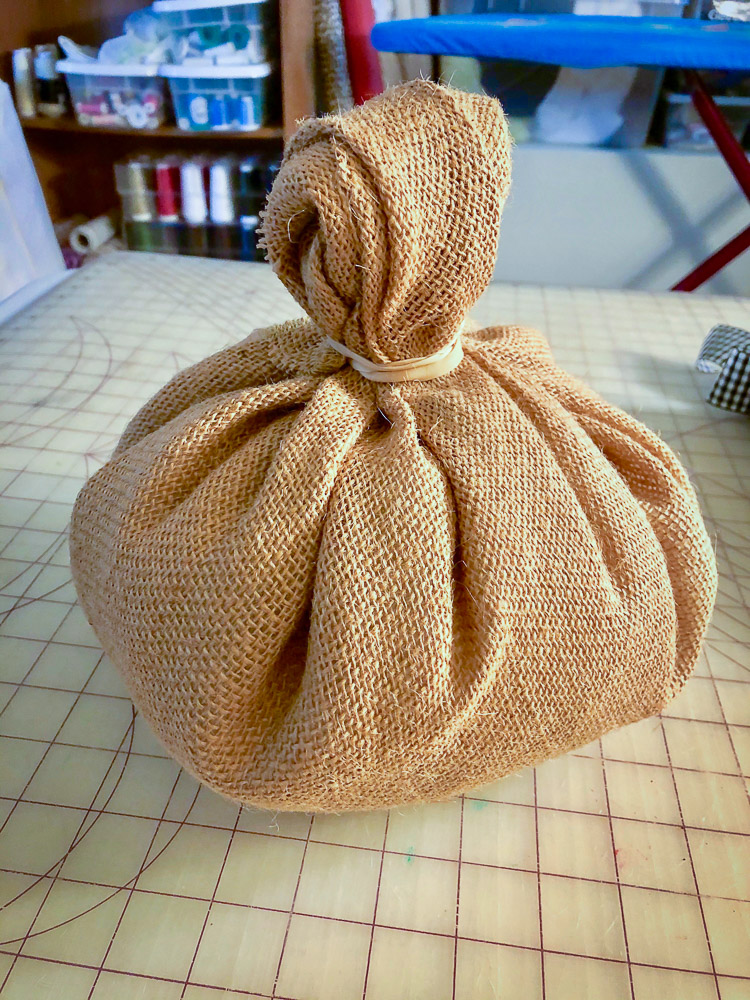
Next, you are ready to grab up each corner, then each side. Twist it up and fold it down. Add a rubber band to hold it in place.
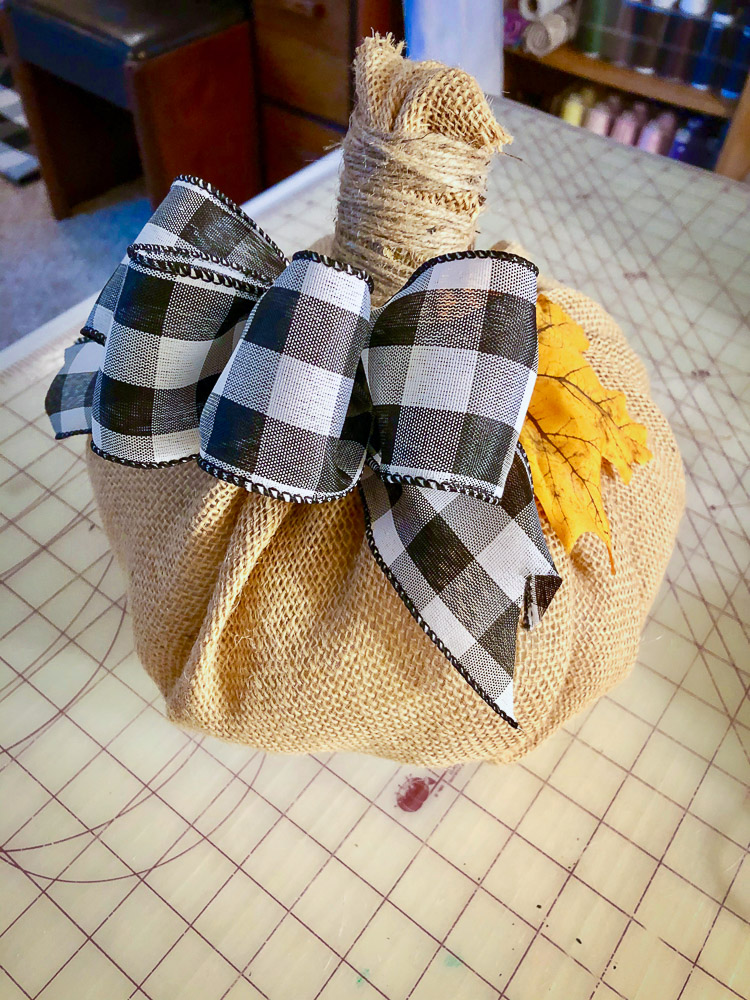
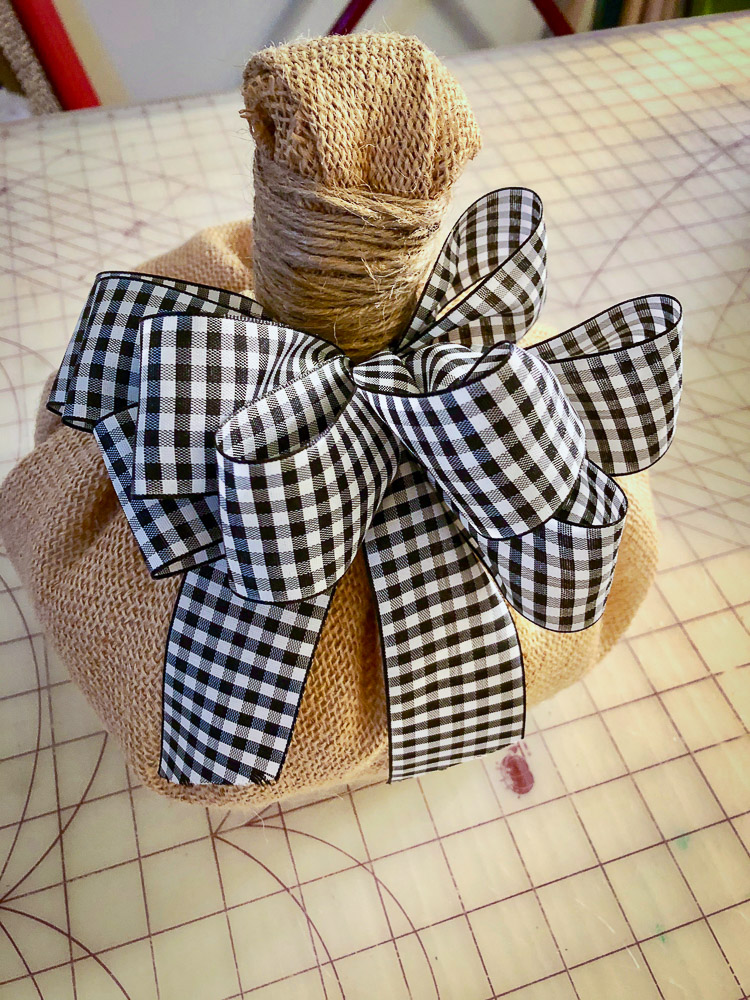
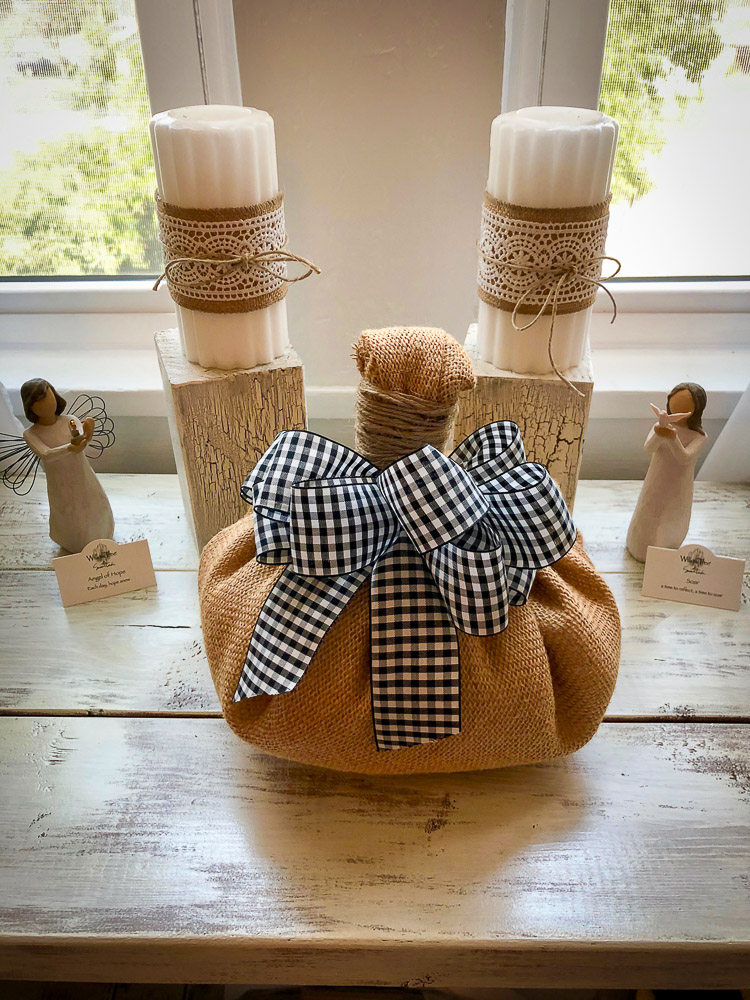
Take your jute rope, leave a tail on it, and start wrapping it around the top to make your stem. Keep wrapping until you go back down to where you can tie a knot to the tail you left hanging out.

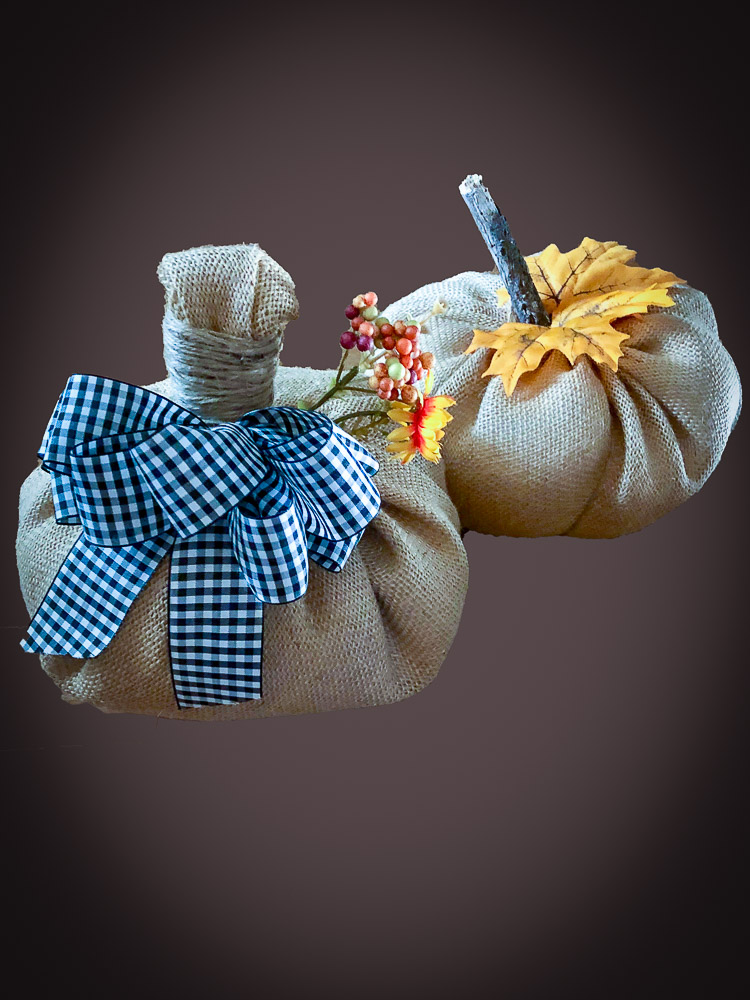
Lastly, add a bow, and/or add a leaf until you reach your desired look. Easy peasy, pumpkin squeezy! Hot glue the leaves on.
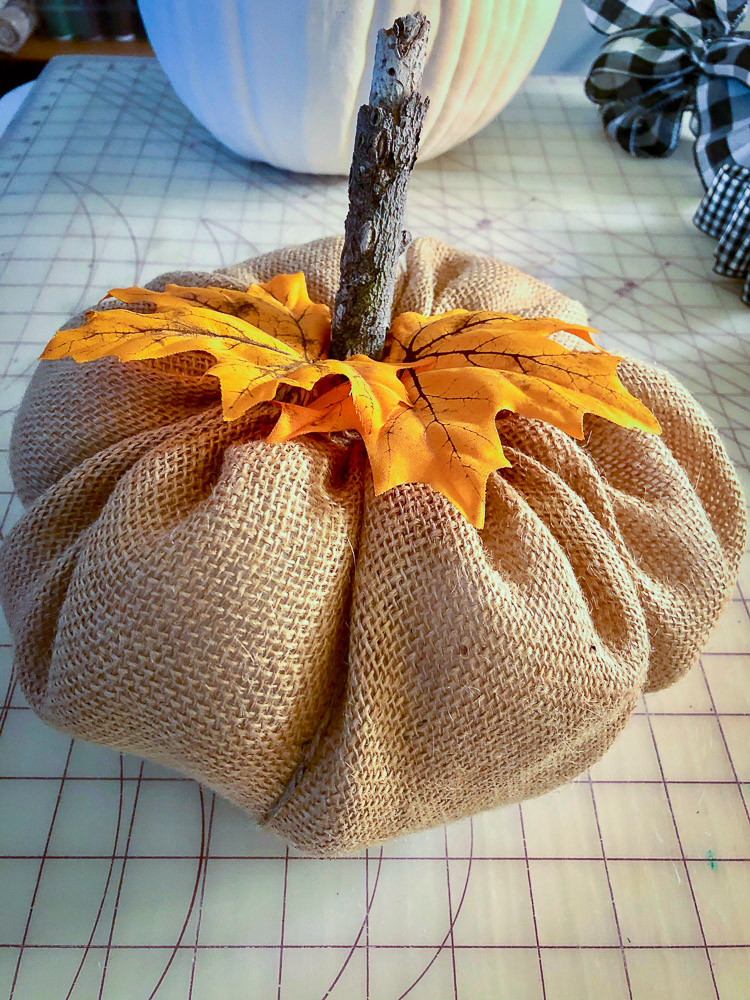
An additional option is to hand stitch the top closed leaving a small opening, and hot glue a stick in the center for your stem. You can also add jute around the entire pumpkin in segments to mimic the indentions in the pumpkin.
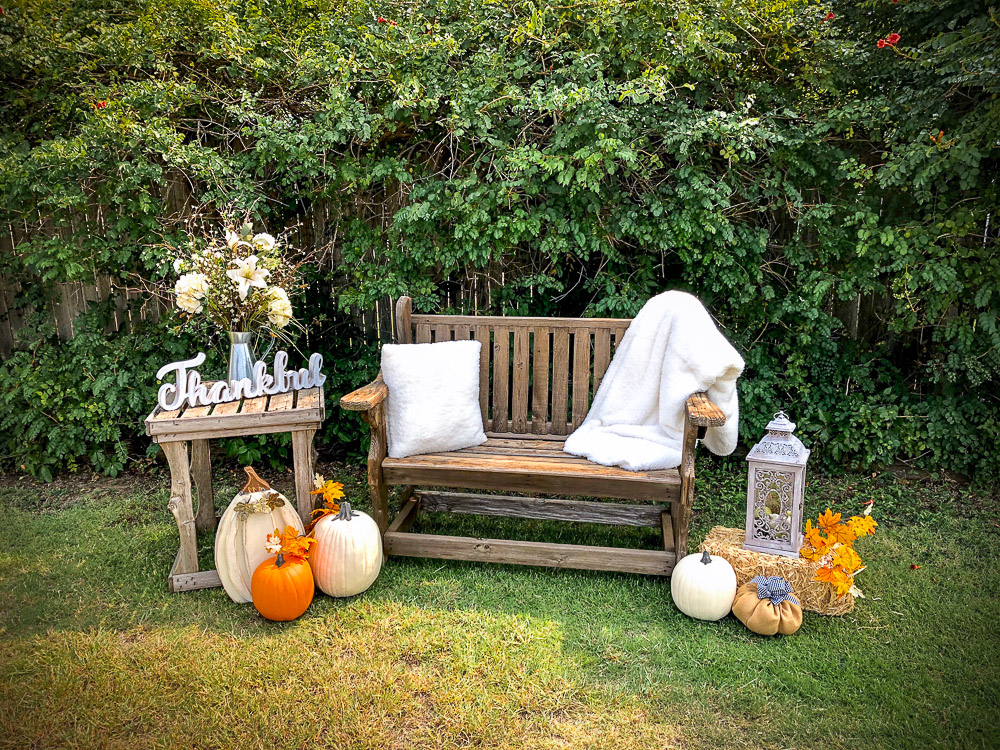
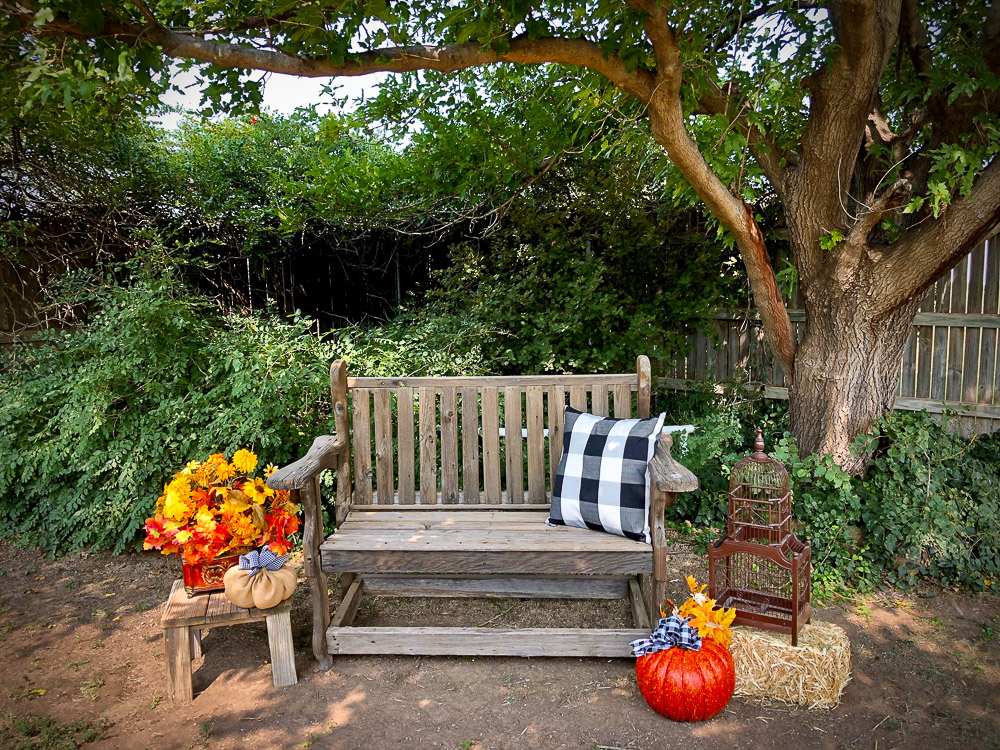
These pumpkins made a nice addition to the photo backdrop for my fall mini-photo sessions. The different texture added to my fake pumpkins I had. They also make for a nice addition to my home decor for the Thanksgiving season. Go ahead and give ’em a try. Let me know in the comments what you used for your fall pumpkin diy.
Pin for Later: