How to read a sewing pattern
How to read a sewing pattern
I have a friend who is a wonderful quilter. She can crank out a quilt in no time and she loves to sew. However, she was deeply intimidated by sewing garments because she had no clue how to read a sewing pattern.

She picked out a pattern, came over, and walked through all the steps of how to read a sewing pattern. I quickly discovered that there are so many things you assume a sewist just knows, but if they have never used a pattern, it’s like learning another language.

Right then and there, I decided that I would share what I know so that it may help someone else learn how to use a pattern and start making clothes or home decor for yourself, kids, or grandkids.
This post assumes that you already have all your sewing supplies. If you are not sure, you can download my Must Have Sewing Supply List from the form at the bottom of this post.
First
Find the pattern that you want to make. The pattern books and online – have sections for Toddlers, Children, Women, and Men, not to mention all the crafts and home decor sections. Next, you need to buy the pattern in the correct size. Take the measurements for the person you are sewing for. Record the measurements with the date. The best place I found on How to take correct measurements is from a PDF I made on Sewing Pattern Fitting. If you are interested in a copy, please contact me. I learned it from Nancy Zieman’s book.
Be sure and read the back of the pattern before you purchase. The first top section tells you about the pattern. Additionally, it will tell you if it is lined, fitted, zippered, sleeve lengths, etc.

Second
Find the suggested fabrics section. This section tells you what fabric works best for that particular pattern. Mainly, you want to know whether to use cottons or knits. It will suggest others like cotton blends, eyelet, linen, shantung. If it has lining or petticoat ruffle like this pattern, it will suggest that also, like soft netting. The pattern also tell you that additional fabric may be needed to match stripes, plaids or one-way design fabric.
Third
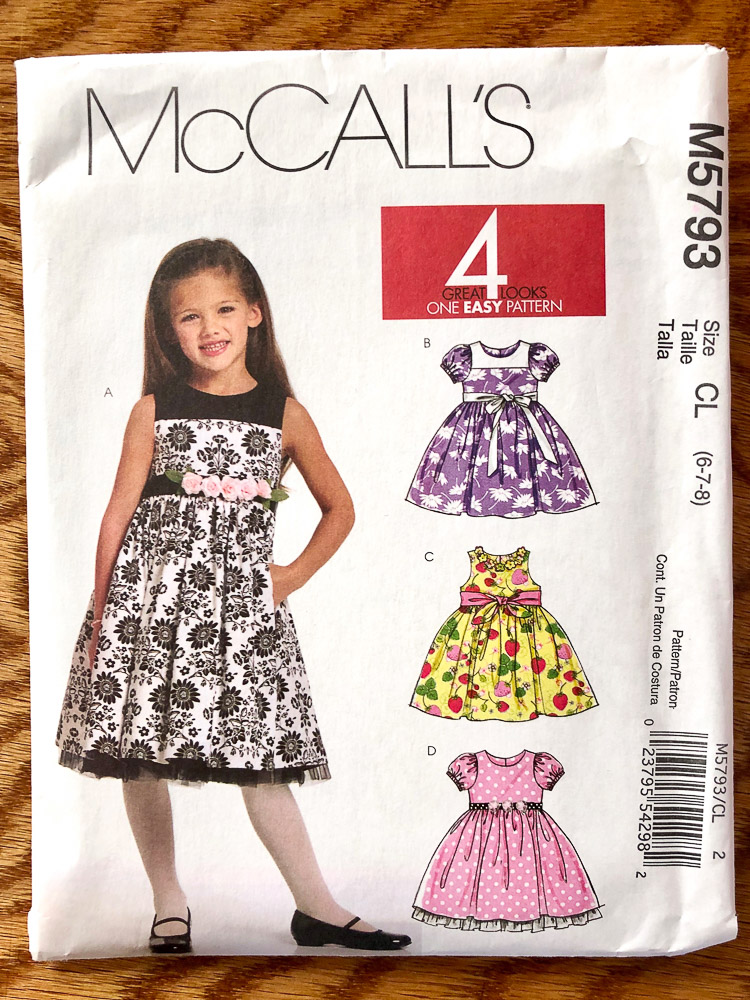
Pick which view you want to make. They are ordinarily lettered such as A,B,C,D. The back of the pattern shows the front and back views. Generally, one will be sleeveless, another with short sleeves, maybe yet another with long sleeves. Likewise, the views will be slightly different.

Fourth way on how to read a sewing pattern
Find which view you want to make. Find which size you are going to make. As a result, it will give you how many yards of fabric you need to buy. So get that fabric and pattern and let’s get to studying that pattern. Ready? Let’s go! (it will normally have the fabric listed for 45″ wide and for 60″ wide material)
Fifth
Before you leave the store, check out the back of that pattern again. It will list the notions that you need for that particular pattern, what you need for each view. The pattern back lists thread, zippers, hooks and eyes, elastic, interfacing, etc.
Sixth
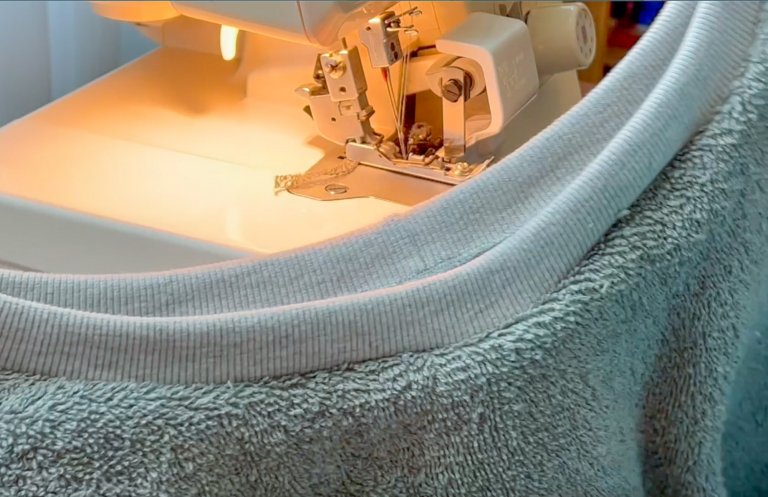
Pre-wash and iron your fabric if it is machine washable. This prevents shrinkage after you have made your garment.
Study your pattern instructions:
Pattern Markings
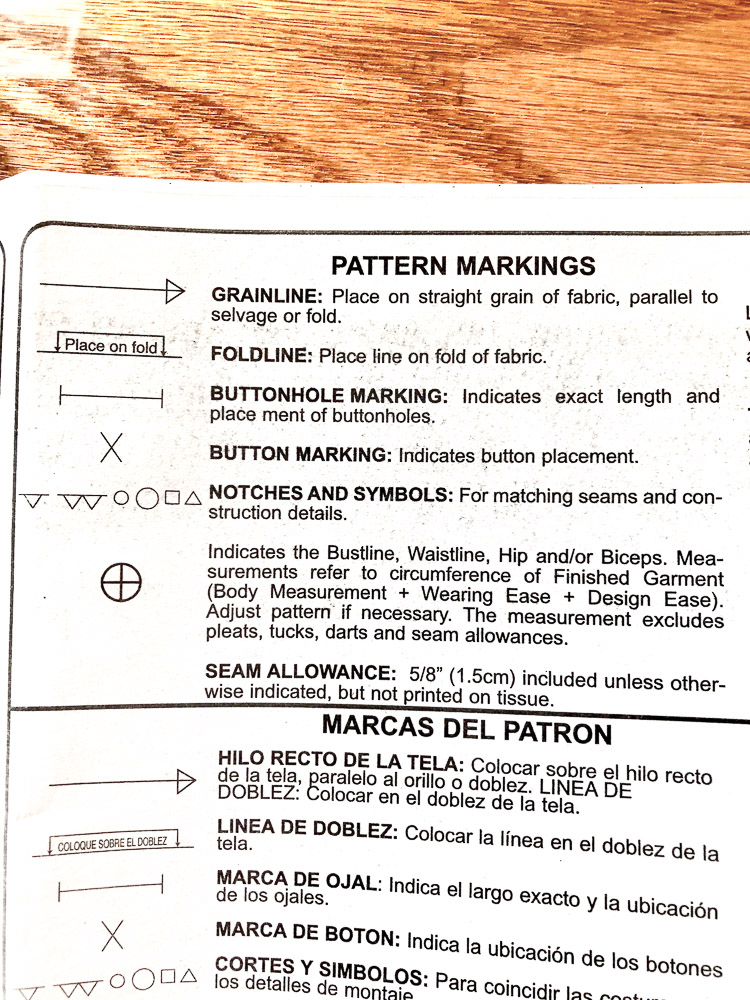
Grainline – a straight arrow on the pattern pieces. This will be placed parallel to the selvage or fold on the straight grain of fabric.
Foldline – Place this line on the fold of fabric. You generally cut just one piece on the fold.
Buttonhole marking – Indicates placement of buttonholes.
Button marking – Indicates button placement.
Notches and symbols – For matching seams and construction details. One notch is on the front pattern pieces and two notches are on the back pieces. Some notches on older patterns are facing outward. I cut them off and just snip the fabric in about 1/4″ to mark the notches. On the circles and triangles, I put a pin in them to mark them.
The circle with the cross in it indicates the bustline, waistline, hip and/or biceps.
Measurements refer to circumference of finished garment (body measurement plus wearing ease plus design ease.)
Seam Allowance – It will tell you what size seams to sew, such as 5/8″ unless otherwise indicated.
Adjustment Line – Lengthen or shorten at adjustment lines. To shorten, crease along adjustment line and fold pattern. (use half the amount needed to shorten and tape in place) To lengthen, slash the line, spread apart the amount needed, tape over paper keeping lines parallel. If no lines are indicated, add or shorten at the lower edge.

Cutting Layouts
Circle the layout for View, Size, and Fabric Width. Use ‘With Nap’ layout for fabrics like velvet or with one-way designs. Most knits have surface shading, so a ‘With Nap’ layout is used.

Fold fabric with right sides together.
There is a section that lists what each pattern piece is.

The Layouts will tell you which pattern pieces to cut out for that view and the most economical way to lay the pieces out. Each piece will say cut one on fold OR cut two. You are cutting two mirror imaged if your fabric is folded.
Pattern may have cutting lines for several sizes. Pick the proper cutting line for your size and cut out your pieces.

Pin all your pieces on the fabric being mindful about the Grainline. BEFORE cutting, place all the pattern pieces on the fabric.
Find the Fabric Key to check the right and wrong sides of the fabric according to your particular pattern. A white background is the wrong side of pattern. A dotted background is the right side of pattern, so just turn the piece over.
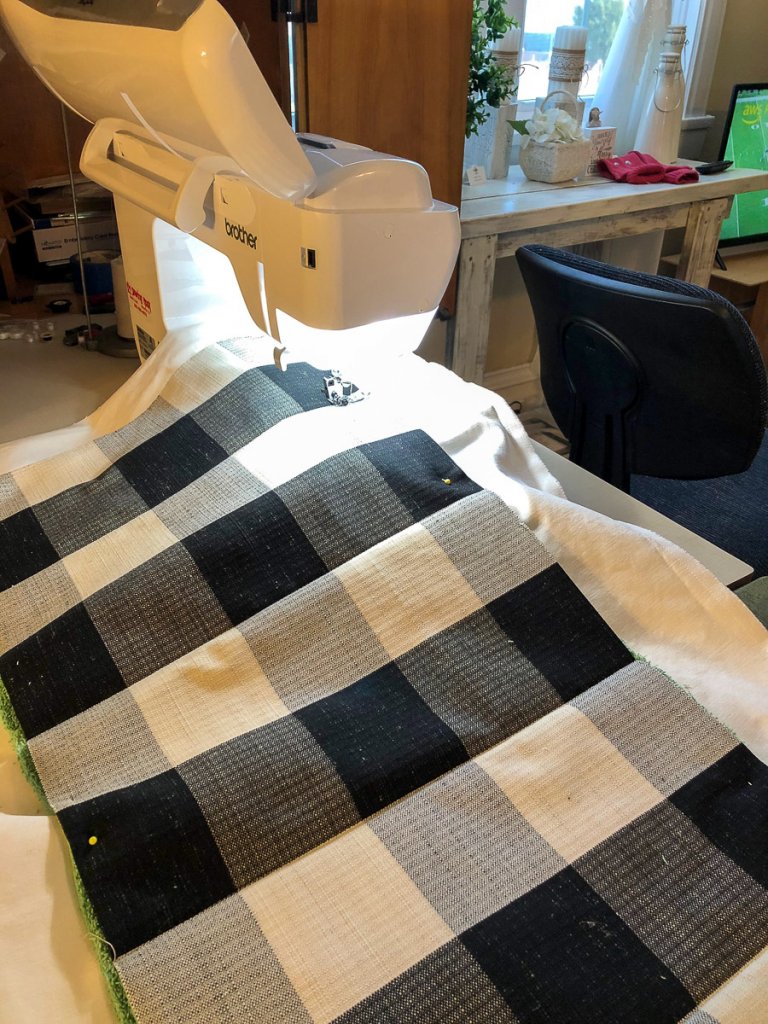
I use a rotary mat and rotary cutter, but you can use a good pair of sewing scissors. (affiliate link). Cut out your pieces.
Transfer markings to fabric. Check to see if you need to cut out contrasting fabrics, linings, interfacings, etc.

In Conclusion:
Find the fabric key. This will help you understand the pictures in the sewing directions. It shows what the right side of the fabric is (shaded), wrong side of fabric (white), Interfacing (dotted), right side lining (shaded with lines), wrong side lining (white with lines).

Next find the seam allowances guide. This tells what size seam allowance to use. It is generally 5/8″. However, some downloaded pdf patterns that I use, all have the 3/8″ seam allowance. This section also has pictures for how to trim corners, clip curves, notch outer curves, and trim seams into layers.
Lastly, study the glossary. These are sewing terms that appear in bold type in the instructions. It explains what they mean. Things like double-stitch, finish, gather, slipstitch, and understitch.

You should be able to follow the sewing directions to put your garment together.


My friend made an adorable dress for her adorable daughter. Hopefully, she will keep on sewing garments!
Good Luck and comment with any questions or anything you get hung up on.
If you are ready to start sewing, check out my post on Handmade back to school clothes for kids.
Pin it for later: