Home Office Makeover with a Roll Top Desk Makeover
Home Office Makeover with a Roll Top Desk Makeover
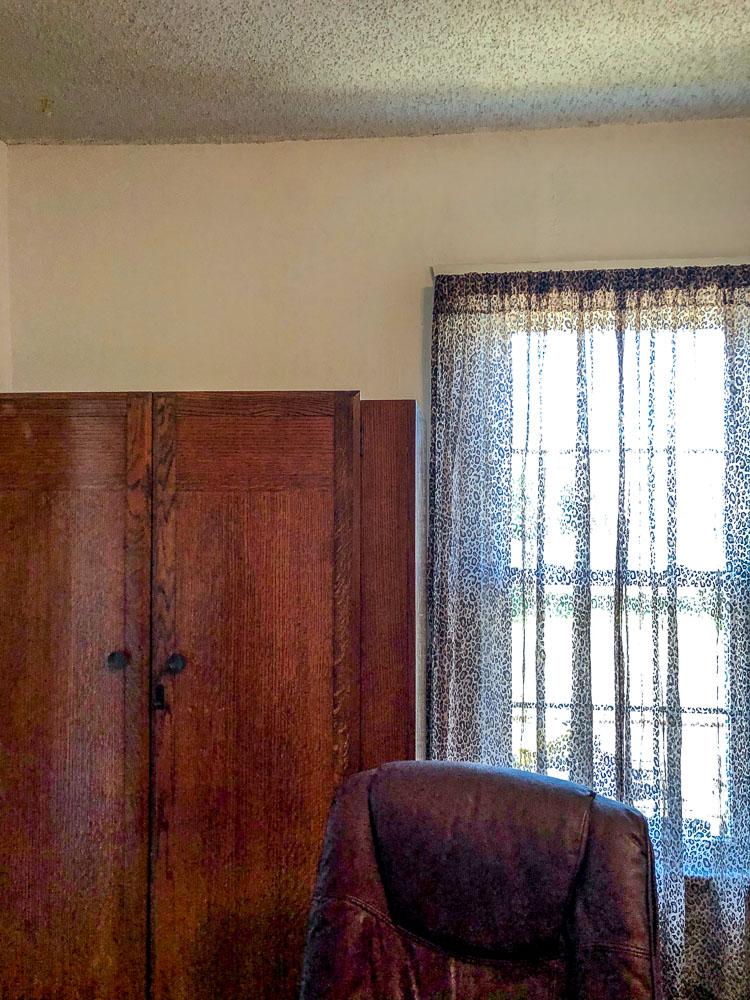
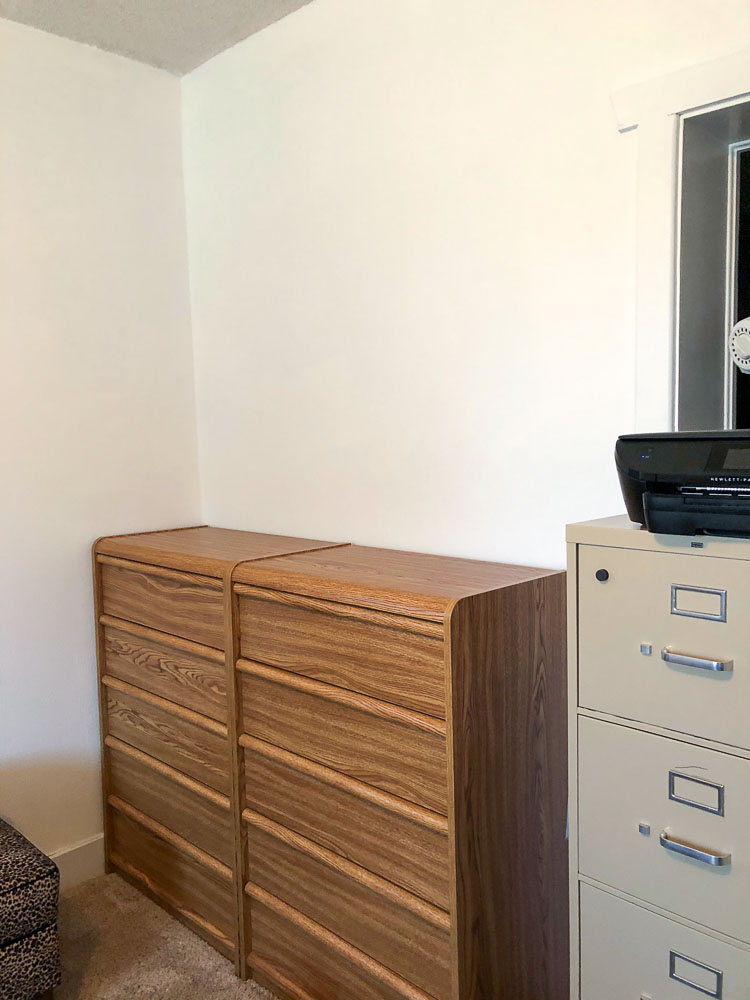
I decided it was time to update my office which doubles as our closets. We live in an old two story 1930 farmhouse that has been moved twice. These old houses did not have closets, so we have a chifforobe and dressers in there. I wanted it brighter and happier. Therefore; I set out to do a home office makeover with a roll top desk makeover.
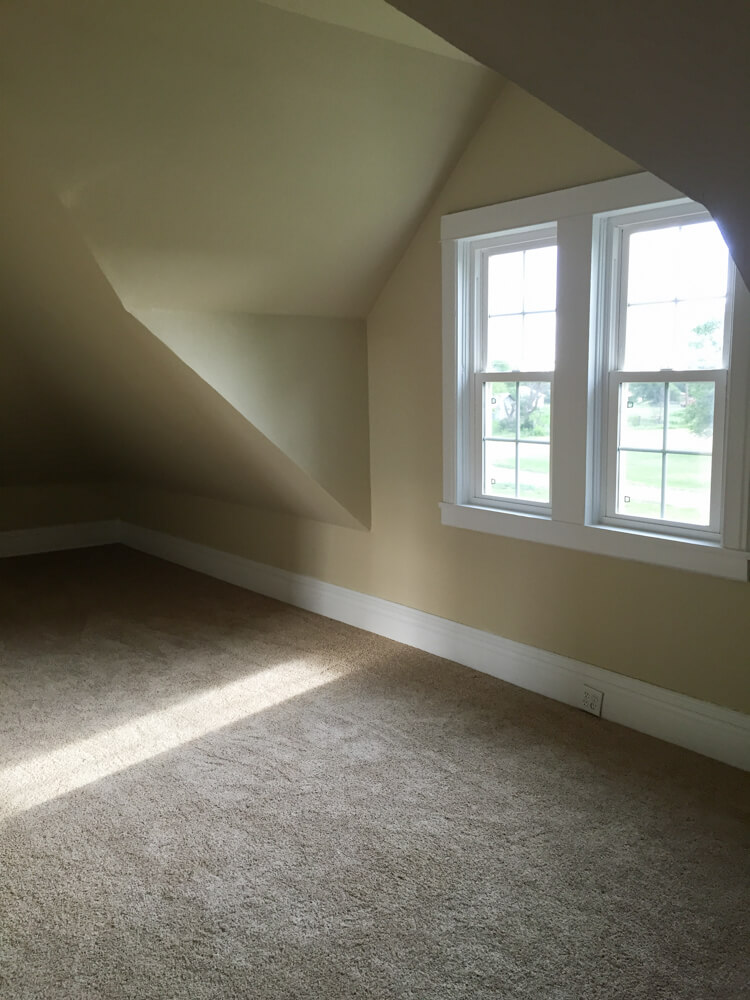
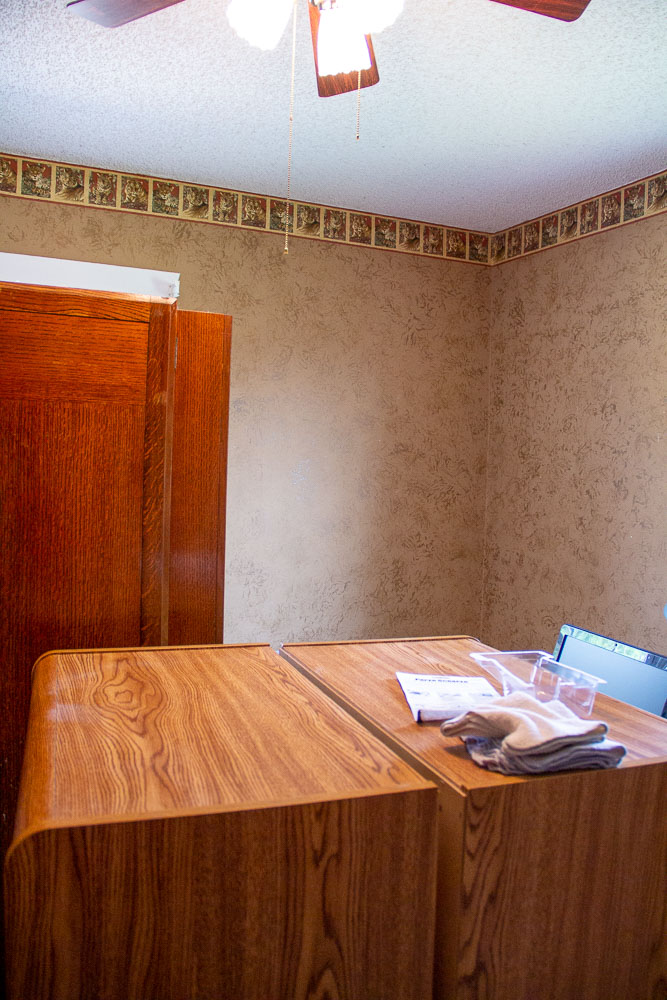
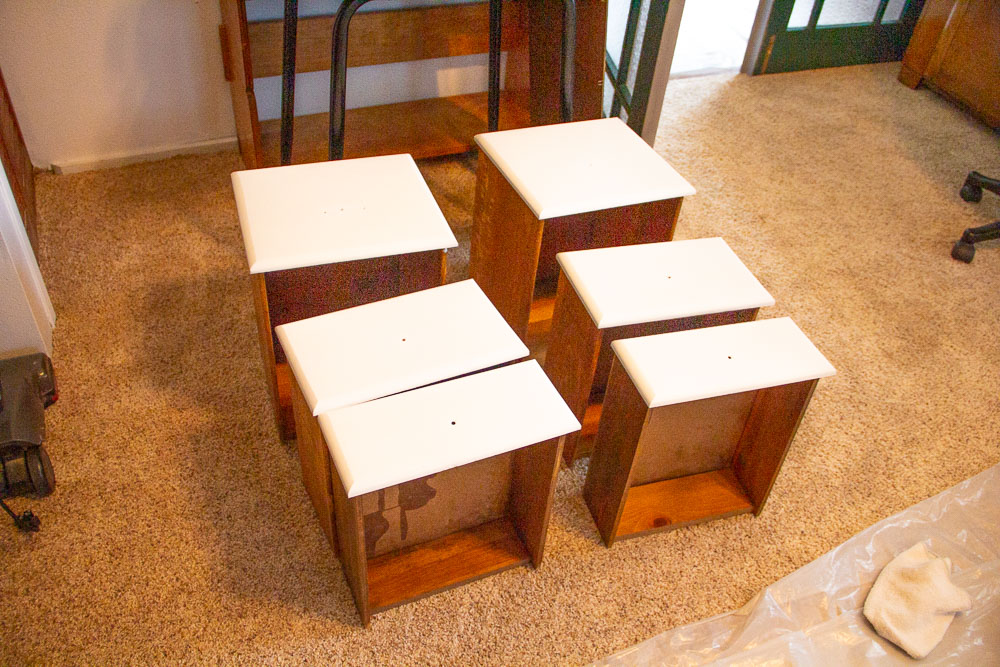
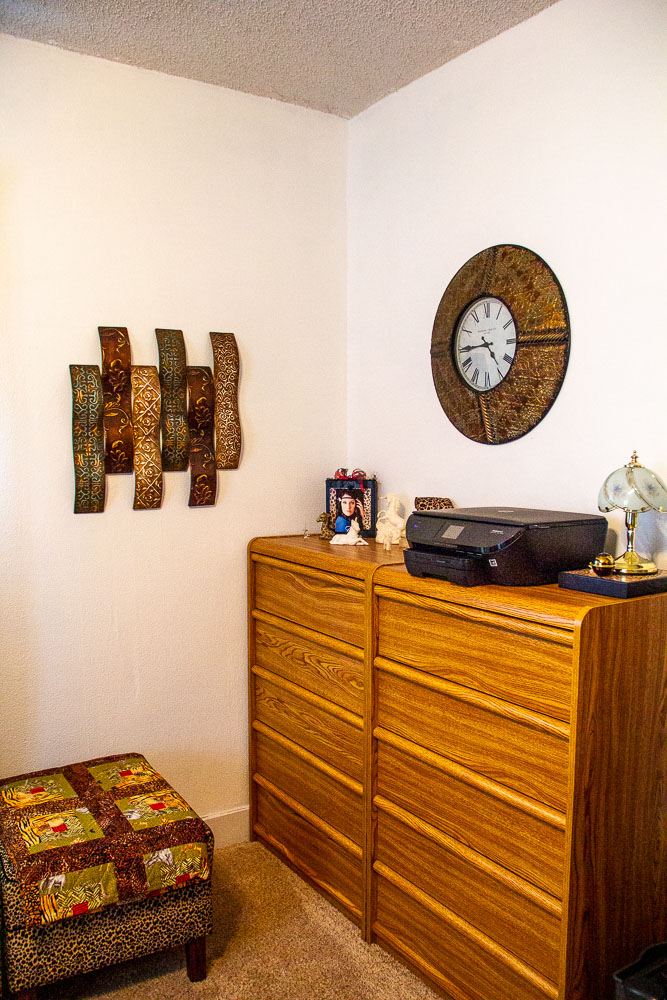
Here are a few before pictures – I know it’s messy!!


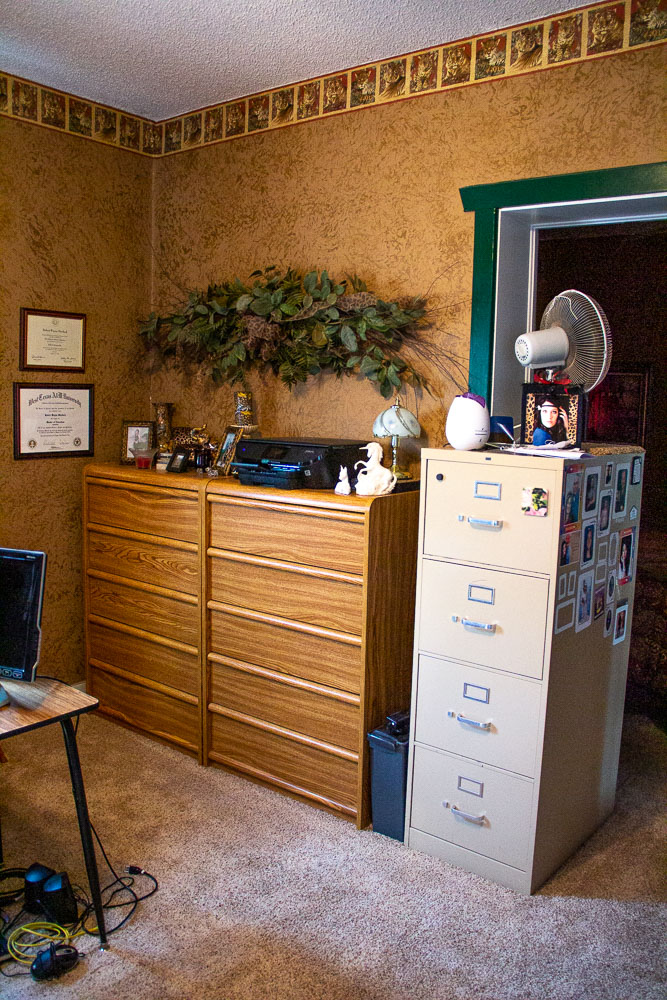
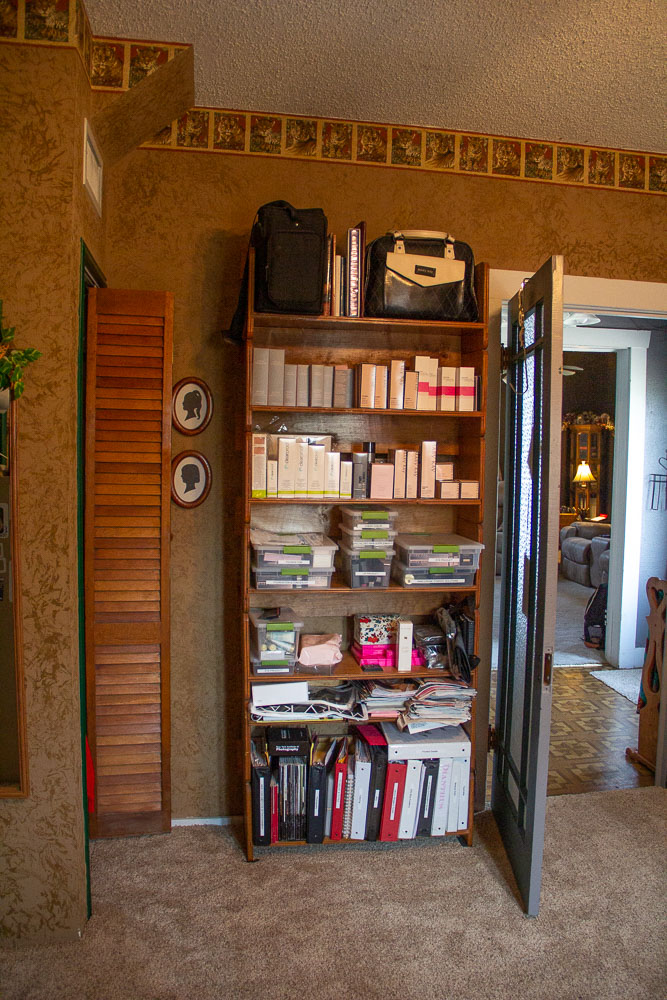
Prep Room
First things first, it needed a fresh coat of paint. Years ago, we painted, put up a wallpaper border, and accented the paint with a feather duster loaded with a darker paint. My girls were little then, and loved being able to help paint. We each took a wall.
Move all the furniture to the center of the room. Take everything else off the walls and/or out of the room.
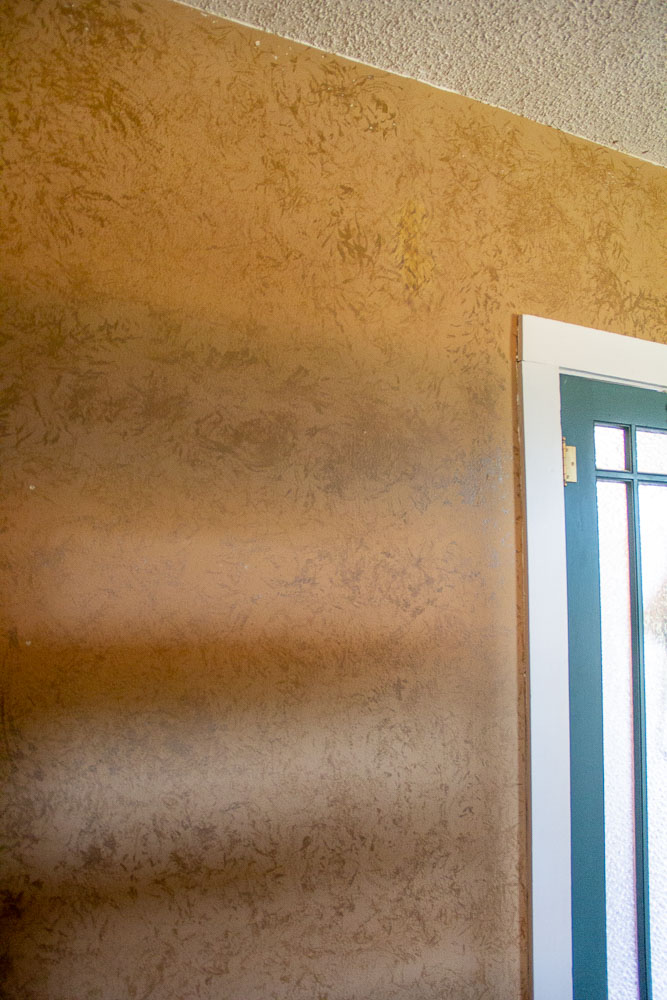
I was so sick of the wallpaper border. I guess I probably never really loved it. The border needed to come off before we could paint.
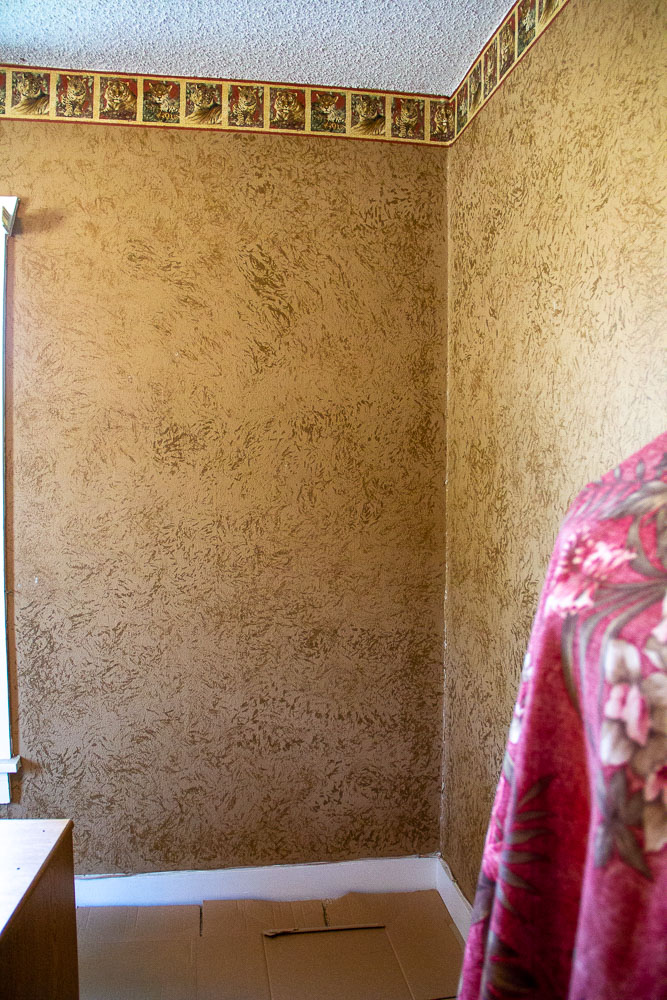
Remove wallpaper border
I found this Zinsser wallpaper stripper at Home Depot. It worked great! Here is a similar one at Amazon. (affiliate link) I sprayed it on, waited a few minutes, then used this scraper to scrape it off. About halfway around the room, I discovered it was a lot faster to pull off the paper in big chunks, and then spray the stripper on the paper that was left. It came off a lot easier, and didn’t waste as much stripper.
Paint
Next, wipe down the walls, repair any holes, and get to painting. Here is a more detailed post about painting a room. There is nothing like a fresh coat of paint to update a room. Feels so good!!
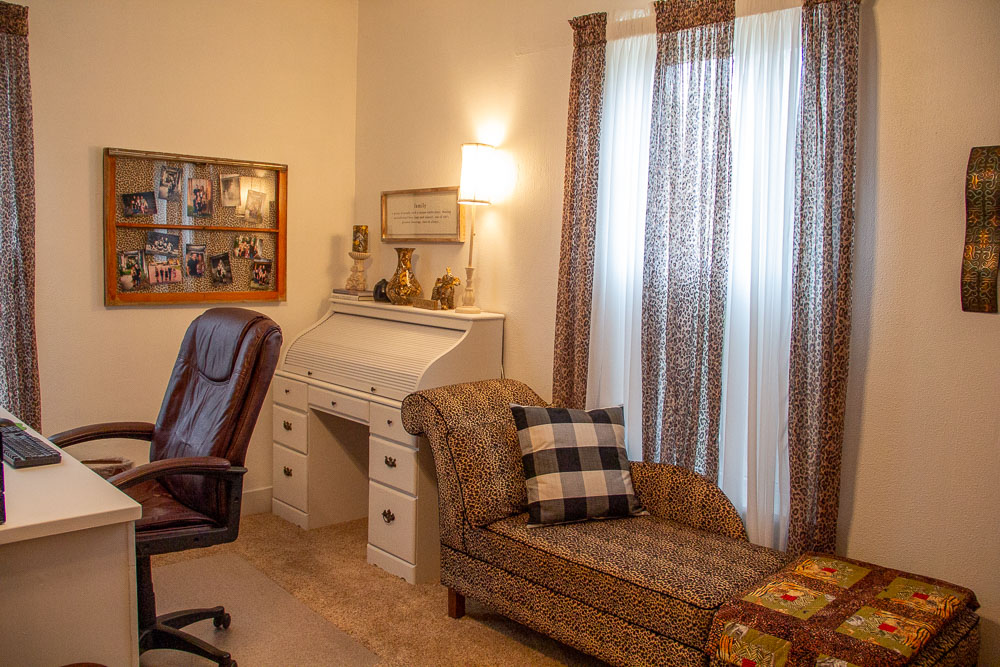
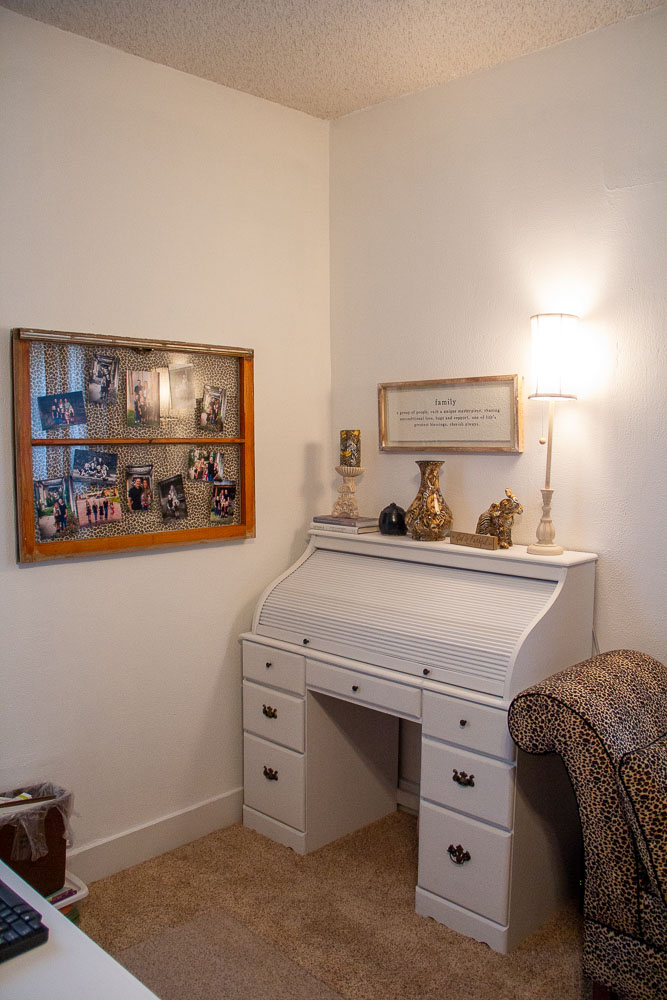
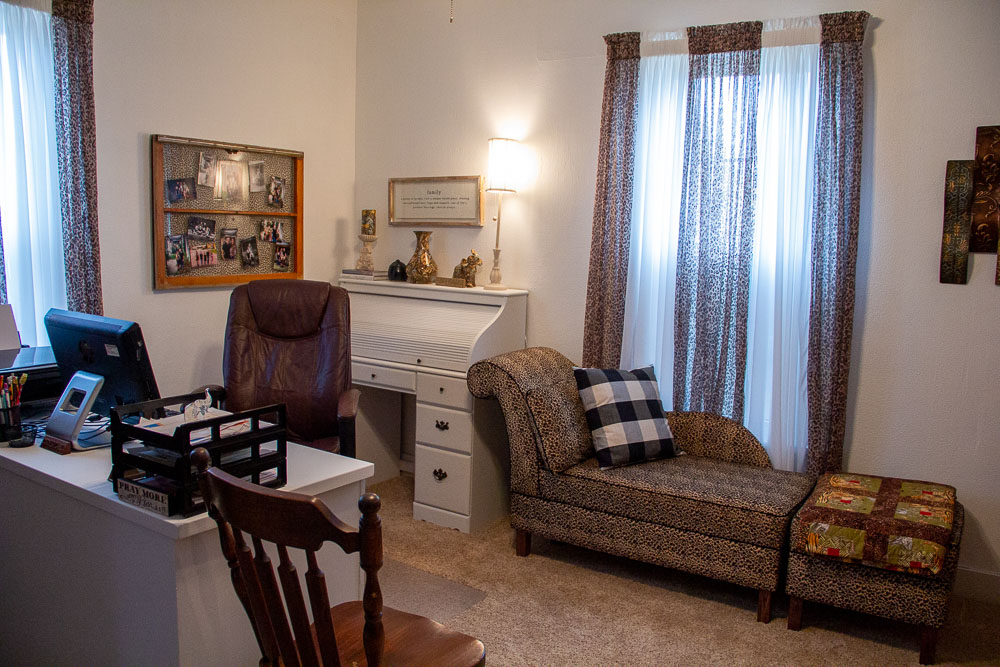
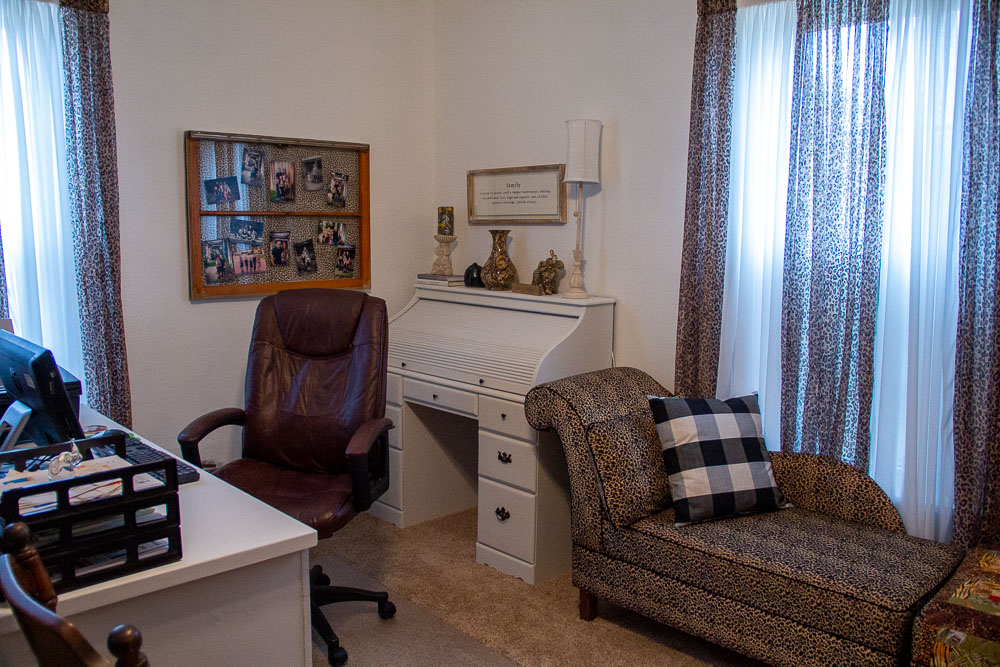
Roll Top Desk Makeover
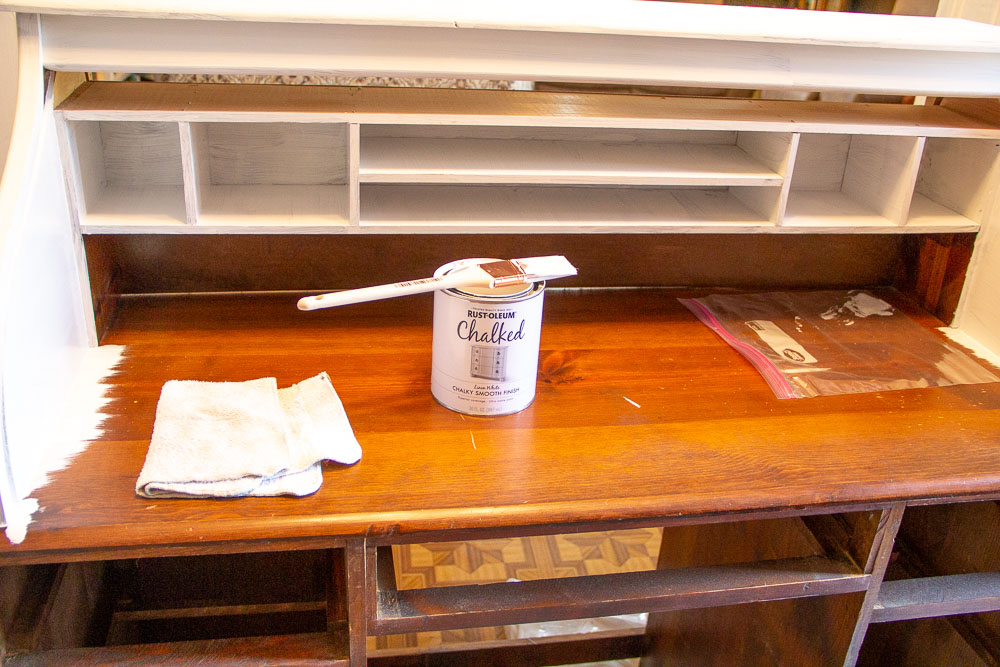
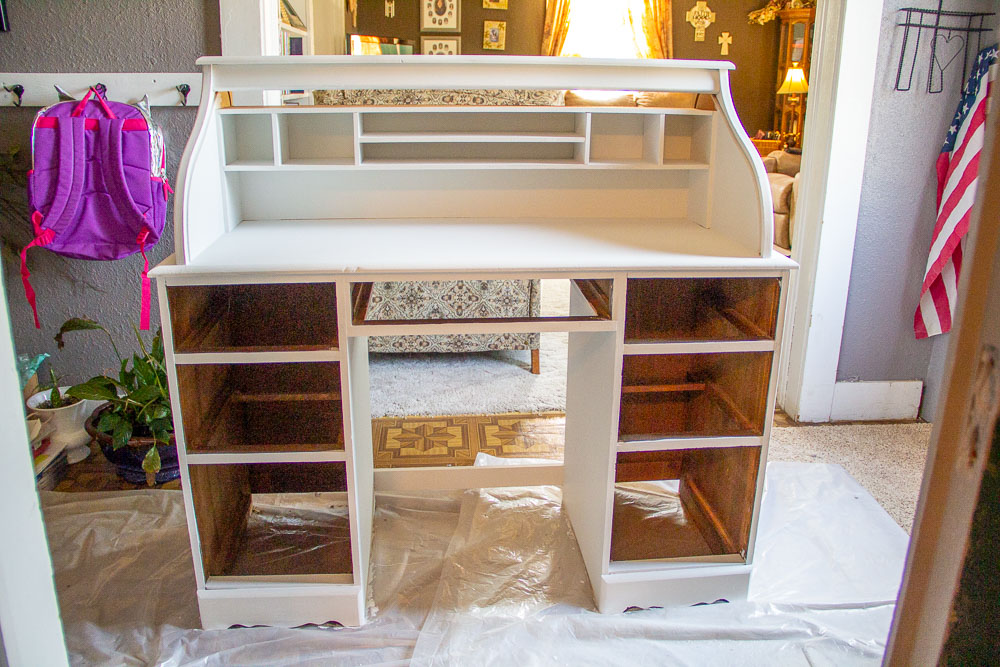
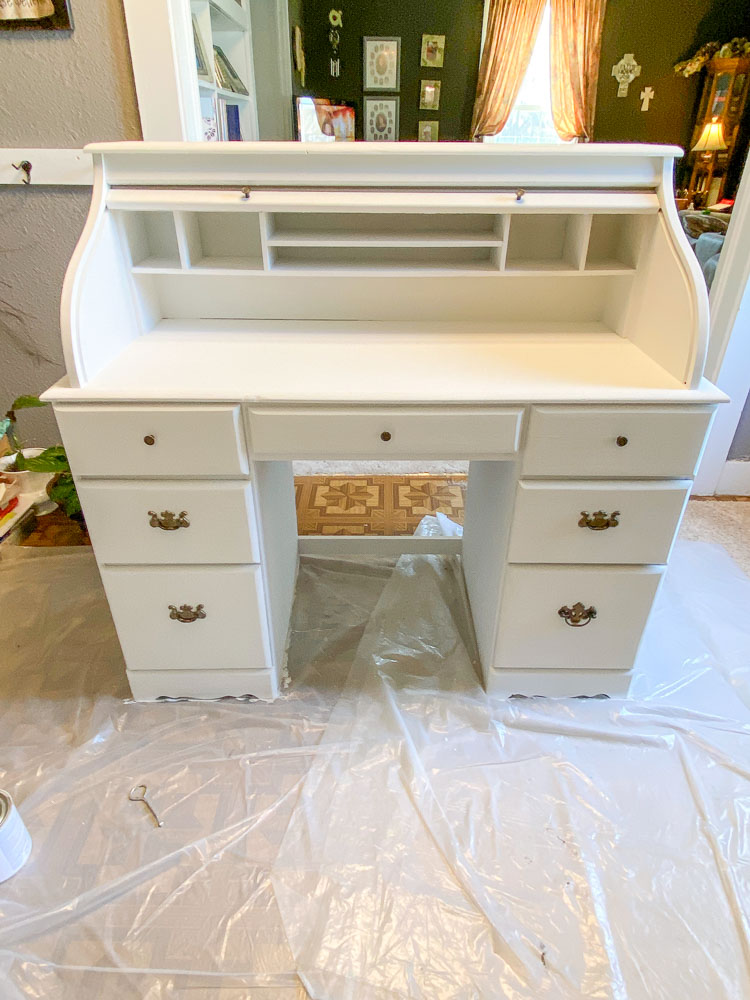
My whole inspiration for this office makeover was painting this old roll top desk. I wanted to try chalk paint. This desk had become a catch-all for anything and everything that I didn’t have a spot for.


If it looked new and pretty, then I wouldn’t pile it up, right? Well so far – so good. Next to declutter, then wipe it down good. Take the drawers out and remove the hardware.
Our roll top had come apart and fallen down in back of the desk. We removed the back piece and recovered all the pieces.
I did not sand or anything. Chalk Paint is a brand name and a little pricey. I purchased chalked paint from Home Depot. The paint is made by Rustoleum. It worked beautifully. The chalked paint covered very well. The desk went from a dark stain to white, so it needed two coats. Here is the same paint from Amazon. (affiliate link). I used the Linen White.
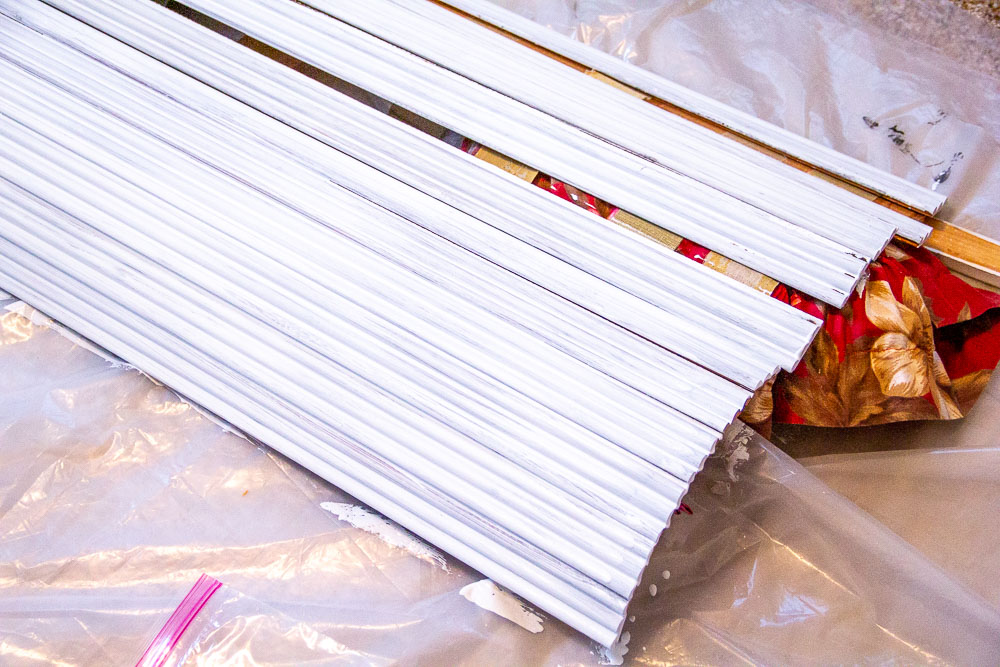
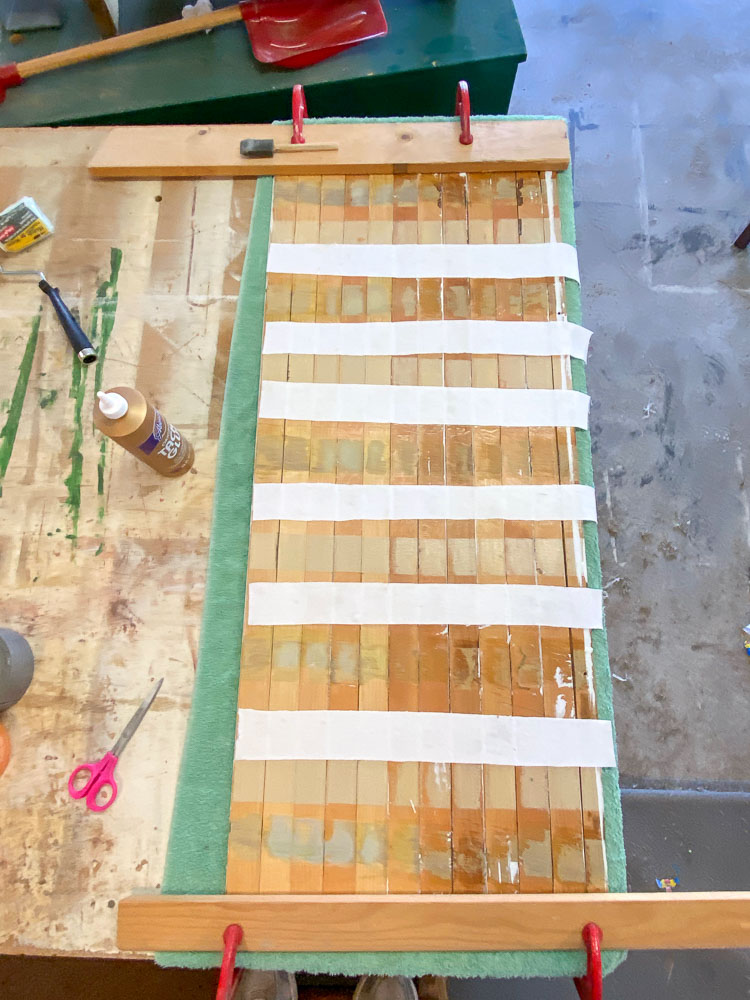
Paint the roll top pieces before repairing as much as possible. There are canvas strips that hold the roll top pieces together. They had disintegrated which causes it to break apart.
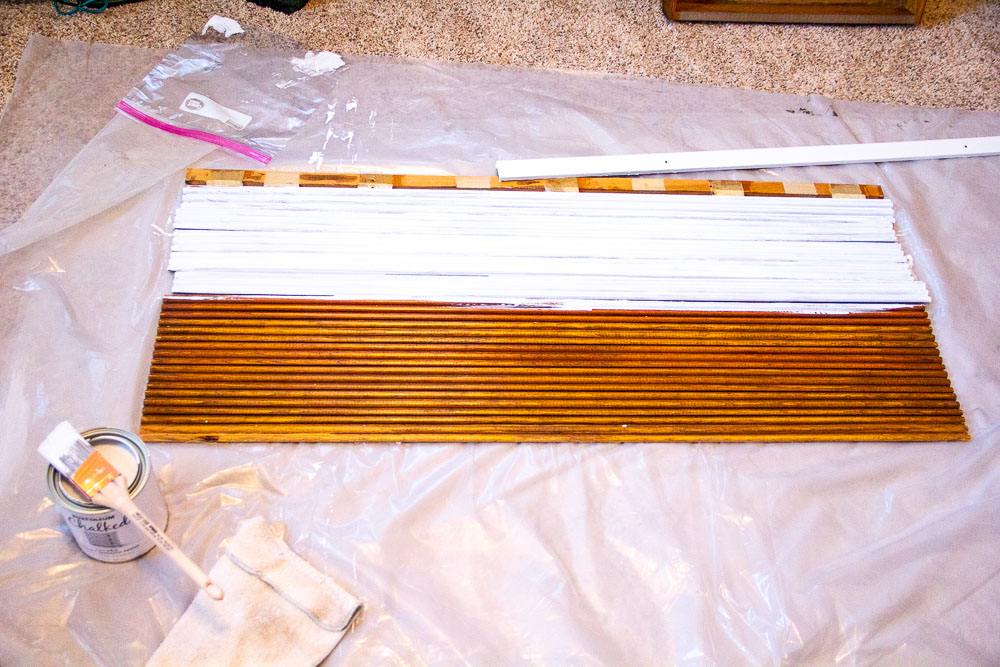
It worked better to cup it over something to get in between the slats.
Repair
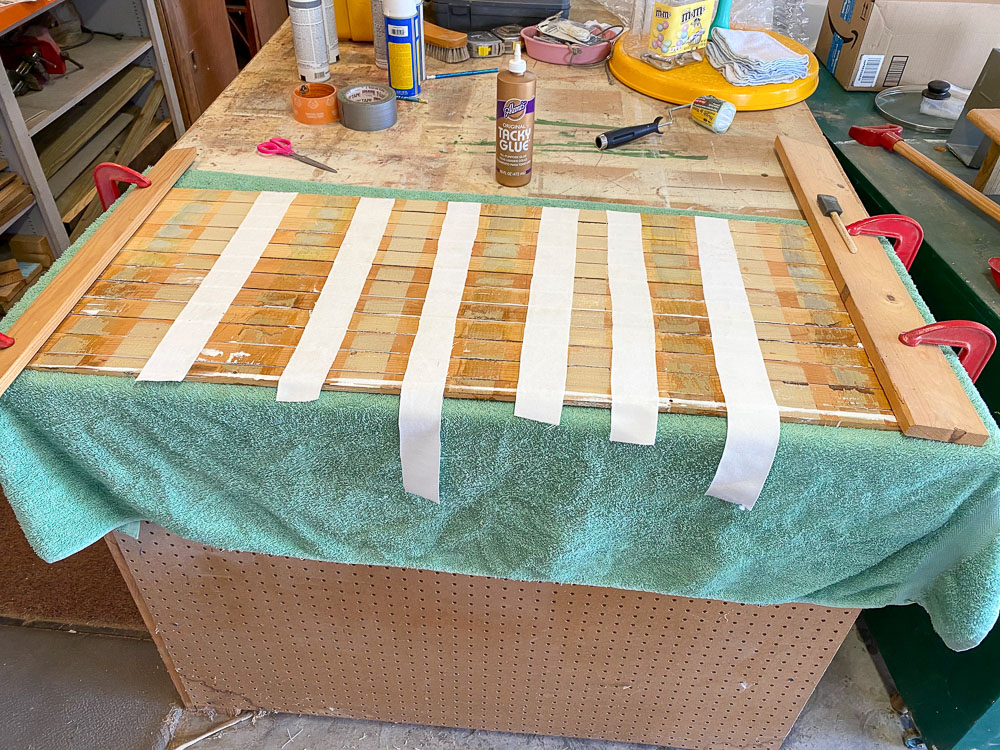
My husband set out to repair it. First, he lined up the pieces. Next, he clamped them down to a work table to keep them from shifting. At that point, he did not remove the old brittle glue, he just moved over a bit to a new spot.
We cut two inch strips of white denim. (It’s what we had on hand). For this size of desk, he used six strips. The glue was applied with a foam brush (affiliate link) and he applied a heavy duty wood glue (affiliate link) to the slats that he had marked with a pencil and only painted the glue where the strips would go. The glue was applied a little thicker than a coat of paint. Lay the denim (or canvas) on the glue and use a roller to adhere it good. Let it dry till the glue is good and dry, maybe 4-5 hours.
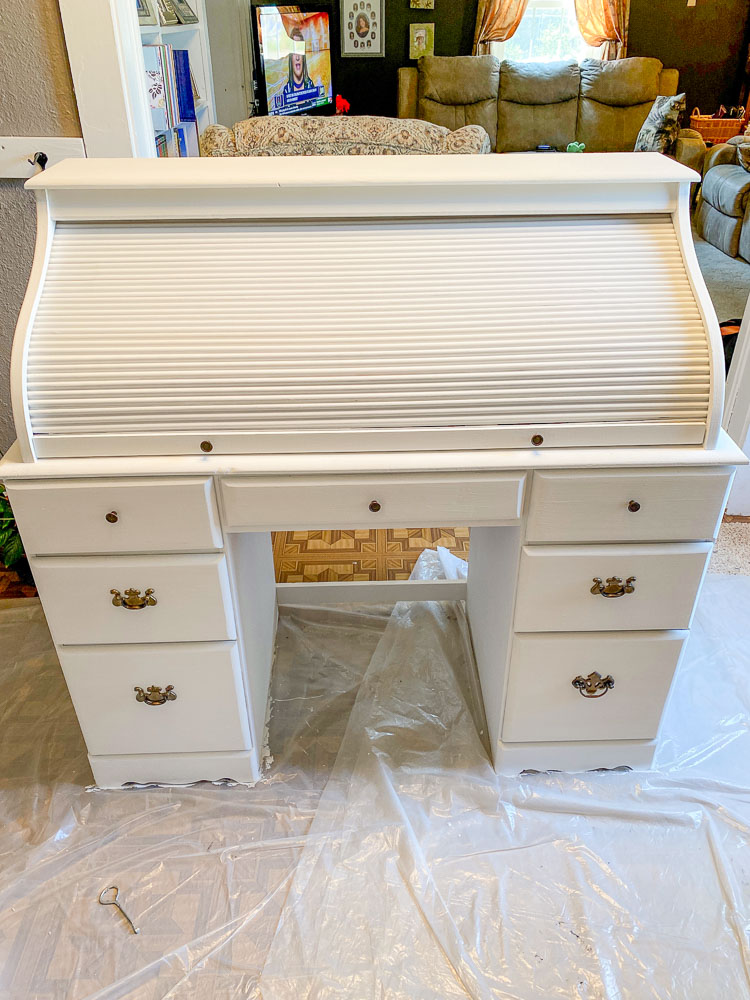
Slide the roll top in the slots. There should be a railing. We applied a little paraffin wax in the railing to help it to slide easier.
Screw the back panel back on, attach the hardware to the roll top and to the drawers.
Touch up the paint on the roll top after it is in place.
We did not seal the paint. After researching, I was afraid that it would yellow.
Easy peasy! And done! I absolutely love it!!!
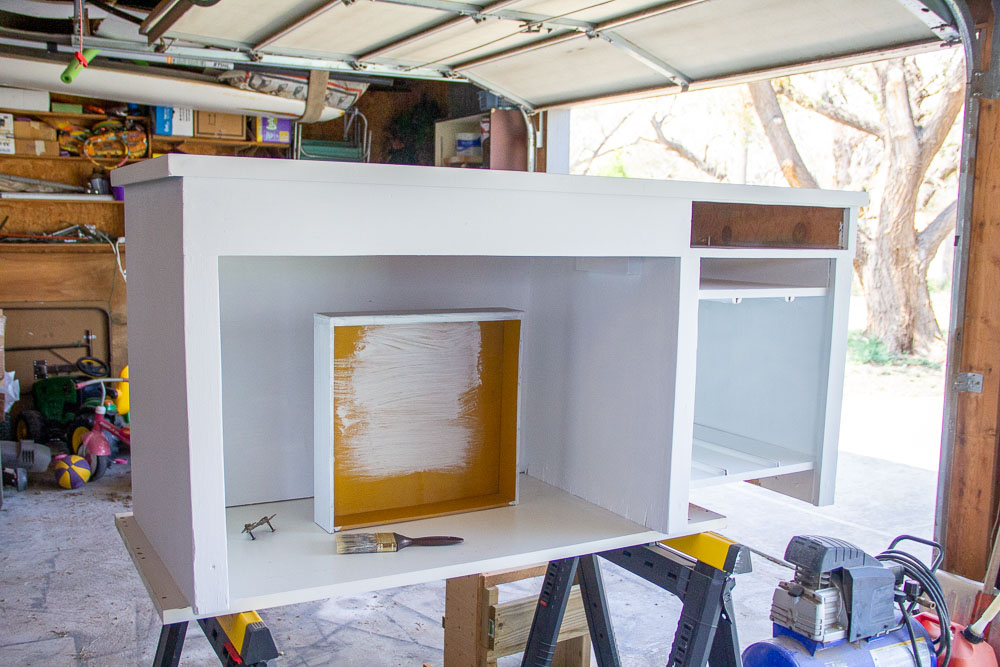
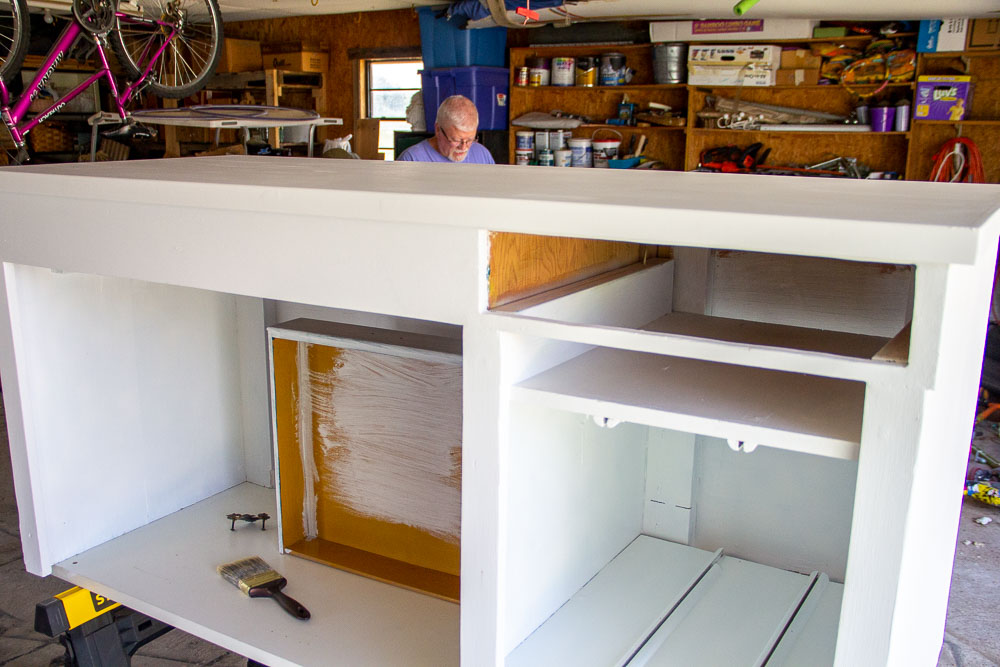
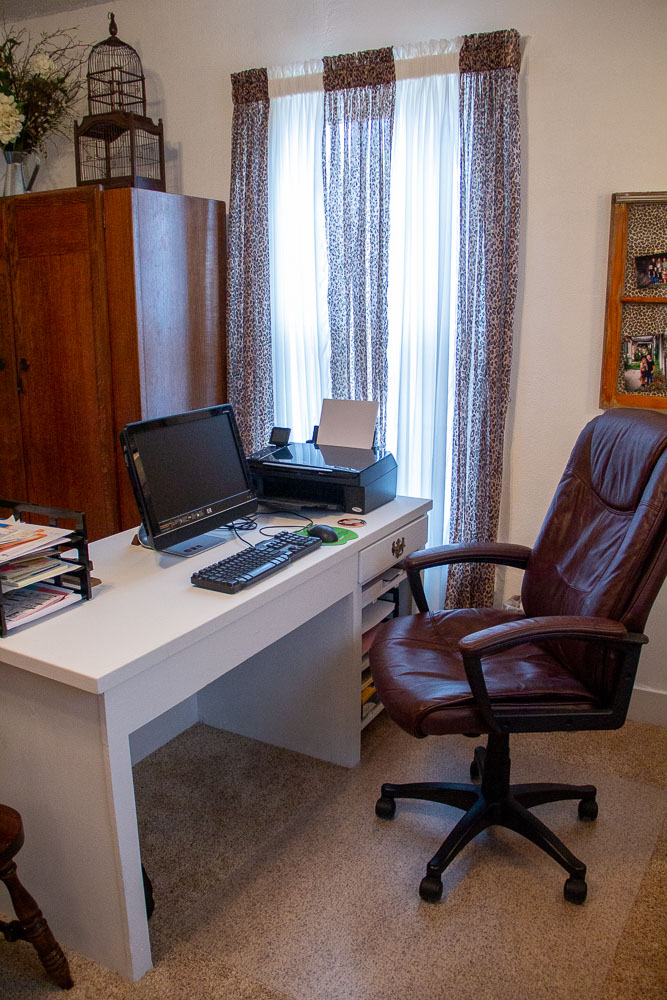
Computer Desk Makeover – Sewing Cabinet turned Desk
Next – I had an old janky cheap computer desk that was not very sturdy. I went a step further and was on the search for a desk to put my computer on. Yes, I tossed the computer desk.

So I had an old sewing cabinet that my Dad had built many, many years ago. My husband and I decided to give it a good make-over and use it as my computer desk. It had been harvest gold originally, then hunter green.
The sewing cabinet had two peg boards to hold thread and an opening on the top for the sewing machine to sit down in.
Cover top opening
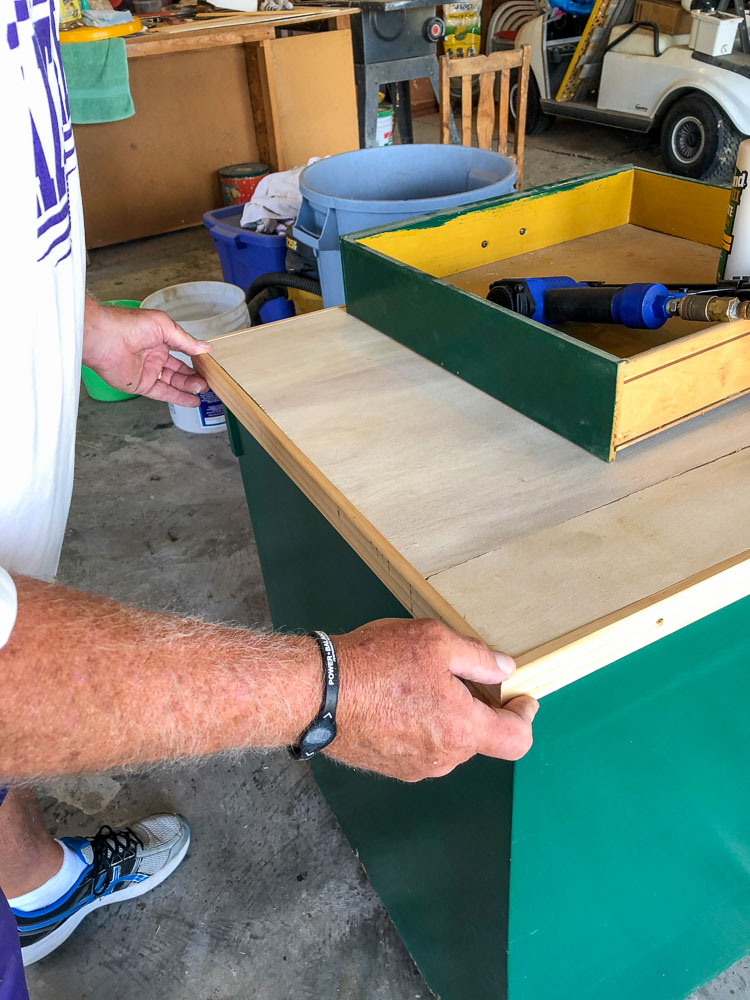
To cover the top opening, use a quarter inch plywood and cut the same measurement. We had a piece of plywood that wasn’t quite big enough to cover the whole top, so we pieced it and used wood putty at the joints. It worked great.
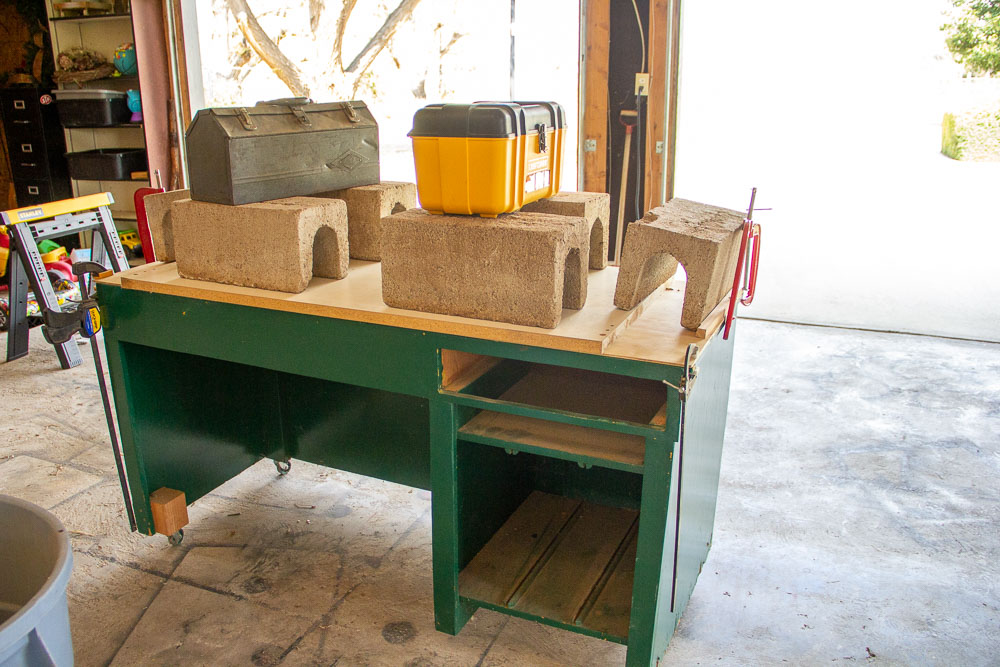
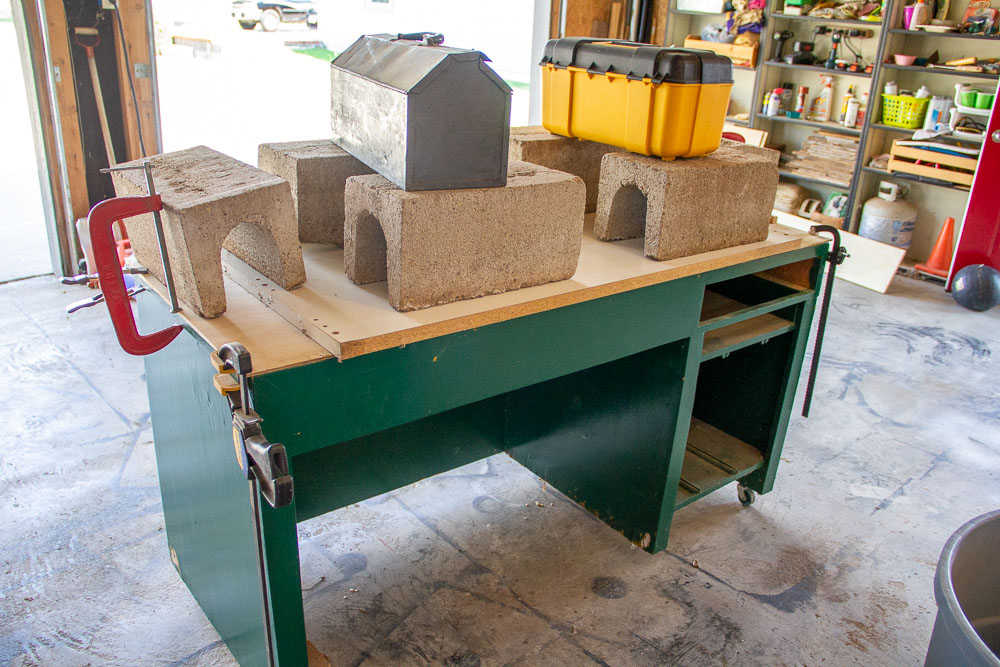
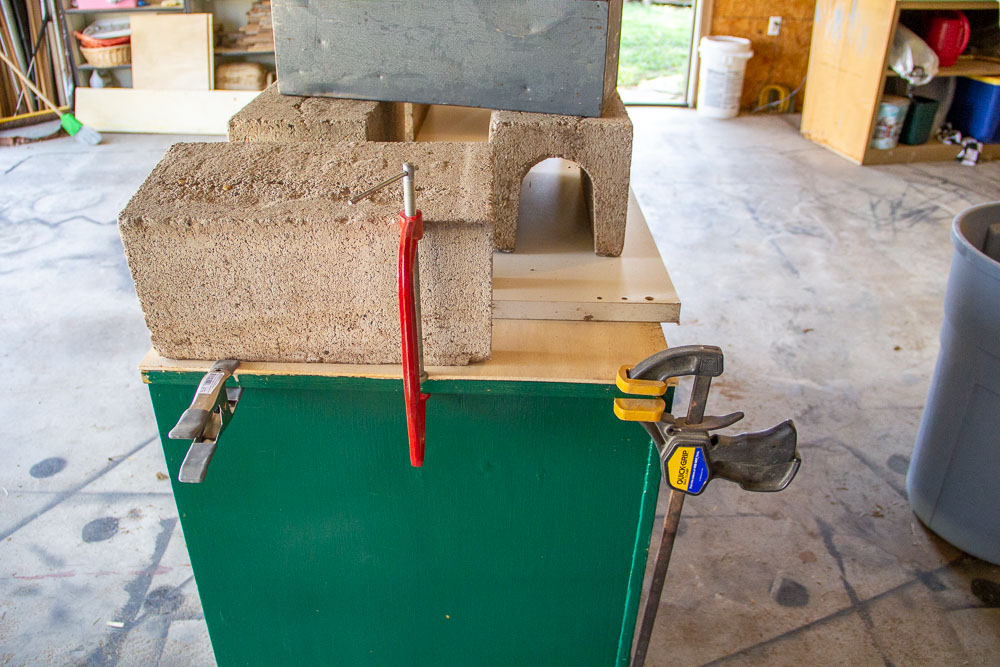
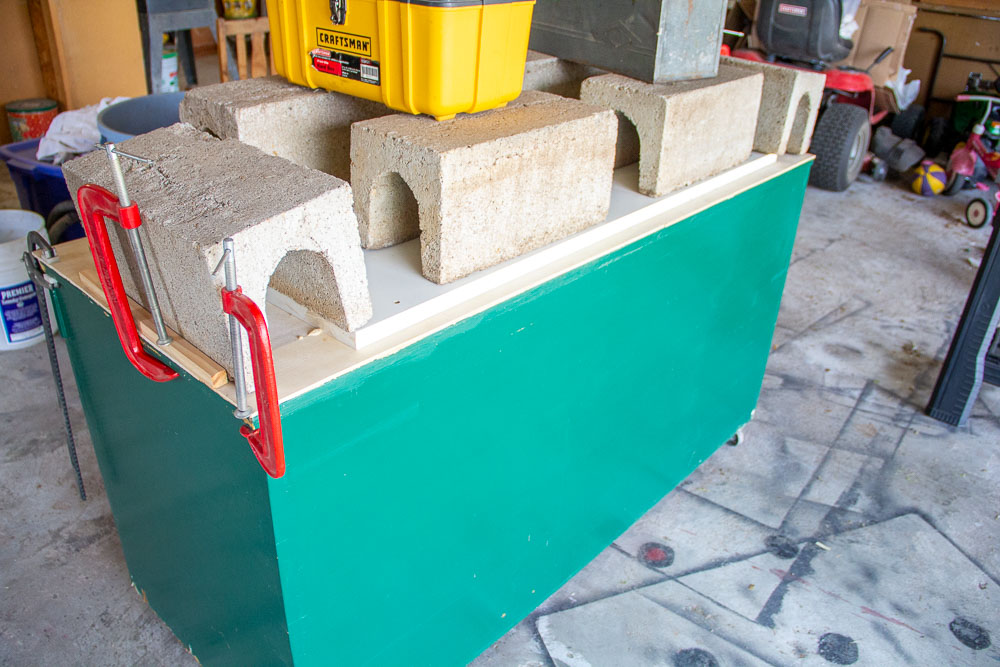
Sand evenly with a hand sander. (affiliate link). To avoid screw holes in the top, use gorilla wood glue (affiliate link) and a foam brush (affiliate link) to attach to the top to cover the hole. We used clamps and cinder blocks to make sure it was attached good.
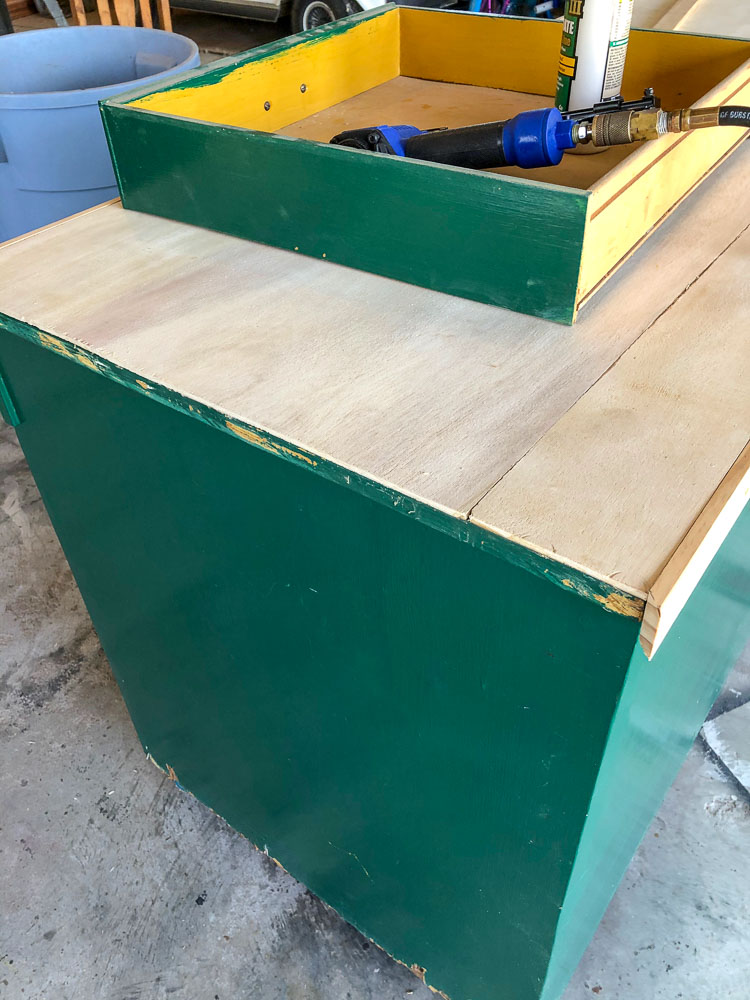
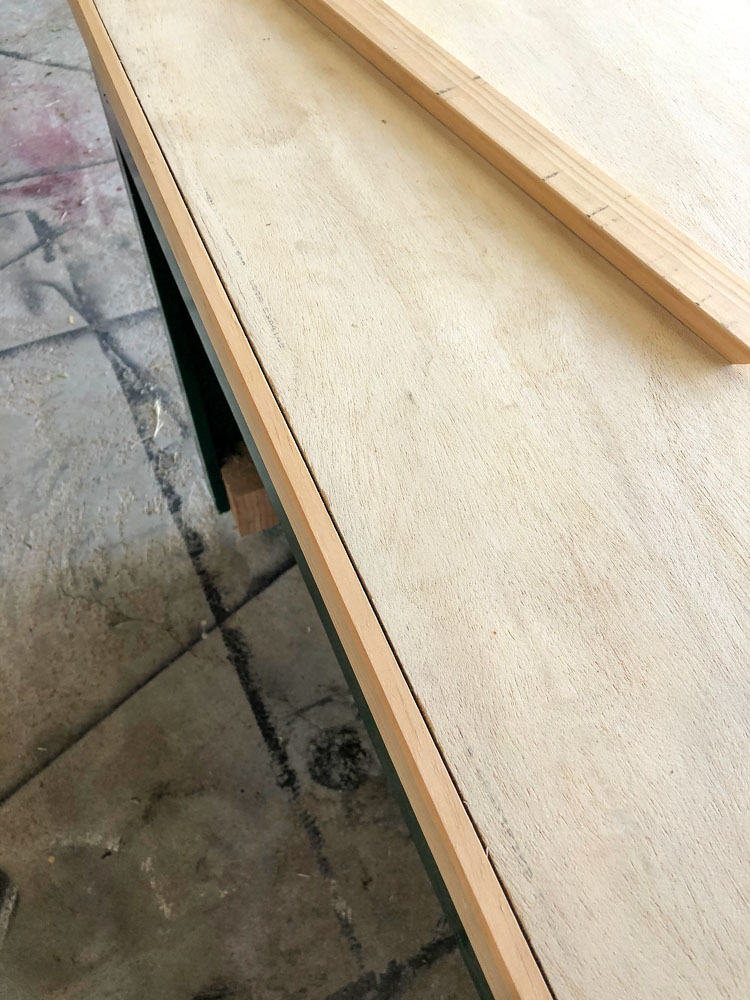
Let the glue dry completely. Sand the edges even with a hand sander.
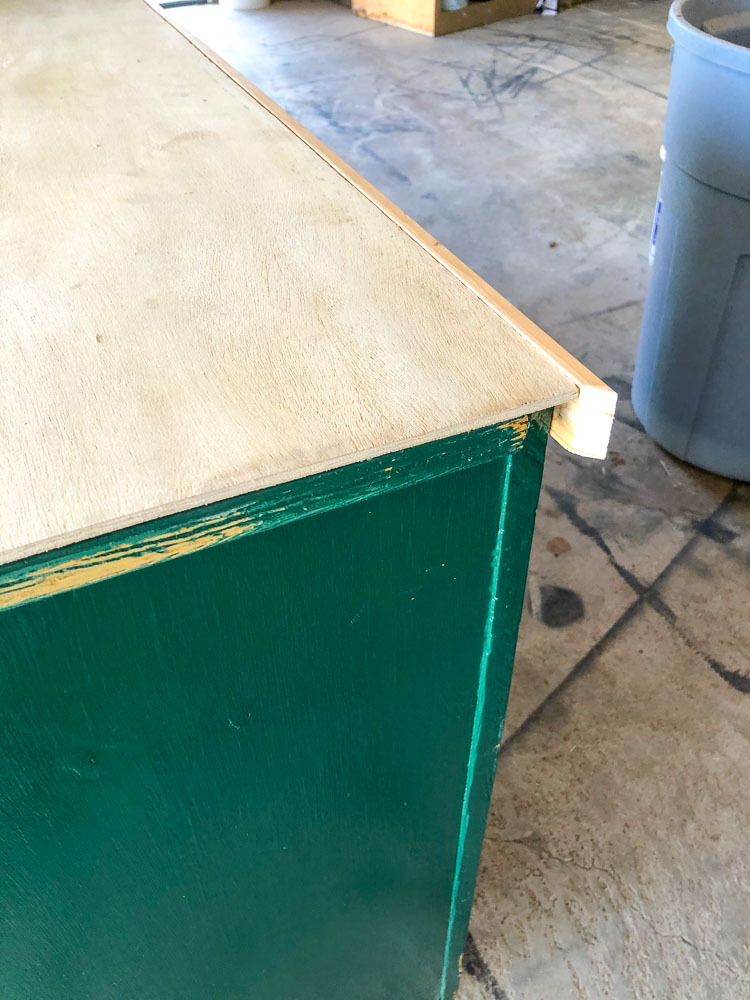
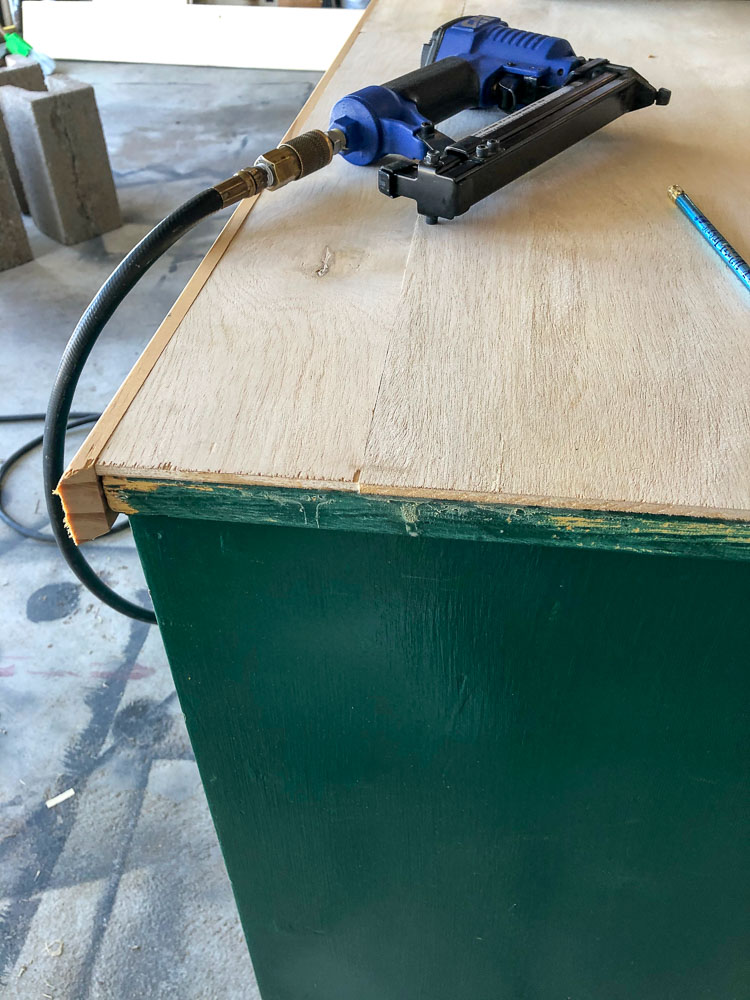
Take some trim pieces of wood. (your preference) We used 1/4” x 1 1/2”. Miter the corners at 45 degrees to fit the top of your desk. Use wood glue and a brad nailer (affiliate link) to attach your trim. Sand evenly.
Next, I used chalked paint in linen white, and painted the entire cabinet. It took two coats. I didn’t seal this piece either. It works great and was just what I needed.
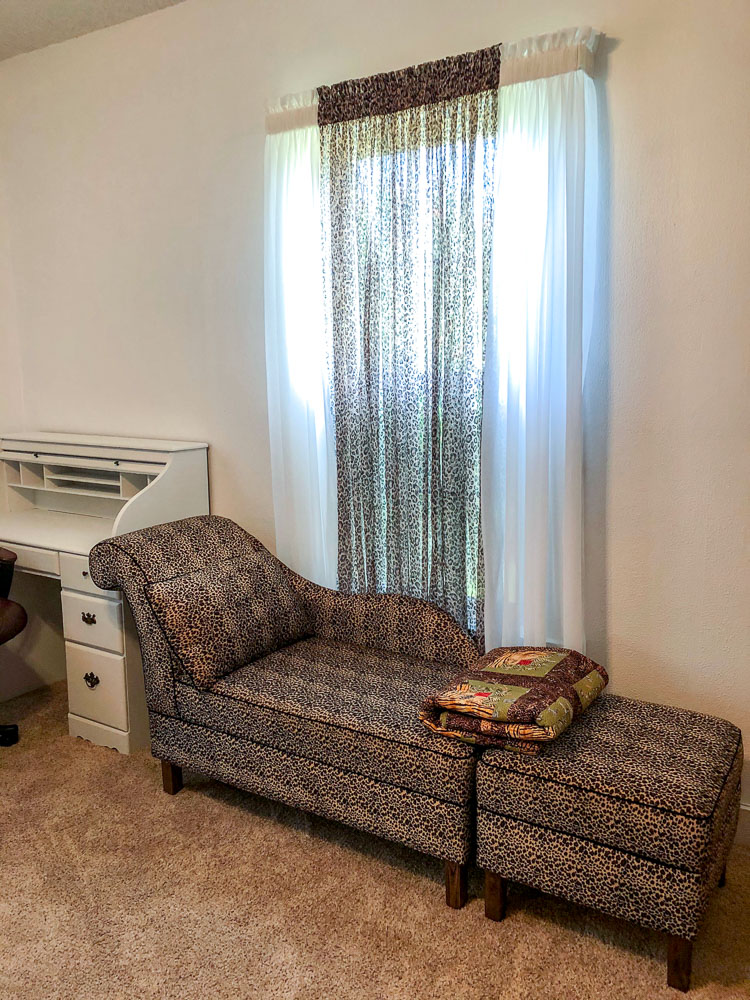
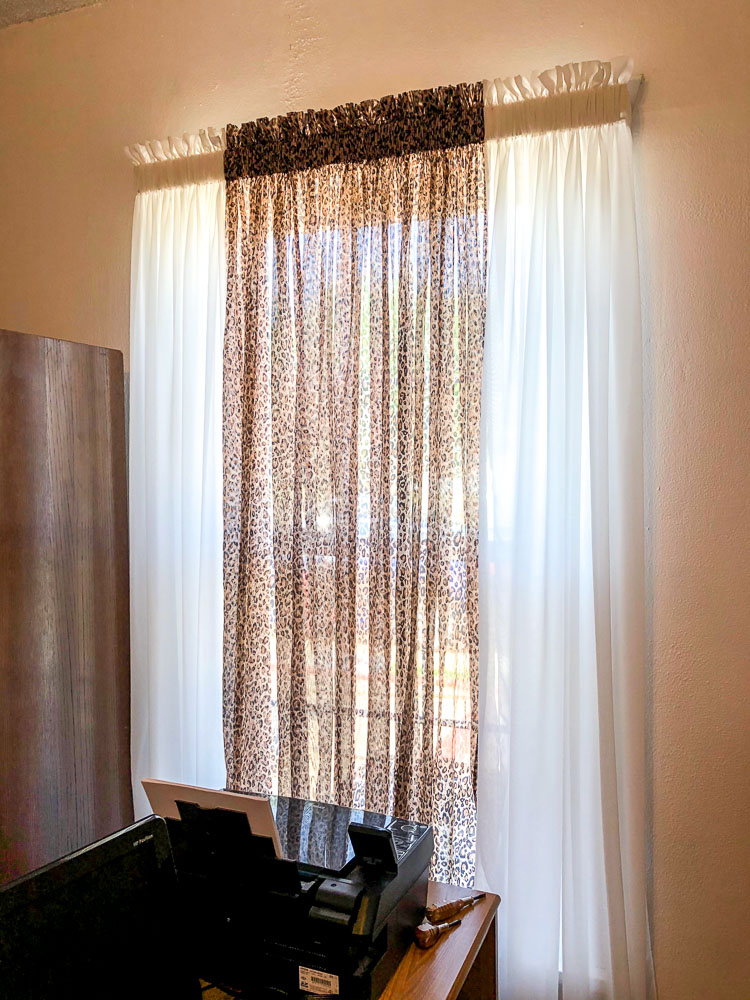
Curtains for home office makeover
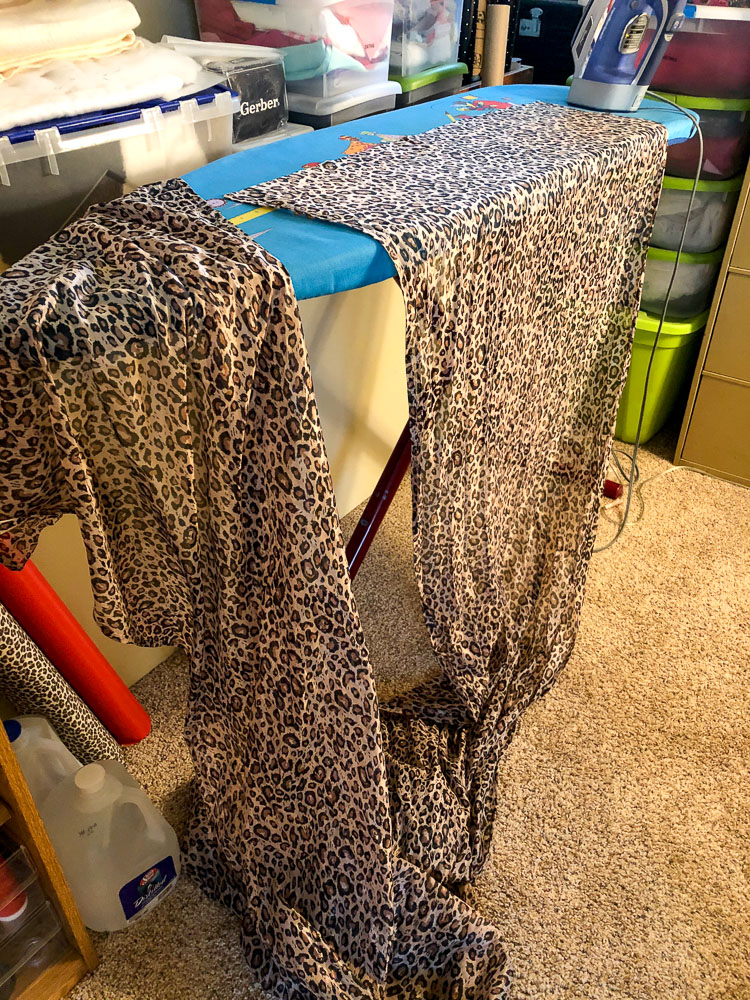
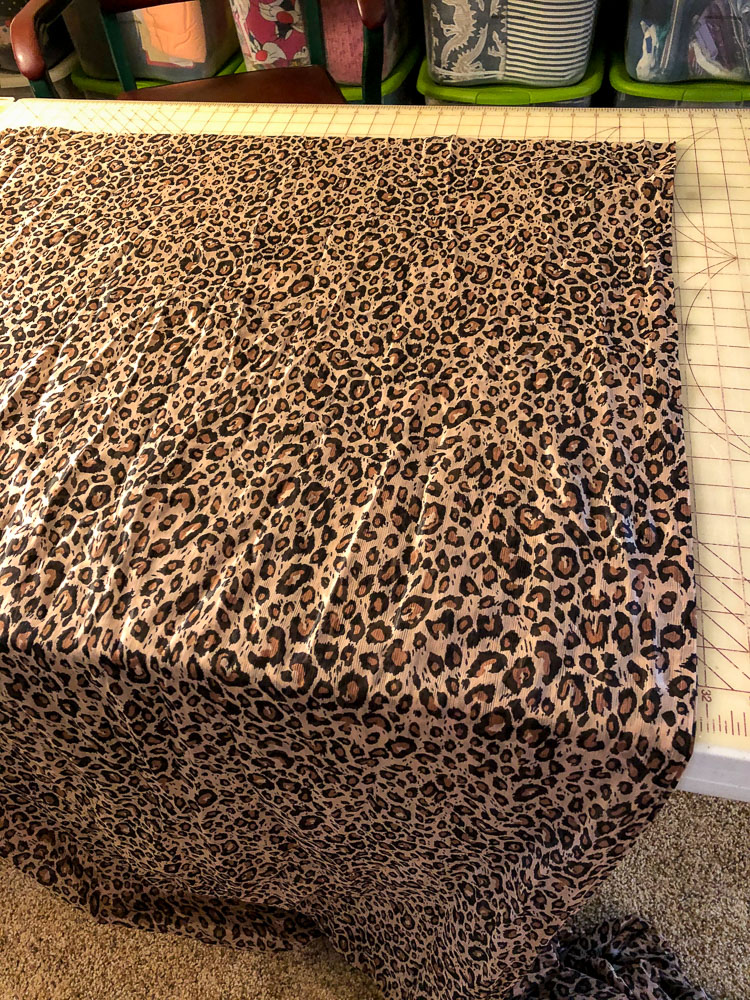
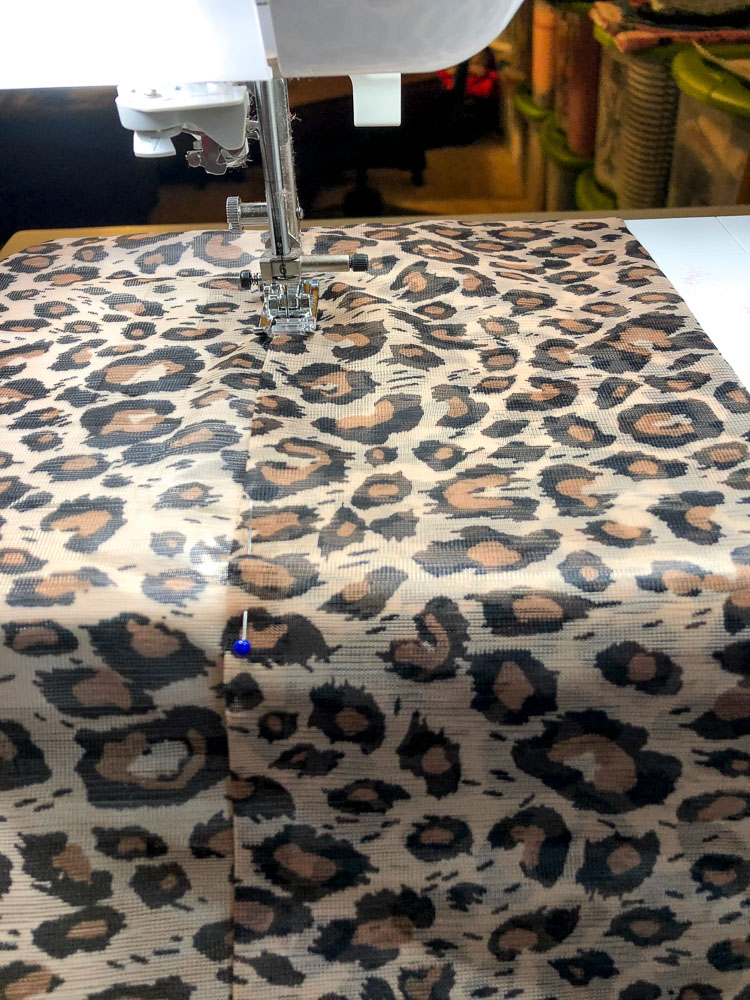
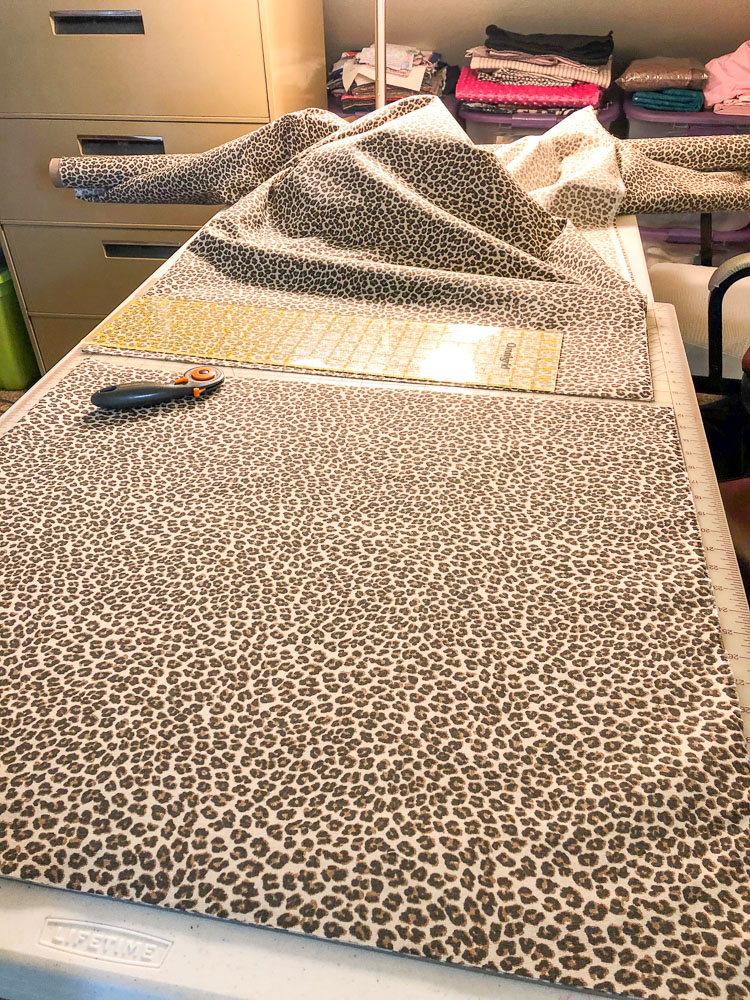
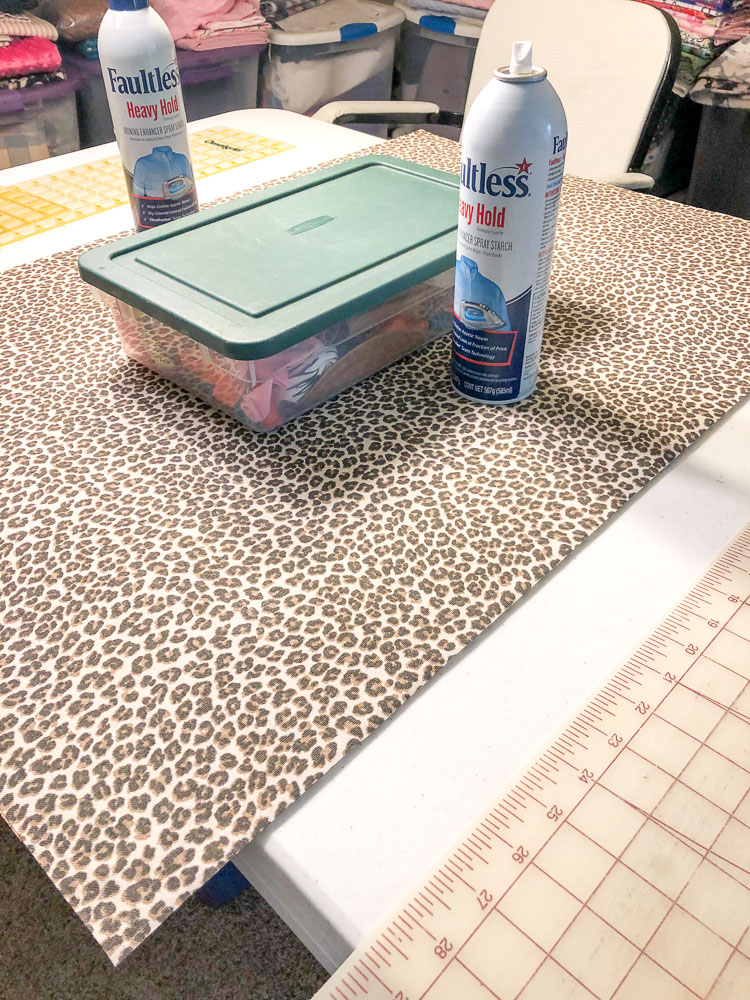
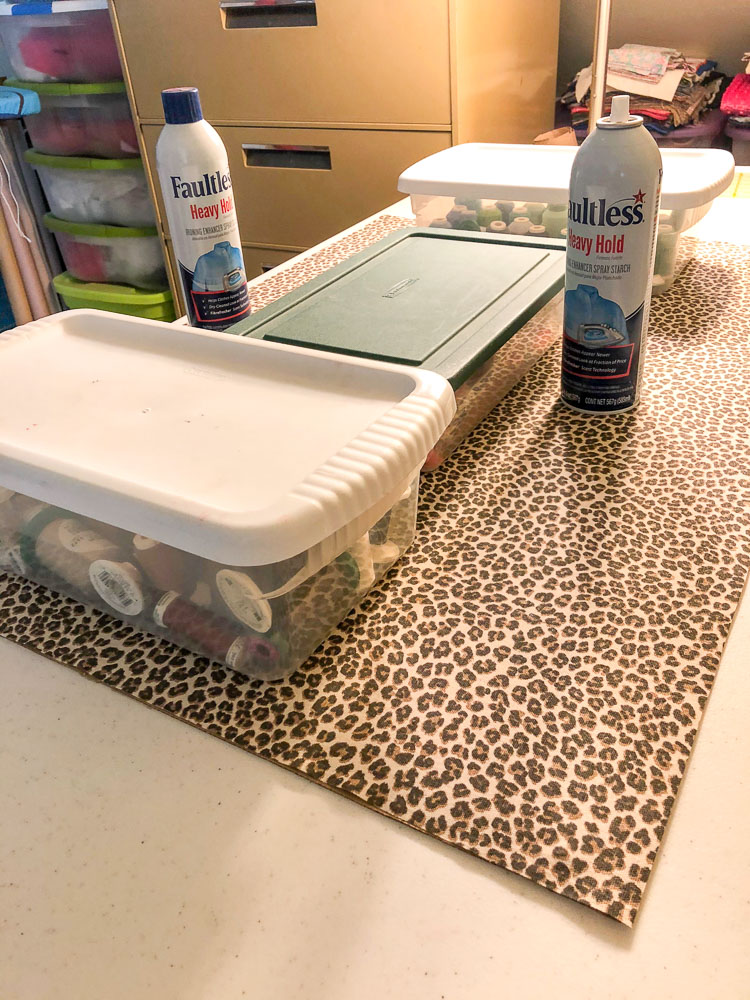
I replaced the curtains to complete the feel of the room with shear curtains. I had the white shears that I had previously made, but had to redo the leopard print sheers to match those. Take the length of your window to the ground and add inches to the top for your header and also enough for the rod to slide through the panel. (Depends on the width of your curtain rod). Hem the sides and the bottom by folding under 1/4” and another 1/4” and sew a straight stitch. Fold down the amount you want for your header and rod opening. Sew a straight stitch for the header and the opening.
My overall look was a clean white with leopard accents, since I was trying to match my leopard chaise lounge.

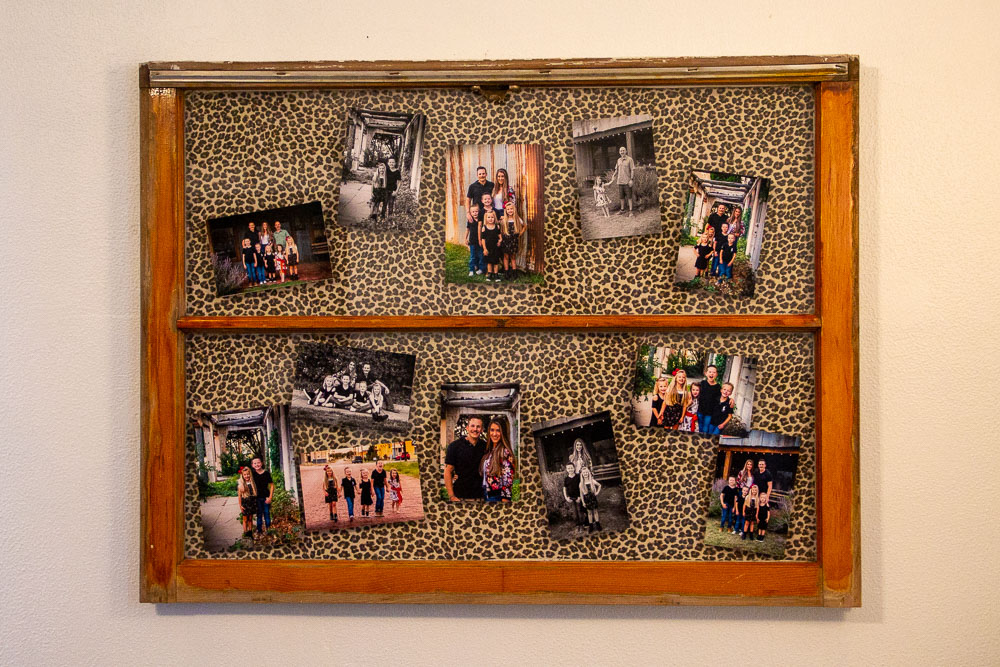
Window Frame
One final touch I wanted to add after switching out my decor was a place for my kids and grandkids pictures. I took an old window I had, cleaned it up, and added a piece of cardboard to the back. I covered the cardboard with a piece of material (leopard of course), glued it down with mod podge, (affiliate link), let it dry, and stapled it to the back.
Then of course I had to do a photo shoot of the fam and order prints to hang on the window. I used double sided tape to tape the pic’s, then just stuck them on the window.
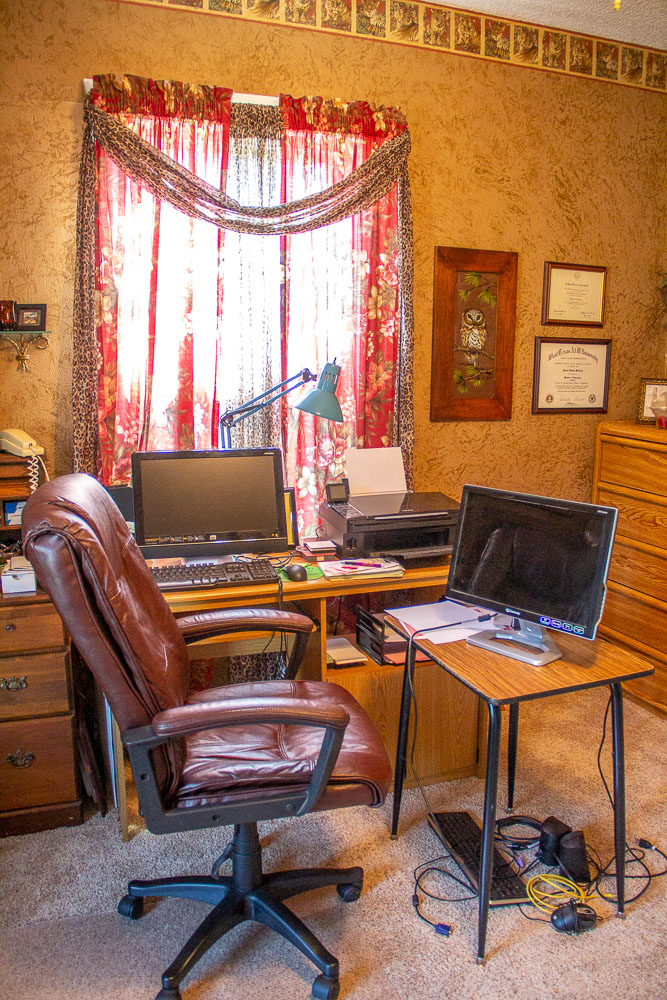
I love my finished office! Let me know if you have any questions. Thanks for reading and good luck with your home office makeover!!!
After Pictures of Home Office Makeover with a Roll Top Desk Makeover
Pin for inspiration later: