How to Cut Wine Bottles
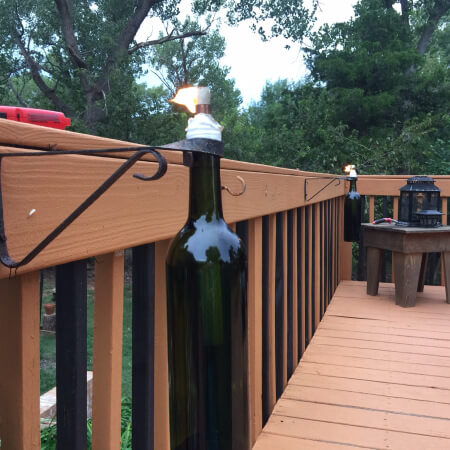
As I mentioned in my wine bottle tiki torch post, I have an abundance of empty wine bottles and ideas on wine bottle crafts. I am finally putting it all to use! I will share what I have learned regarding cutting wine (or really any glass) bottles.
Before running off to the home improvement store to buy a glass cutting tool, I decided to attempt a slightly dangerous method of bottle cutting that I had seen all over the internet. I tried this before my family woke on Saturday morning, mainly so my husband wouldn’t tell me no.

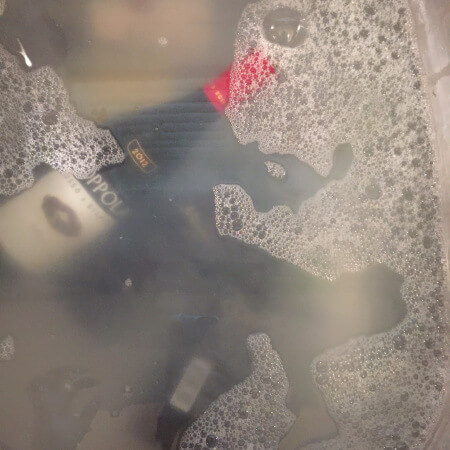
I am not going to go into great detail on this method since it DOES NOT work. Essentially you soak a piece of yarn in acetone, tie it around the bottle, light it on fire, and once the flame gets real low, dunk the bottle in ice water. This was the result of that experiment:

Did it cut the bottle? Yes. Would this ever be useable as a container in my home? No.
As you can see, the intensity of the heat change was too much stress for the glass to handle. Glass is very sensitive to temperature, and this extreme change was too much for the glass to handle.
So after some research, I found a simple and cheap glass cutting tool at Home Depot (it was in the door isle…odd). You can also buy fancy-schmancy bottle cutters that will score your bottle in a perfect ring, but I am too cheap for that! (I will note, glass “cutters” is a misleading name for these tools; they should be called glass scorers.)

1) Use an old belt with some Velcro attached to serve as your bottle scoring guide (this is not needed if you buy the aforementioned fancy-schmancy).

2) Use firm pressure and your glass cutting tool to score your bottle around in a consistent circle. Do not score repeatedly, this will cause fractures. Instead, make sure you hear almost a crackling, glass-squeezing sound and make one consistent score all the way around. Yes, you should be able to hear the glass being scored. The best method I found was to hold my scoring hand steady and firm while turning the bottle and sort of pulling the bottle toward me. If I tried to move my scoring hand around, I usually slipped.

3) Once glass is scored, remove the belt guide and bring some water almost to a boil. Pour the piping hot water slowly over the score line holding the bottle over the sink. (I put a towel in the sink so that if the bottle falls apart, it won’t break.)
4) Immediately follow the heating of the glass with a cold stream of water over the score line. No need to ice the water; the cold stream from the sink tap should be enough.

4) Once glass is cooled, repeat steps 3 and 4 until the glass breaks along your score line. This could take a couple rounds before successful break.
5) Sand your cut edges with sand paper to avoid accidental cuts. I suggest using one of these guys for speedier sanding:

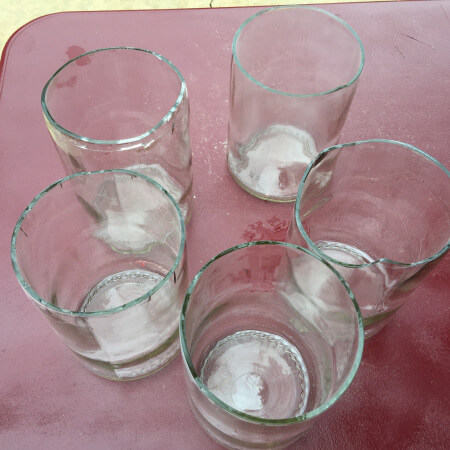
My attempt at this was pretty successful. Of the four bottles I scored, two of them broke along the line using this method after the third round of the hot/cold switch. I was amazed. The other two only broke half way round but may not have been scored well enough; it was my first time, you know!
So I decided to combine the scoring and fire-yarn method. (Okay maybe I am just a pyro at heart!) Even with the scoring, it didn’t work out well. I had fractures and breaks; although, they weren’t as significant.


You can use these containers as is if you have removed the labels, or you can leave the labels and create candles. There are infinite possibilities for wine-bottle crafts with this five step cutting method! In conclusion, you now know how to cut wine bottles.